Posts

Showing posts from July, 2015

Lace Long Sleeve Flowy Blouse

Image
I'm finally back to writing on this blog after being busy for two months, I still sew some small items and mend a few clothes but haven't sewn new clothes.  Until two days before Valentine's arrived, I felt like I had to sew a new blouse to wear to dinner. The blouse had to be in the shade of pink, so I checked my stash and found 2 yards of lace fabric in fuchsia that I don't remember when I bought it. After I had the fabric, I started making the pattern (based on my previous self-drafted blouse pattern) I modified the pattern into a flowy blouse. The pattern was simple, a round neckline, gathered front and back yokes and gathered sleeves with elastic bands. Here is the pattern that I drafted, And after the pattern was done, I cut the fabric as usual. The sewing process was fun and turned out to be easier than I imagined. I sewed the neckline front and back yokes and then attached them to the gathered bodices as shown below. After that, I sewed the shoulder lines togeth

Summer Outfit, V-Back Top and Shorts

Image
Hello everyone.. As promised in my previous post, here is my new top that I made especially to wear with my orange shorts. The top has round front neckline, V-back, short sleeves, and loose fitting. In the end of my work, I have to make a tube top with straps because the top is transparent :) Summer Top details Material: 1.5 yards of jersey net in black colour and black thread Pattern and modification: I hacked the bodice pattern from Built By Wendy Dirndl dress size S. I worked on the front bodice first by removed the dart. I slashed the dart and drew a straight line from the dart point down to the waist. And then drew a new waistline. After that I worked on the back bodice by removed the dart and added 1.5 cm to the outer side. Then drew a new line of the side and waistline. As I wanted a loose top, I slashed the front and back bodice at the center front and back to the middle of the armholes and added 1.5 cm. Also I reduced the front neckline 2 cm at the shoulder and 

Magam July - Gingham Dress

Image
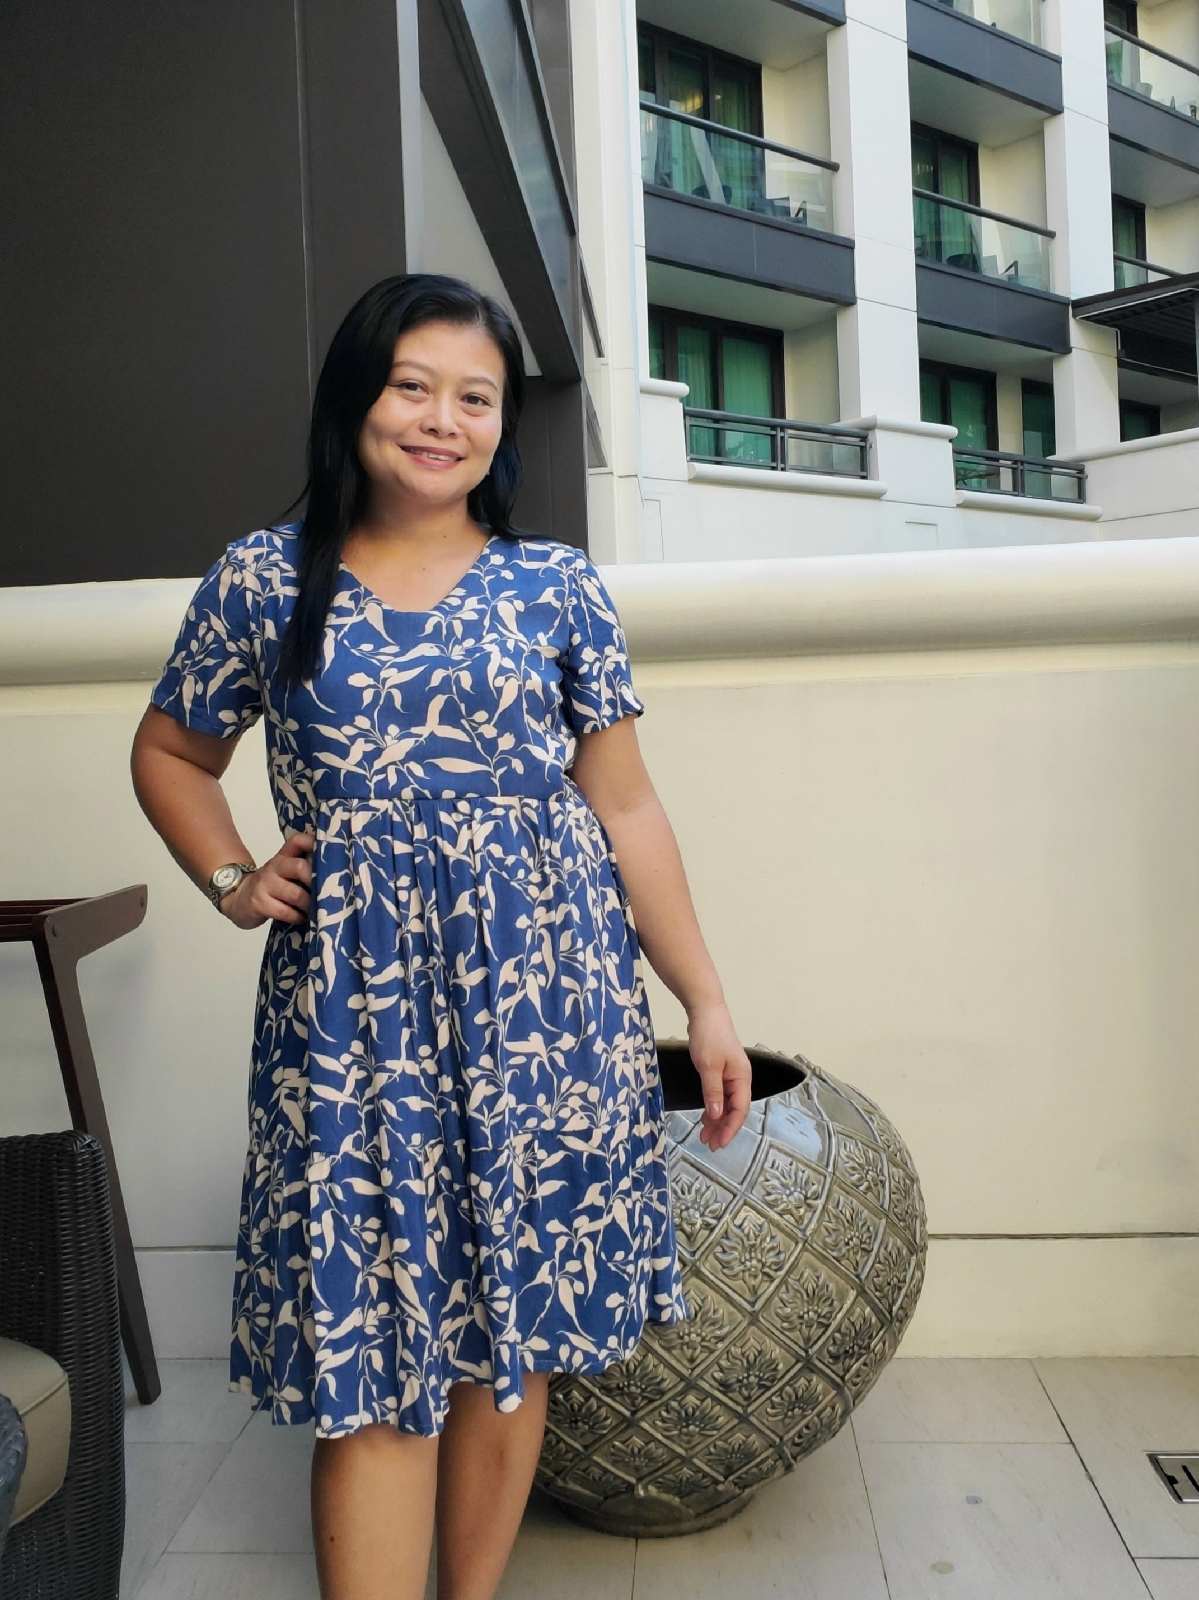
Hello... I was planning to make this dress for Magam June but I couldn't finish it on time. So, instead of planning another garment for July, I just continue working on this dress :) And I was lucky that July theme is "Sew Bookish", exactly like what I have been doing :) This dress is my third versions of Built By Wendy Dirndl Dress with modification. The dress has a hole at the front, sleeveless, semi gathered skirt, in seam pockets and knee length. Just perfect for summer :) Pattern: Dirndl dress (Lolita) from Built By Wendy book size S. I added a hole in the front bodice and added in seam pockets borrowed from BurdaStyle pattern. Materials: 2 yards of gingham cotton fabric invisible zipper medium weight fusible interfacing for interfaced the holes light weight fusible tape for interfaced the zipper 1/2" bias tape elastic loop and small button thread Sewing Process: I copied the patterns and slashed the front bodice in two to make a hole by

BurdaStyle Boy's Shorts

Image
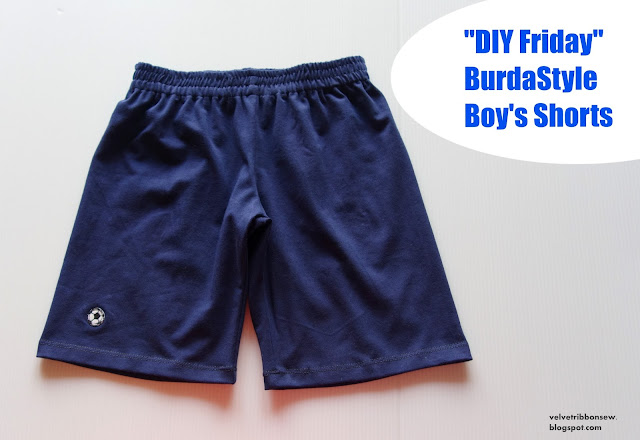
Hi everyone.. Today post is the continuation of my weekly update "Diy Friday" . Sorry for not updating my diy's episode for so many weeks, I have been busy with a lot of good things :) My little boy needed some new shorts to wear on summer. All his shorts are getting small and tight at the waist. Well, I decided to search my stash and found leftover of knit cotton that is enough to make two shorts. Yay! Materials: knit cotton 3 cm wide elastic thread Pattern: Based on BurdaStyle Boy's Sweatpants 10/2013-124 size 110. I cut the pattern right on the knee and slashed a little (2 cm) in both sides to avoid tightness. I skip the front fly and pockets. Image source: Burdastyle.com The sewing process was easy and fast. I have no difficulty because I already made the first shorts for my son Halloween costume, you can pop over here if you are interested -  Mickey Mouse Costume . I worked on the pattern first, by glued the two pieces of the front and bac

Magam June Part 2 : BurdaStyle Flounce Skirt And T-Shirt

Image
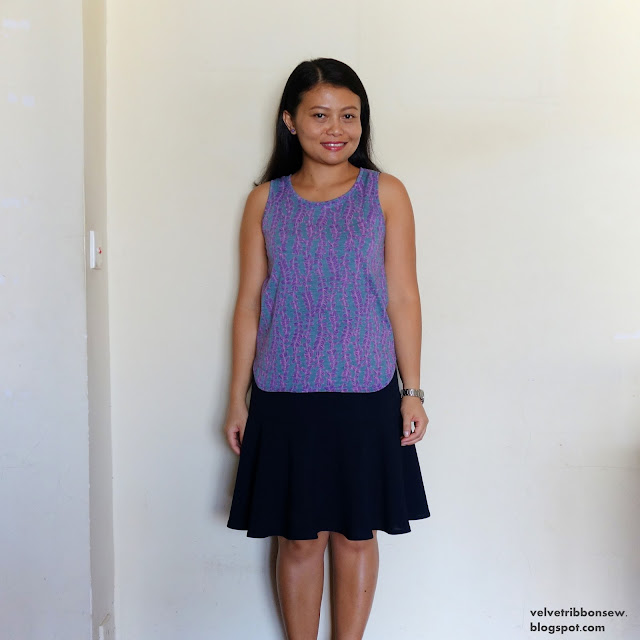
Hello everyone... I am taking time for posting my flounce skirt because I am waiting for the t-shirt to wear with it. And after working for so many days, here is the result :) Finally I am wearing my skirt with the second version of Burda t-shirt 07/2008 -126 Well, before I show you the details of my work on the second t-shirt and flounce skirt, I would love to show you my first version of the t-shirt. I had this pattern since 2008, I was planning to make it but always distracted with other things and in the end I completely forgot about my plan. T-shirt details (first version) Materials: - Left over knit cotton in navy blue, 1 1/4 yards - Threads Pattern: BurdaStyle magazine 07/2008 model 126 size 34. I don't have a link to click for the pattern detail but you can see the drawing below  Image source from BurdaFashion Sewing Process: I grade down the pattern to size 34 because the minimum size from the magazine is 36. I also reduced the armholes 1/4 cm.