
I hope you all had a lovely weekend :)
I am late for my DIY Friday post this week because I was busy with a lot of things. I was preparing the post in Friday afternoon but I couldn't finish it.
So, only today I manage to sit in front of my computer and continue writing the post :)
I love making tote bag. In the previous time, I made several in different colors and shapes. I used some for myself and I gave some to close friends and family.
And this time I made tote bag for my son Eduardo to put his stuff (blanket and pillow) to take to school.
I was thinking that this tote bag will look nicer/cuter if I put some sticker in it. Then I searched my stash box and found the train stickers that I bought last time. I showed it to Eduardo and he likes it :)
The sewing process of making this tote bag is easy and fast, I have done it in three hours and it was a very relaxing project to make :)
The size of this tote bag approximately 17" width, 11.5" tall and 5" deep.
I will show you my process in detail and I hope this post will help the beginner sewist.
Materials:
1 yard of home décor fabric in green color, ruler, tailor's pencil chalk, thread, tailor's pins, fabric and multipurpose scissors, thread cutting clipper, train stickers, snap fasteners and a little fusible interfacing.

Sewing Process:
1). I measured and cut my fabric 17" x 18" on fold as shown in the picture below. Remember that the folding area is in the bottom
Also the measurement is including 1/2" seam allowance for all edges

2). In the corner bottom of the bag measure 2.5" x 2" as shown in the picture below. I did the same way for the other side

And then, cut the fabric using the fabric scissor

Here is the result after cut in both sides

3). I made the bag facings 18" x 2.5" - cut two pieces and the bag straps 24" x 8" - cut two pieces. Also prepared the snap fasteners and fusible interfacing 2" x 2" - cut two pieces to support the fabric when insert the snap fasteners.
Sorry, I forgot to take picture of the fusible interfacing

Then press the fabric using the iron and topstitch in both sides.
4). I folded the tote bag fabric right sides together and marked the middle line with the pin. Then I placed the bag strap 2.5" from the pin as shown in the picture. I did the same way for the other side
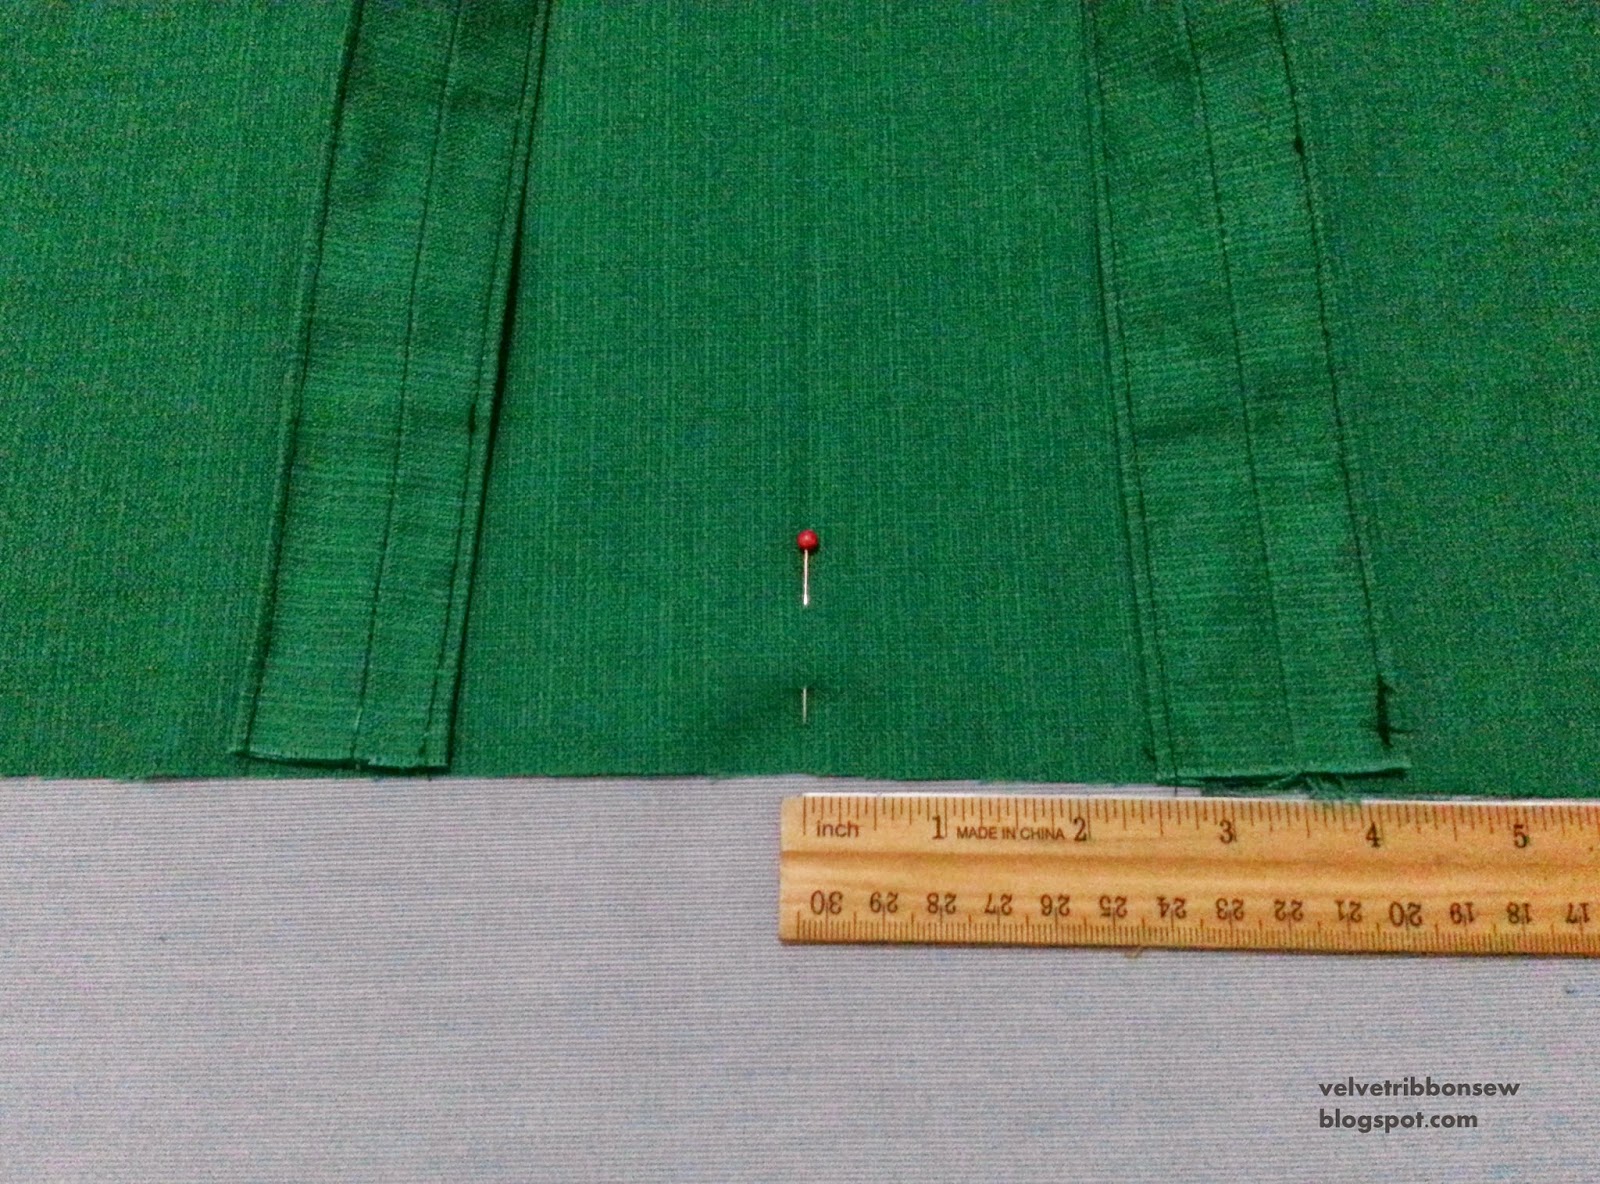
I put the bag facing on the top of the bag fabric with strap right sides together and pin it (as shown in the picture). Stitch it. And then sew the raw edges using an overlocker sewing machine. I did the same way for the other side

5). I fused fusible interfacing in the wrong side of the middle bag facing and inserted the snap fasteners. As shown in the two pictures below


6). I folded the bag right sides together, pin it in both sides. Stitch it. And then sew the raw edges using an overlocker sewing machine

7). I pin the bottom of the bag right sides together. Stitch it. And then sew the raw edges using an overlocker sewing machine.

8). I turned the bag inside out and topstitched the facing as shown in the picture

9). I fused the stickers using the iron (as the sticker instructions said) and I am done! :-)

And here are two pictures of the final bag.


I usually post DIY Friday in progress here in FACEBOOK PAGE and also made a special board of DIY Friday here in PINTEREST. You are all welcome to stop by :)
Happy sewing!
Great tutorial. I will have to try this this. And I love the colour of your fabric!
ReplyDeleteThank you, Megan :)
DeleteSo cute...Know your son will enjoy it.
ReplyDeleteThank you Judy. He enjoyed the bag :)
DeleteWhat a lovely little bag - your instructions are very clear - I haven't made a tote yet, but when I do, I shall come back and follow your tutorial. You have made the process look very simple :)
ReplyDeleteThank you, Sarah Liz :)
DeleteGreat bag , dear Hana. This one will be a lovely present for Christmas. So cute.
ReplyDeleteThank you Rosy. Yes, it is a cute idea for Christmas present :)
Delete