
Hi there, happy sewing!
I made a new ruffle hem top, refashioned from the cotton dress I made a few years ago. For the pattern, I used a self-drafted top.
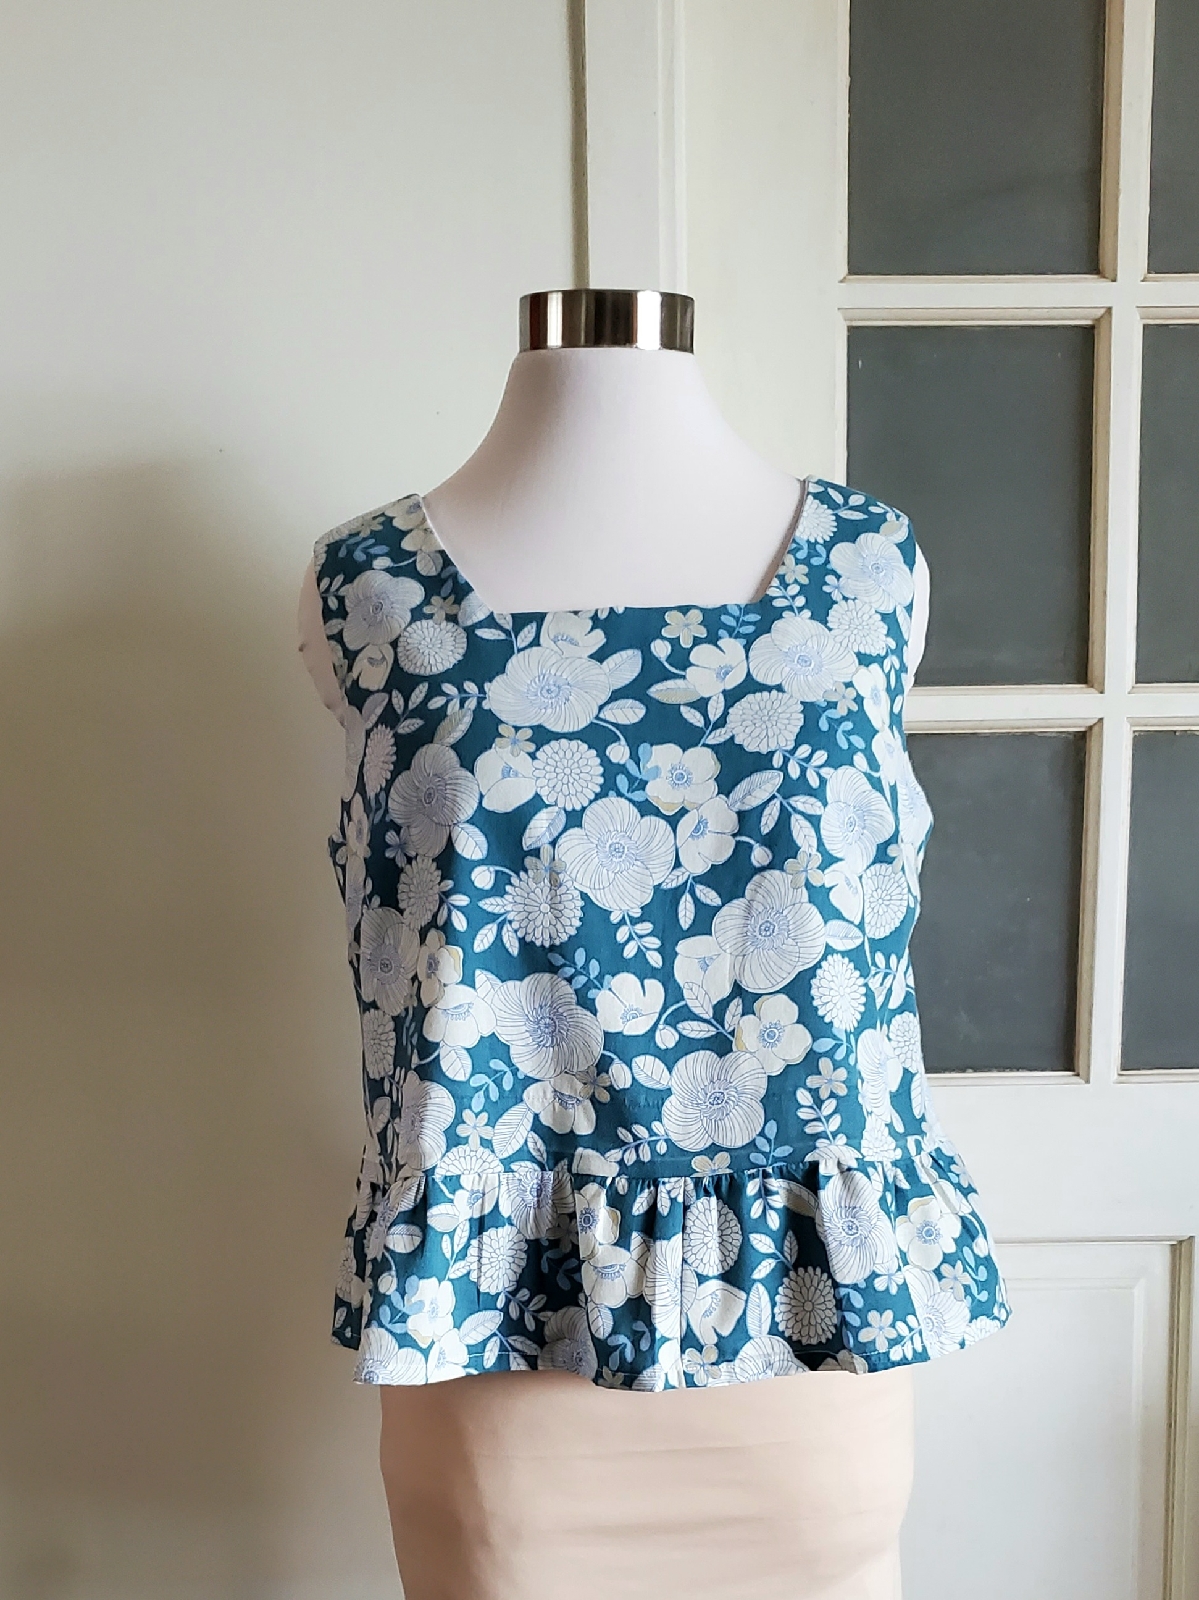
The top is lovely, with a square neckline, sleeveless and a little ruffle at the hemline. Perfect for summer. I love it and this will be a great addition to my handmade wardrobe. Also, the top is easy to wear with a skirt or pants.
Here is the old dress, it's still in good condition but I really want to refashion it 😊 I bought the fabric during our trip to Japan, it's lovely floral cotton.

I removed the zipper and the sleeves and cut the fabric. For the ruffle hem, I used whatever was left and connected them together.

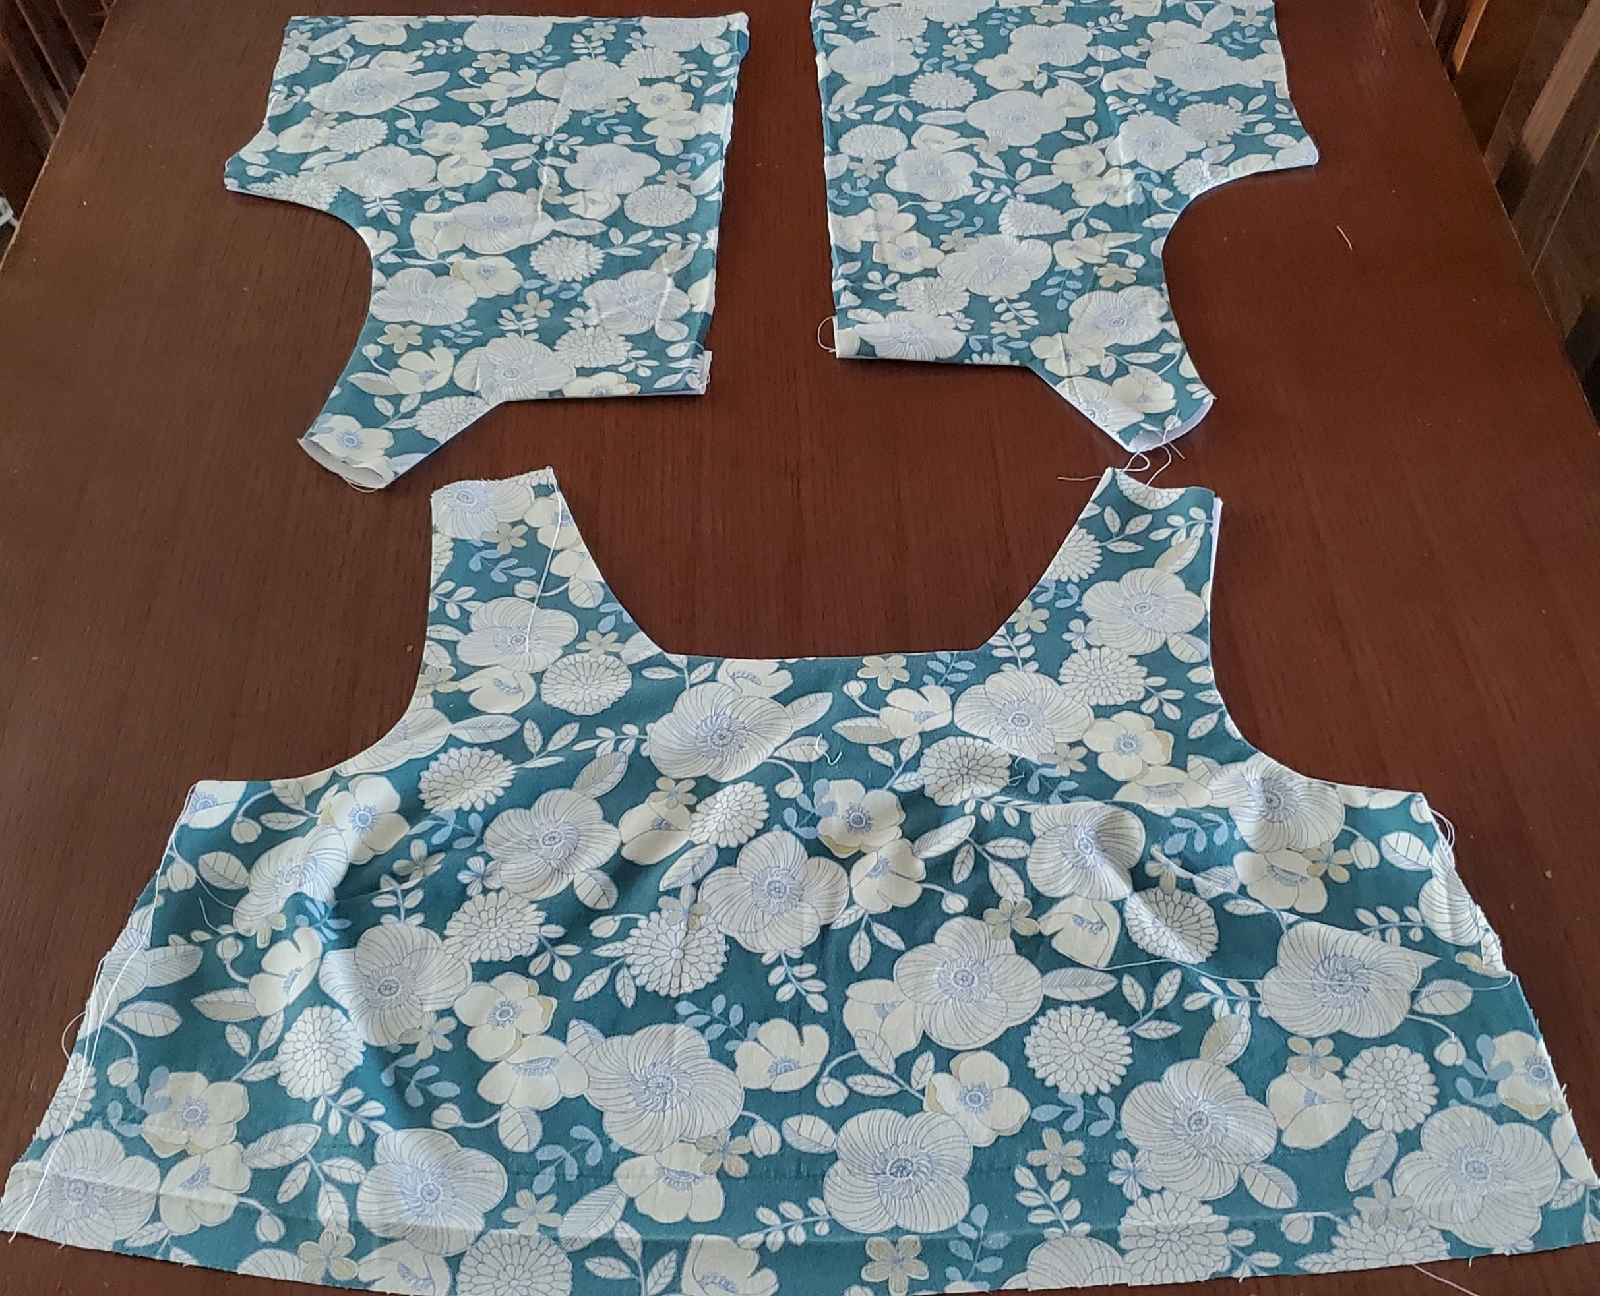
Here are the top pieces after cutting and for the facings, I used light purple cotton leftover and fused them with fusible interfacing.

The sewing process was enjoyable and I did the top in three days during my free time. It started with sewing the darts, the facings and connected the shoulder lines together.
Connected the ruffle pieces together and gathered them.

I sewed the zipper at the center back and then, attached and sewed the ruffles to the bodices.


I sewed the hemline after that followed by hand-sewing the armholes opening and back facing at the zipper area. Done!
And here are the pictures of the finished top, front - side - back views with the inside garment.

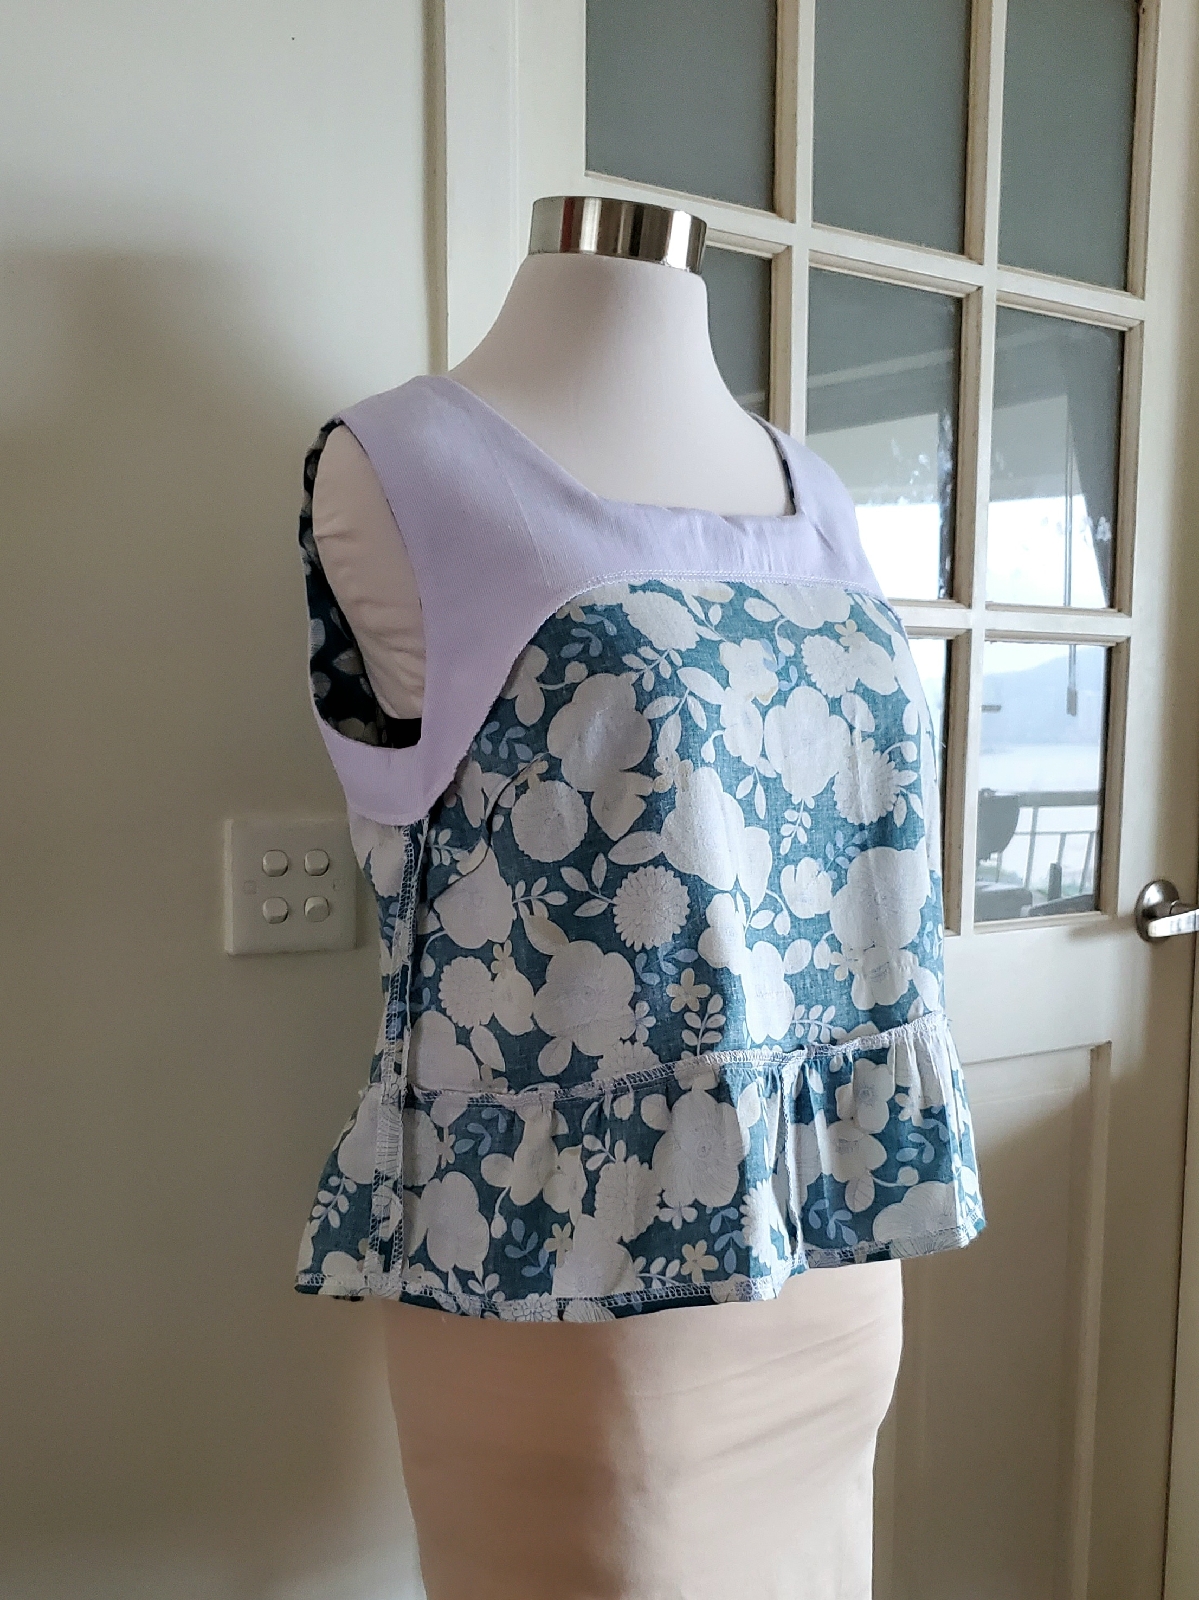


I covered the end of the zipper with the fabric band, hand-sewing it and it protected my skin from hard material.
And the last picture of the top, I wore it with my a-line skirt I made last year.

That's it enough for today, thank you for stopping by and if you are interested in seeing a video of making this top, feel free to head over to my YouTube channel, link here @wanderingchili or click the video below,
Absolutely loving this Refashioned Ruffle Hem Top from JAUNTY! The perfect blend of chic and casual—it's my go-to for effortless style.
ReplyDelete