DIY Make-Up Zipper Pouch

Image
  I made an easy make-up zipper pouch using leftover fabrics and was happy with the result. The final size was 26 cm x 12 cm. It's lovely, fluffy, useful and big enough to store all my makeup and skincare products.  Materials for the pouch: - Main fabric, lining and polyester batting, 40 cm x 50 cm. - Fabric tags (2x), 9 cm x 10 cm. - Bias tape band, 6 cm wide. - Zipper The sewing process started with topstitching (quilt style) the main fabric and polyester batting together. After that, I sewed the zipper at the main fabric (both sides). I attached and sewed the lining to the main fabric, right sides together. And then, topstitched both sides of the zipper. And cut the excess zipper.  I sewed the tags and inserted them in both sides of the end of the zipper and sewed along the lines. I sewed the bias tape bands on both sides. And cut the corners in square shape 4 cm x 4 cm (not including seam allowance). I connected the squares together and sewed them. I sewed the bias ta...

Flax Pullover

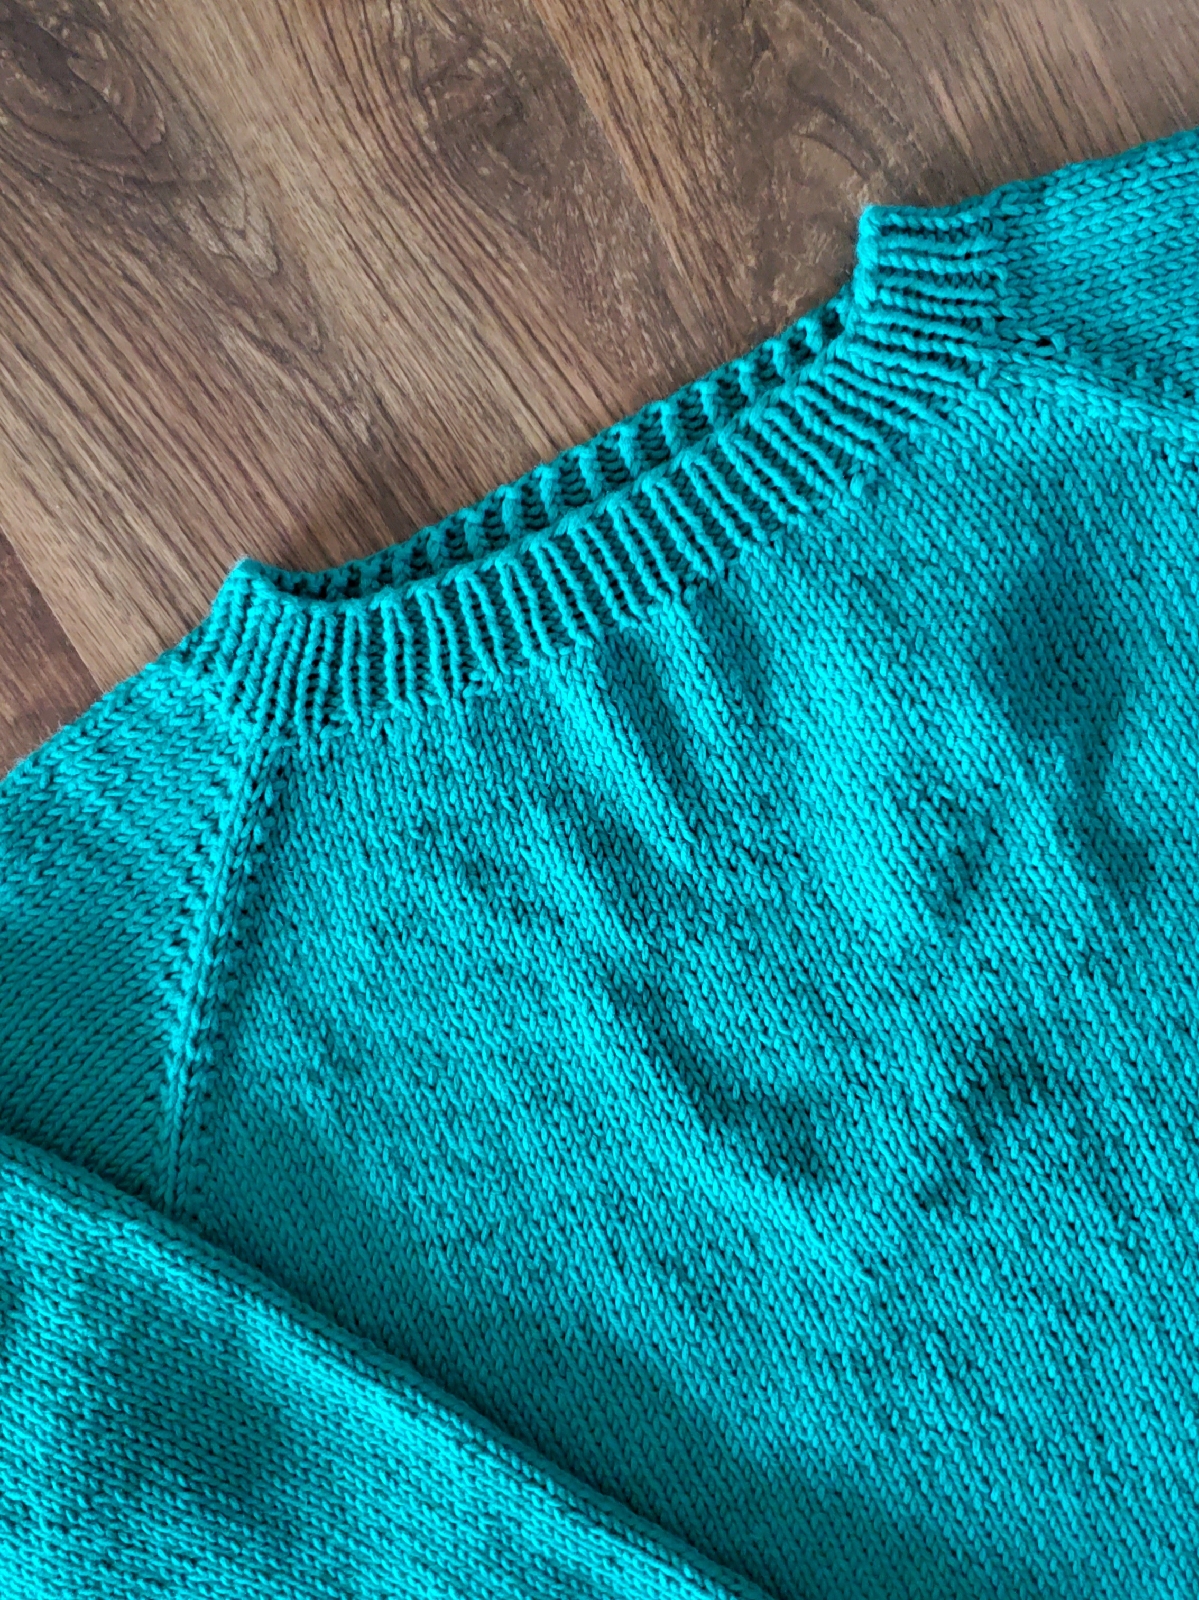
I finally finished my Flax Pullover after one year of working on it. I'm glad and happy with the final result, the fit is good, loose, and comfy.
I started this pullover on January 21 last year, I used acrylic and rayon blend yarn from the local shop. At first, I wasn't sure about the yarn because I didn't really like acrylic but the color is so pretty, so I bought the pack (8 balls of yarns).

For the pattern, I used a free pattern from Tin Can Knits link here, and my plan was to make the green pullover version the one that the model is wearing in the picture below. 
I used size ML because I wanted a little loose and made the sleeves plain using stockinette stitch only.

My progress was very slow, I was knitting a few rows in my free time especially at night after dinner or after I put my son to the bed. 
The instructions were easy to follow and I was enjoying the progress, also I was lucky I found a Youtube channel that explain more details on how to knit this pullover, link here from iknit in case you wanted to see it.
The picture below was taken on August 4 when the pullover reached the waistline.
And then I finished the body and ribbing the hemline on August 24, it wasn't so bad for a slow knitter šŸ˜
On September 20, I was working on the pullover sleeves and ribbing the sleeve hems.

I managed to finish the pullover at the end of November but I didn't like the length. It was too short for my liking, so I unraveled the yarn, knitted the body 8 cm longer, and finished with 1x1 ribbing 5 cm.
And finally, I finished the pullover in January. Glad I did and I look forward to wearing it in a cooler weather.

That's it for today, stay safe and have a lovely Monday šŸ’–

Comments