Hello everyone..
Finally I finished my watercolour floral dress for April MAGAM - Make A Garment A Month with the theme "Blooming Flowers"
After working on it for some days, in the end I decided to remove the smocked. I will explain more in the below post.
For now let's see the final dress that I already wore last Sunday and already shared the picture in MMMay'15 day 10 Flickr group and My Facebook Page

Here is the continuation of my work on this dress. You can check on my previous post for half of the sewing process.
After I pleated and pinned the skirt to the bodice right sides together, I smocked the dress according to the instruction but I only made four rows.
Then I sew both sides of the dress and tried it. But I didn't like the look of the dress on me :(
I have to say that my work on the smocked wasn't bad but it didn't fit me well. Maybe it will look good for others especially with taller and skinnier figure.

Well, I made a quick decision. I removed both sides stitching and the smocked. Then I sew one elastic only at the waistline. It wasn't easy thing to do but glad that I survived.
After all removed, I iron the dress and sew it again in both sides of the dress- right sides together.
Then prepared my elastic 1 cm wide. The length of the elastic was my waistline measurement - 6 cm + 2 cm seam allowance. Here is my calculation 76 cm - 6 cm + 2 cm = 72 cm.
I sew both end of the elastic together, secured it with more stitches. And then divided in four - marked with fabric marker.
Then divided the dress at the waistline in four - marked with fabric marker too.
After that, pin each marker from both elastic and the dress/fabric together. As shown in the picture below,

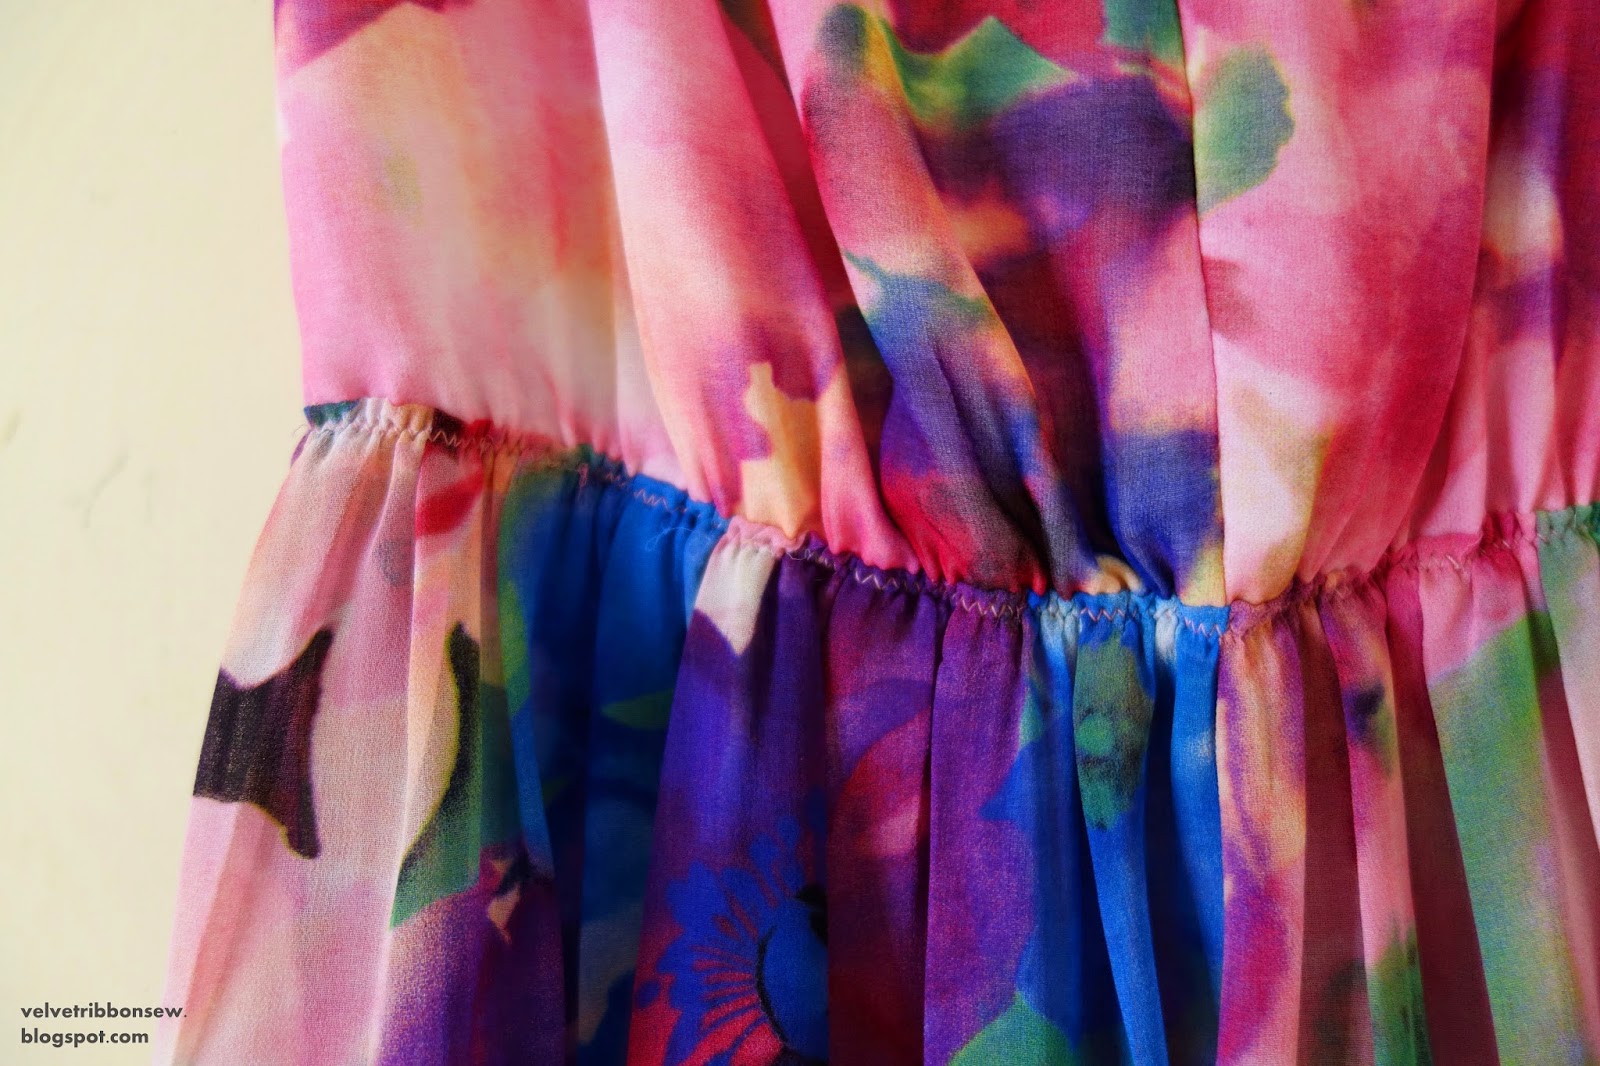
After the method above done, I stitched and pulled the elastic and the fabric together with zig zag stitch. Here is the result, inner and outer views.


After the elastic already stitched, I sew the hemline - 1 cm. And I gave up the idea of adding the bows on the front bodice, I think the dress will look good without anything.
Here is the full dress, front and back views.

Almost forget to mention about the belt. I cut the fabric 62 cm long x 14 cm wide. I added 1 cm seam allowance in all edges. In the end the belt size will be 7 cm wide.
I folded the fabric right sides together and stitched all edge but I leave 10 cm unstitched for the fabric to turn out. Then hand-stitched the opening area. Iron the belt.

I also made half slip from same material as the bodice lining - jersey net fabric. I just cut the fabric in square shape, folded the fabric and sew it. After that I stitched elastic waistline and hem it with lace. As shown in the picture below,

Here are the two pictures of me wearing the dress, front and back views. These pictures were taken in one of the corner of our small city - Taipa. We enjoyed our Sunday afternoon walking around and bought some house stuff :)


And three more pictures of the dress in the dress form completed with belt, front-side and back views


Finally I finished my watercolour floral dress for April MAGAM - Make A Garment A Month with the theme "Blooming Flowers"
After working on it for some days, in the end I decided to remove the smocked. I will explain more in the below post.
For now let's see the final dress that I already wore last Sunday and already shared the picture in MMMay'15 day 10 Flickr group and My Facebook Page

Here is the continuation of my work on this dress. You can check on my previous post for half of the sewing process.
After I pleated and pinned the skirt to the bodice right sides together, I smocked the dress according to the instruction but I only made four rows.
Then I sew both sides of the dress and tried it. But I didn't like the look of the dress on me :(
I have to say that my work on the smocked wasn't bad but it didn't fit me well. Maybe it will look good for others especially with taller and skinnier figure.

Well, I made a quick decision. I removed both sides stitching and the smocked. Then I sew one elastic only at the waistline. It wasn't easy thing to do but glad that I survived.
After all removed, I iron the dress and sew it again in both sides of the dress- right sides together.
Then prepared my elastic 1 cm wide. The length of the elastic was my waistline measurement - 6 cm + 2 cm seam allowance. Here is my calculation 76 cm - 6 cm + 2 cm = 72 cm.
I sew both end of the elastic together, secured it with more stitches. And then divided in four - marked with fabric marker.
Then divided the dress at the waistline in four - marked with fabric marker too.
After that, pin each marker from both elastic and the dress/fabric together. As shown in the picture below,

After the method above done, I stitched and pulled the elastic and the fabric together with zig zag stitch. Here is the result, inner and outer views.

After the elastic already stitched, I sew the hemline - 1 cm. And I gave up the idea of adding the bows on the front bodice, I think the dress will look good without anything.
Here is the full dress, front and back views.

Almost forget to mention about the belt. I cut the fabric 62 cm long x 14 cm wide. I added 1 cm seam allowance in all edges. In the end the belt size will be 7 cm wide.
I folded the fabric right sides together and stitched all edge but I leave 10 cm unstitched for the fabric to turn out. Then hand-stitched the opening area. Iron the belt.

I also made half slip from same material as the bodice lining - jersey net fabric. I just cut the fabric in square shape, folded the fabric and sew it. After that I stitched elastic waistline and hem it with lace. As shown in the picture below,

Here are the two pictures of me wearing the dress, front and back views. These pictures were taken in one of the corner of our small city - Taipa. We enjoyed our Sunday afternoon walking around and bought some house stuff :)


And three more pictures of the dress in the dress form completed with belt, front-side and back views


Happy sewing!
Hana this has turned out lovely. I dont think your fabric needed all that smocking anyway. Nor does it need any extra bows so I think you have made all the right choices. However the belt totally gives it the final finishing touch :) x
ReplyDeleteThank you for lovely comment, Dawn :)
DeleteThe dress is perfect like this - a pity that you did all the smocking only to work out it wasn't right. Full marks to you for undoing it and redoing the elastic waist. Lots of hard work, but much better. I agree, bows would not look good on this dress - in fact, they would detract from it's beauty.
ReplyDeleteThank you, Sarah Liz. It was a crazy work to removed all those smocked. Anyway, I will not making the same mistake again :)
DeleteThat glorious fabric doesn't need any extra adornment. You have done a beautiful job and the dress looks wonderful on you.
ReplyDeleteThank you, Kathy :D
DeleteGorgeous, gorgeous dress! I agree with Kathy and Sarah Liz.... it is beautiful shining on its own and doesn't need any extra! What a great idea, using the elastic and self-fabric belt. Perfect! This is lovely on you!
ReplyDeleteThank you for such a lovely compliments, Lisa :)
DeleteHana, the dress looks beautiful on you. So Sorry you had to rip out the smocking... But I think you made the right choice... Your dress is just perfect now.. and looks so good on you.. Happy sewing.
ReplyDeleteThank you so much, Judy :) Happy sewing!
DeleteOuch...you did all that lovely smocking then took it out. I understand that you couldn't let the beautiful fabric not have a dress that you absolutely love. The dress looks great on you! I'm glad to finally see it all sewn up :)
ReplyDeleteHi Ari, smocking is great but it doesn't suit me well. Thank you for the fabric again and for a lovely comment :)
DeleteI like your design change. It looks lovely on you and it shows off the watercolour print of the fabric as well. Bravo!
ReplyDeleteThank you, Lovenicky :D
DeleteYour print is stunning! Worth the ripping out and changes made. It looks beautiful on you :)
ReplyDeleteThank you so much Margo :)
Delete