I've been busy the last couple days making a men's shirt for my husband. Based on Frank Button-Down Shirt from Burdastyle Sewing Vintage Modern pattern. Originally is long sleeve shirt pattern but as summer is around, my husband wanted a short sleeve shirt.
Here is the original pattern,

Here are my pattern modifications:
After I have done the patterns, I made a muslin for a better fit. And I am surprised that only two thing that I have to fix. The collar is to long for my husband taste, so I have to reduced 3/4". And the front side is little a bit to big, so I have to reduced 1/2". Here is my muslin,

After I have done the muslin and fitting issue, I prepared the fabric and the materials that I needed for the shirt, 2 yards of yellow striped cotton, transparent color buttons, fusible interfacing and same color of thread.


Here is the original pattern,

Here are my pattern modifications:
- I want to change long sleeve pattern to short sleeve pattern, so I measured from the middle top of the pattern down to elbow 10 1/4". Then drew the new line using the ruler.
- I only used one pocket without flap with U shape style pocket.
After I have done the patterns, I made a muslin for a better fit. And I am surprised that only two thing that I have to fix. The collar is to long for my husband taste, so I have to reduced 3/4". And the front side is little a bit to big, so I have to reduced 1/2". Here is my muslin,

After I have done the muslin and fitting issue, I prepared the fabric and the materials that I needed for the shirt, 2 yards of yellow striped cotton, transparent color buttons, fusible interfacing and same color of thread.


After I cut all the pieces, I iron fusible interfacing onto collar, collar band and plackets.
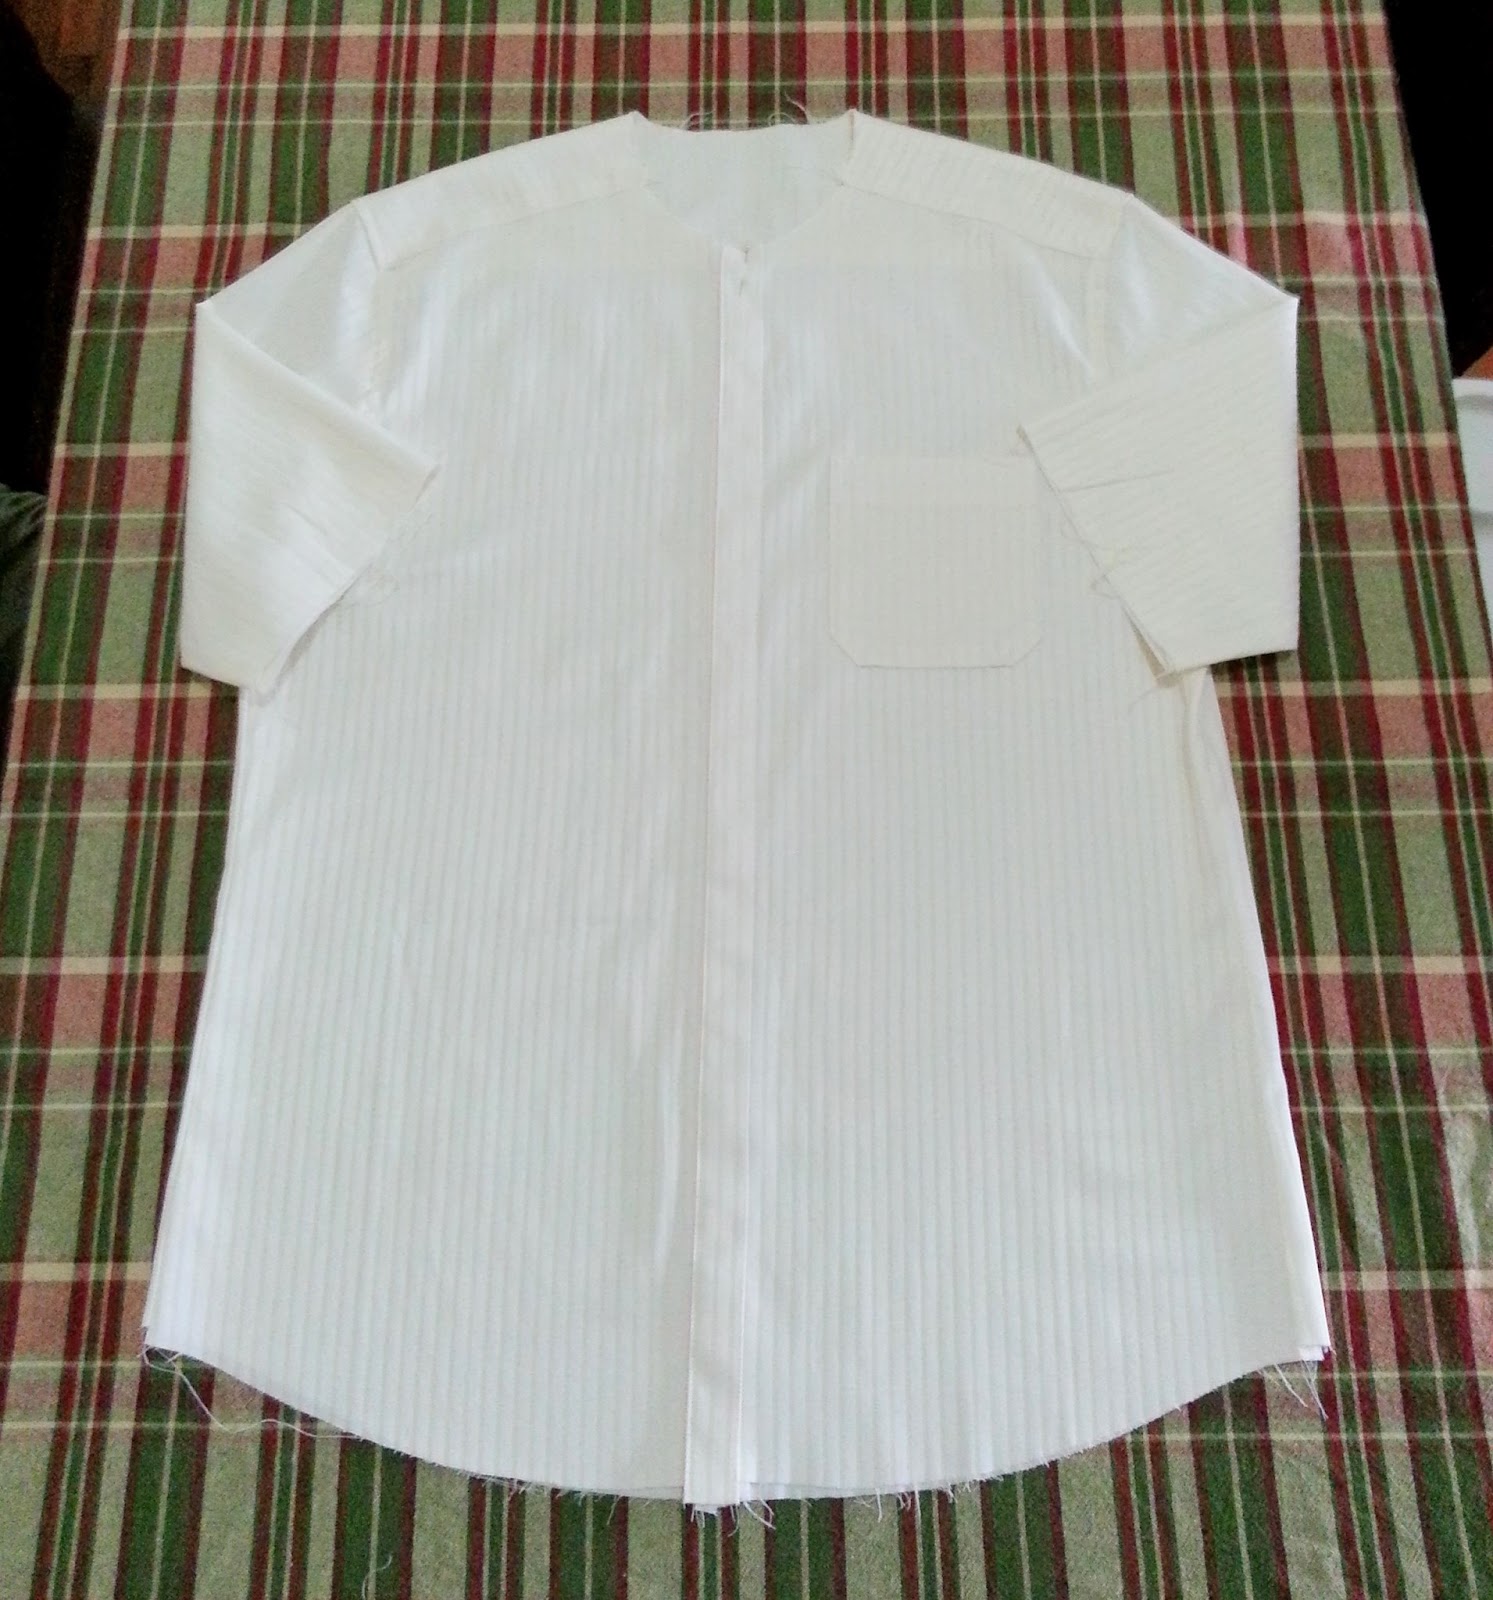
Then I sew the pieces together according to the instructions ( step 1-18). And here is my result,

Then I worked on the sleeve (step no19). But my version is for short sleeve shirt and I want to topstitch around the armhole for the shirt looks nicer. So, after I've done step no 19, I iron around the armhole with the right side facing up and then sew it 1/4" around the armhole.


After I've done the method above, I sew the front and back pieces with right side together. Finished the raw edge with an overlock stitch and I also topstitched the side of the shirt, the same way as I did at the armhole.
Well, I'll continue documenting the process of making the shirt later. Now, I am going out for lunch and I'll take some picture of my MMM'13 day 9.
Happy Sewing!
Comments
Post a Comment