Hello everyone...
I am taking time for posting my flounce skirt because I am waiting for the t-shirt to wear with it. And after working for so many days, here is the result :) Finally I am wearing my skirt with the second version of Burda t-shirt 07/2008 -126
Well, before I show you the details of my work on the second t-shirt and flounce skirt, I would love to show you my first version of the t-shirt.
I had this pattern since 2008, I was planning to make it but always distracted with other things and in the end I completely forgot about my plan.
T-shirt details (first version)
Materials:
- Left over knit cotton in navy blue, 1 1/4 yards
- Threads
Pattern:
BurdaStyle magazine 07/2008 model 126 size 34. I don't have a link to click for the pattern detail but you can see the drawing below
Sewing Process:
I grade down the pattern to size 34 because the minimum size from the magazine is 36. I also reduced the armholes 1/4 cm.
Then I cut and sew the fabric exactly like the original pattern.
The process was fine, the t-shirt came with two pieces of pattern - front and back on fold and the back band.
The only tricky part was sewing the back band. I need to pull and sew it at the same time to get it right.
The neckline and armholes finished with 1 cm bands sewn with twin needle using orange color thread. I used twin needle as well for the hemline.
After all, I think the t-shirt turned out cute and I like it :)
Here are the pictures of the finished t-shirt, front - back and side views,
And here is the closer look of the finished neckband, armhole bands and back bottom band
T-shirt details ( second version)
Materials:
- Left over knit cotton in grey and purple 1 1/4 yards
- Thread
Sewing Process:
I omitted the back band.
I copied the pattern, slash the side. So I have two separate pieces of pattern ( front and back).
Then I lengthen the middle back to a full back piece pattern ( because the original pattern has a square hole to sew the band)
After that, I reduced the hem 5 cm and modified the hemline with U shape in both front and back.
Same as the first version, the neckline and armholes finished with 1 cm bands from the same fabric.
And the hemline finished with 1.5 cm hem allowance sewn with twin needle.
I really love the result more than the first version, the t-shirt looks so cool and modern with U shape hem line. And here are the pictures of the front and back views
And the picture of the closer look of the neckband, armhole bands and hemline
Flounce Skirt details
Materials:
2 yards of navy blue medium crepe
Invisible zipper
Fusible interfacing for the waistband
Thread
Pattern:
BurdaStyle Flounce Mini Skirt 09/2014 size 34. I added a waistband 4 cm wide for the skirt finished with hook n eye fasteners.
Sewing Process:
I drew the flounce according to the instructions.
Cut and sew the fabric in order and sew the invisible zipper.
After that I fused fusible interfacing to the wrong side of the waistband and sew it onto the skirt body right sides together. Folded the waistband wrong side together and pin the seam allowance 1.5 cm inside the waistband. And sew along until the end.
And then sew the hook n eye fasteners.
I top stitched the upper flounce, in this case I just placed the seam allowance to the upper direction and top stitched them from the right side of the skirt.
Then, the last work was sew the hemline 1 cm hem allowance. Press with iron. Done!
Here are the two pictures of the skirt details. It is very difficult to see the details because of dark colour but I think you can guess :)
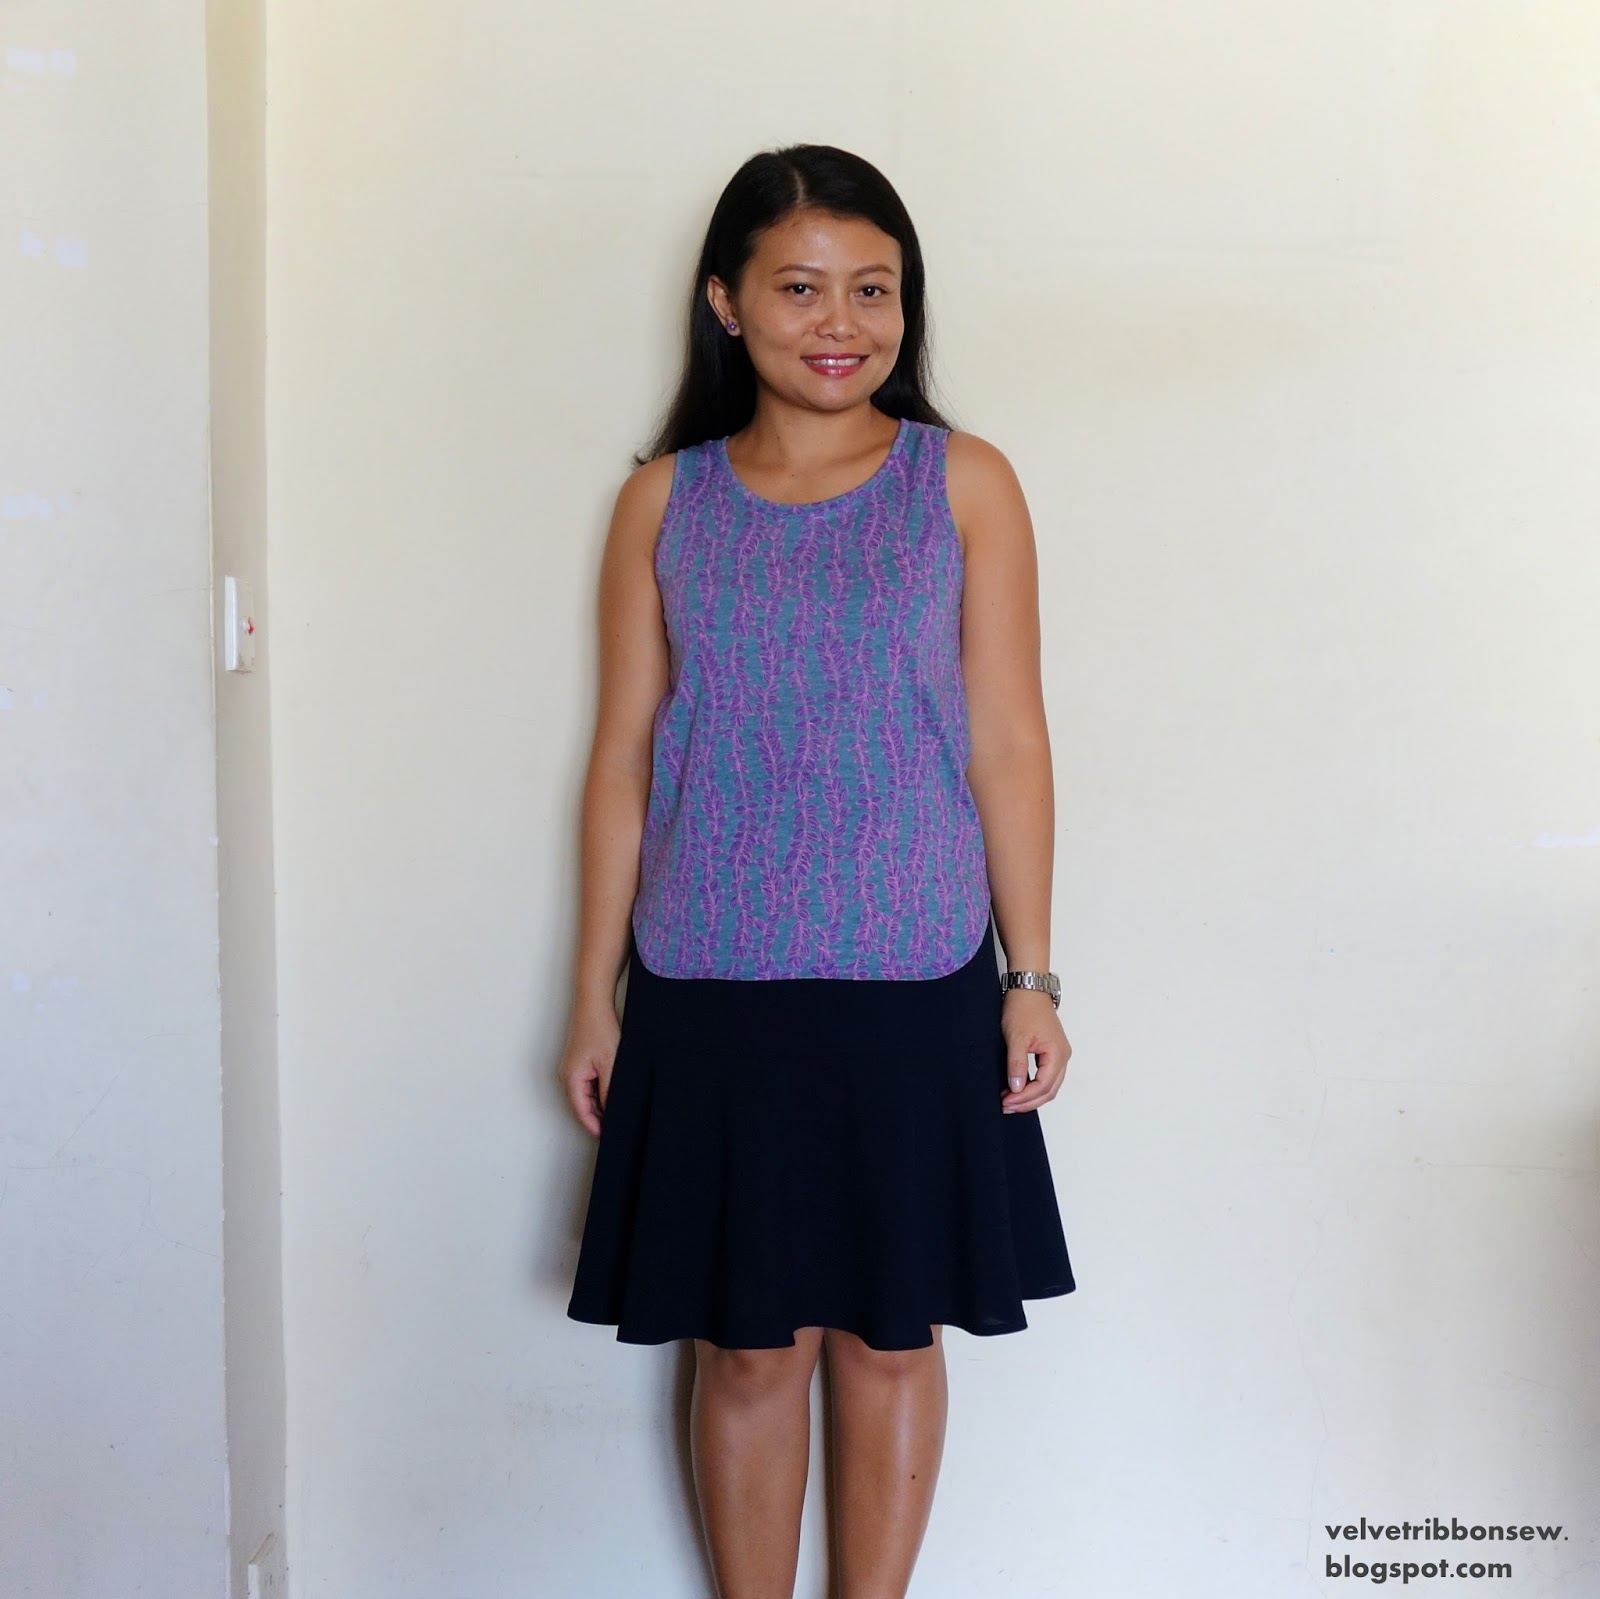
And the last two pictures of me wearing the garments, front and side views,
This skirt is my second garment for June's
Magam Challenge with the theme "Stashbuster"
I had one finished June's garment (orange short) but I will be posting the details when the top is ready. And also, my gingham dress is on the way to finish. It supposed to be for June garment challenge but I will extend it for July garment. So, the next post will be a mix between June and July garments. I hope Sarah Liz will accept it :)
Happy sewing!


What a beautiful outfit, totally cute! :) Love the colors! :)
ReplyDeleteThank you, Katharina :)
DeleteI agree, this is cute!
ReplyDeleteYou sewed a pretty outfit, I like your sewing description! the flounce is floating and you have made a neatly sewn nice top! :)
ReplyDeleteThank you, SaSa :)
DeleteWhat a pretty, fresh summer outfit you've made! I like the 2nd version of the top with your modifications the best, especially the U shaped hem. The flounce skirt is beautiful with just the right amount of floatiness. Look forward to seeing all the other garments you are working on! :)
ReplyDeleteThank you, Lisa :) I am working on the dress right now then will be sewing the top.
DeleteHello dear Hana!
ReplyDeleteYour outfit looks great. The back of the top looks interesting and I love this skirt.
Have a nice weekend!
LG Carolin
Thank you, dear Carolin. Have a nice weekend to you too :)
DeleteYou've created a very lovely outfit Hana! The shirt is great - both versions I believe. And I absolutely love the skirt with flounce. I just had a look - I got this pattern in my stash, too. Maybe your skirt is going to get a ister skirt some time :-). I hope you don't mind.
ReplyDeleteThank you, Kathrin. I am so looking forward to see your skirt :)
DeleteSo cute... I love the put together outfit. The U shaped hem is interesting and works perfectly with the skirt style. I've never seen a back band on a t-shirts like that before, intriguing
ReplyDeleteThank you, Ari. The back band is too cute and I think it looks great to wear as the swimsuits cover :)
DeleteNice outfit Hana! I haven't seen this t-shirt pattern before and I love it. This is just another reason I like reading blogs...for more inspiration and patterns to buy!
ReplyDeleteThank you, Margo. I like reading blogs as well, it is a good way to find inspiration :)
DeleteA very pretty outfit - and I love the skirt - that is going to be so wearable in so many situations, smart, casual, cute, fun, or more formal. The first t-shirt is lovely with the unusual band, but I think the second one works with your skirt more - otherwise the eye would not know where to focus.
ReplyDeleteThank you, Sarah Liz. That's why I made the second t-shirt to match with the skirt :)
DeleteWhat a lovely outfit. The skirt is so pretty and very you. I am loving the navy t shirt so much! The back detail is just awesome! :)
ReplyDeleteThe top looks like just the right modification. You will be wearing this forever! It fits perfectly and the fabric is just lovely. (Though I do think the original version was very intriguing) I love the skirt, with its twirliness and must definitely make something similar myself. TS
ReplyDelete