
Hi there, happy Thursday.
I'm still sewing my summer capsule wardrobe and I'm happy I finally finished the front-tie top. This top was inspired by the Ganni top. I made one before in white cotton, so the process wasn't so difficult.
This top is perfect for summer, airy and comfy. The puff sleeves, front ties and the gathered peplum made the top look nicer and sweeter 😍
I wore the top with my latest denim skirt and I think they look good together.

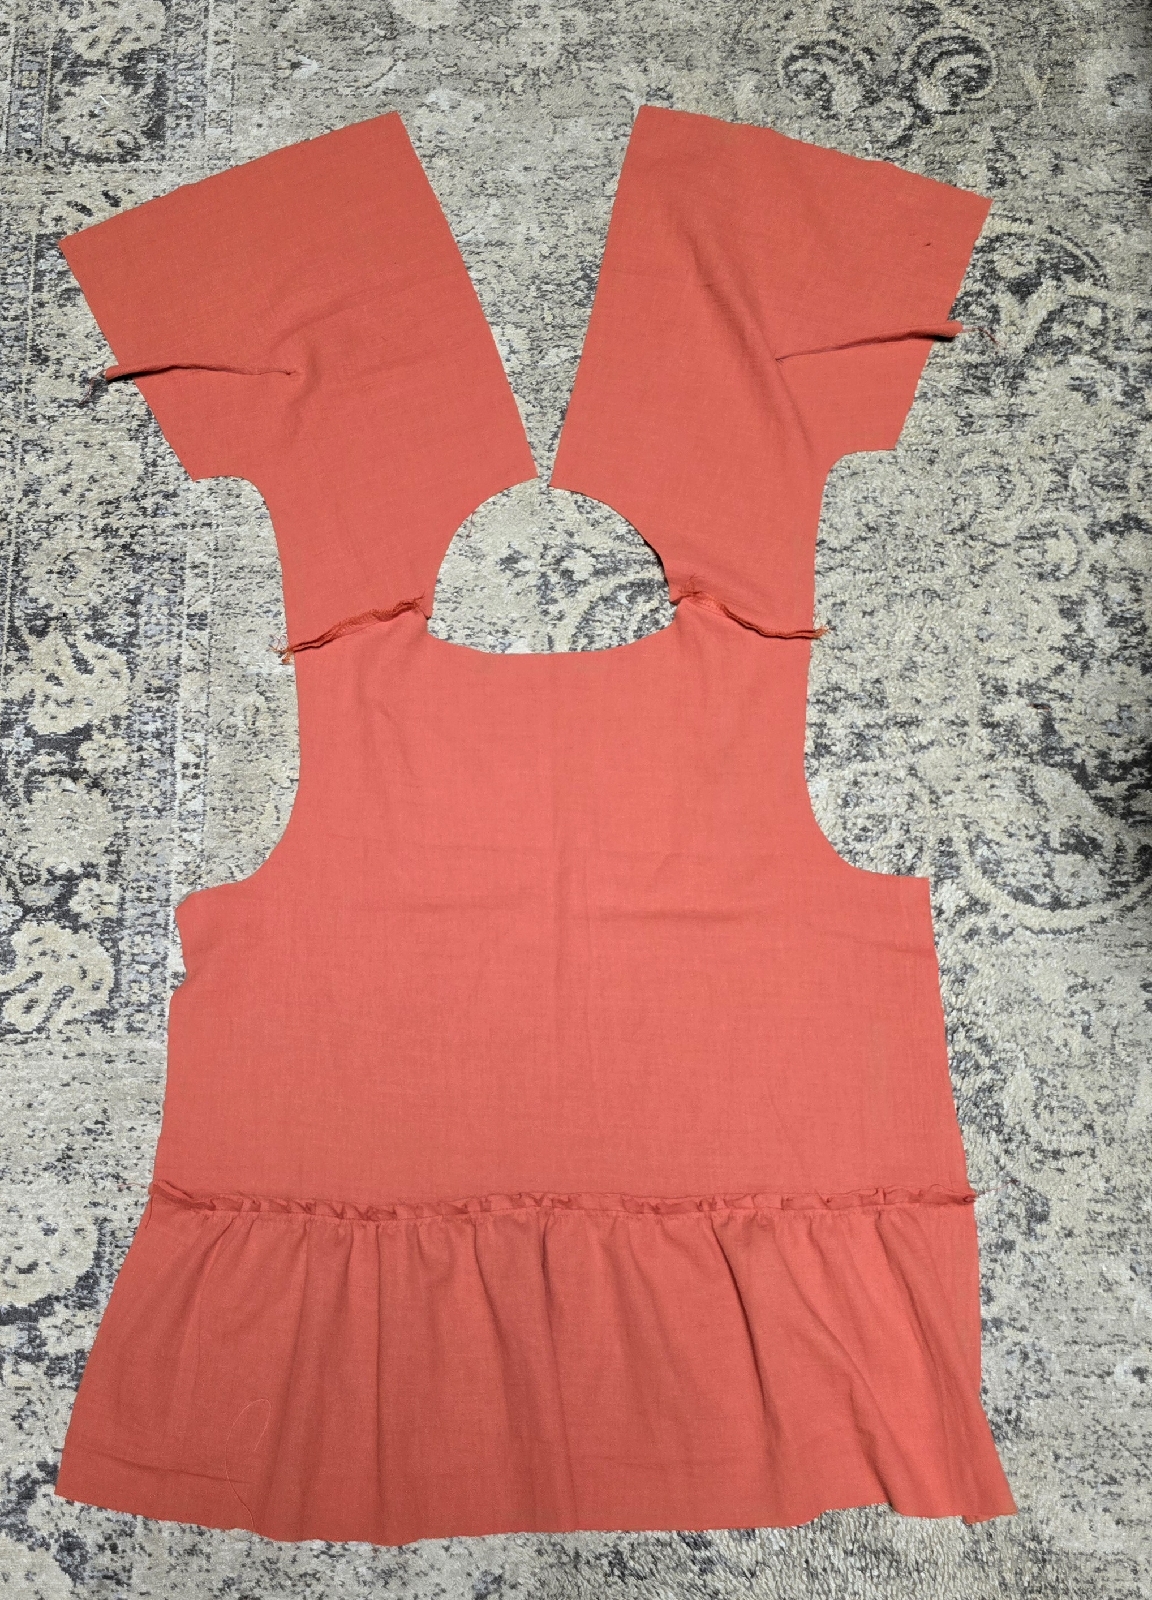
For the pattern, I used a self-drafted pattern based on my bodice slopers. The picture below shows the bodices (front and back), facings and placket. And I measured the ties and gathered peplums directly on the fabric.
The ties, made 6 pieces, 33 cm x 4 cm.
The front peplum, made 2 pieces, 40 cm length x 19 cm width.
The back peplum, 1 piece, 75 cm length x 19 cm width.

After I cut all the pieces, I worked on the back side by gathering the peplum and attaching it to the back bodice right sides together.

I sewed the front darts after that, and then pinned and sewed the front pieces to the back piece at the shoulder lines, right sides together.
I sewed the ties and fused the fusible interfacing to the placket and the facings.

I sewed the facings together and then attached them to the neckline.
And then, pinned the ties on both sides of the right sides of the front bodices.

Pinned the placket on the left side of the front bodice on the top of the ties.

And pinned the rest of the front facing and sewed it carefully.

Here is the look of the front side.

I sewed the seam allowances on both peplum pieces and then gathered the peplums.

I pinned and sewed the gathered pieces to the front bodices right sides together.
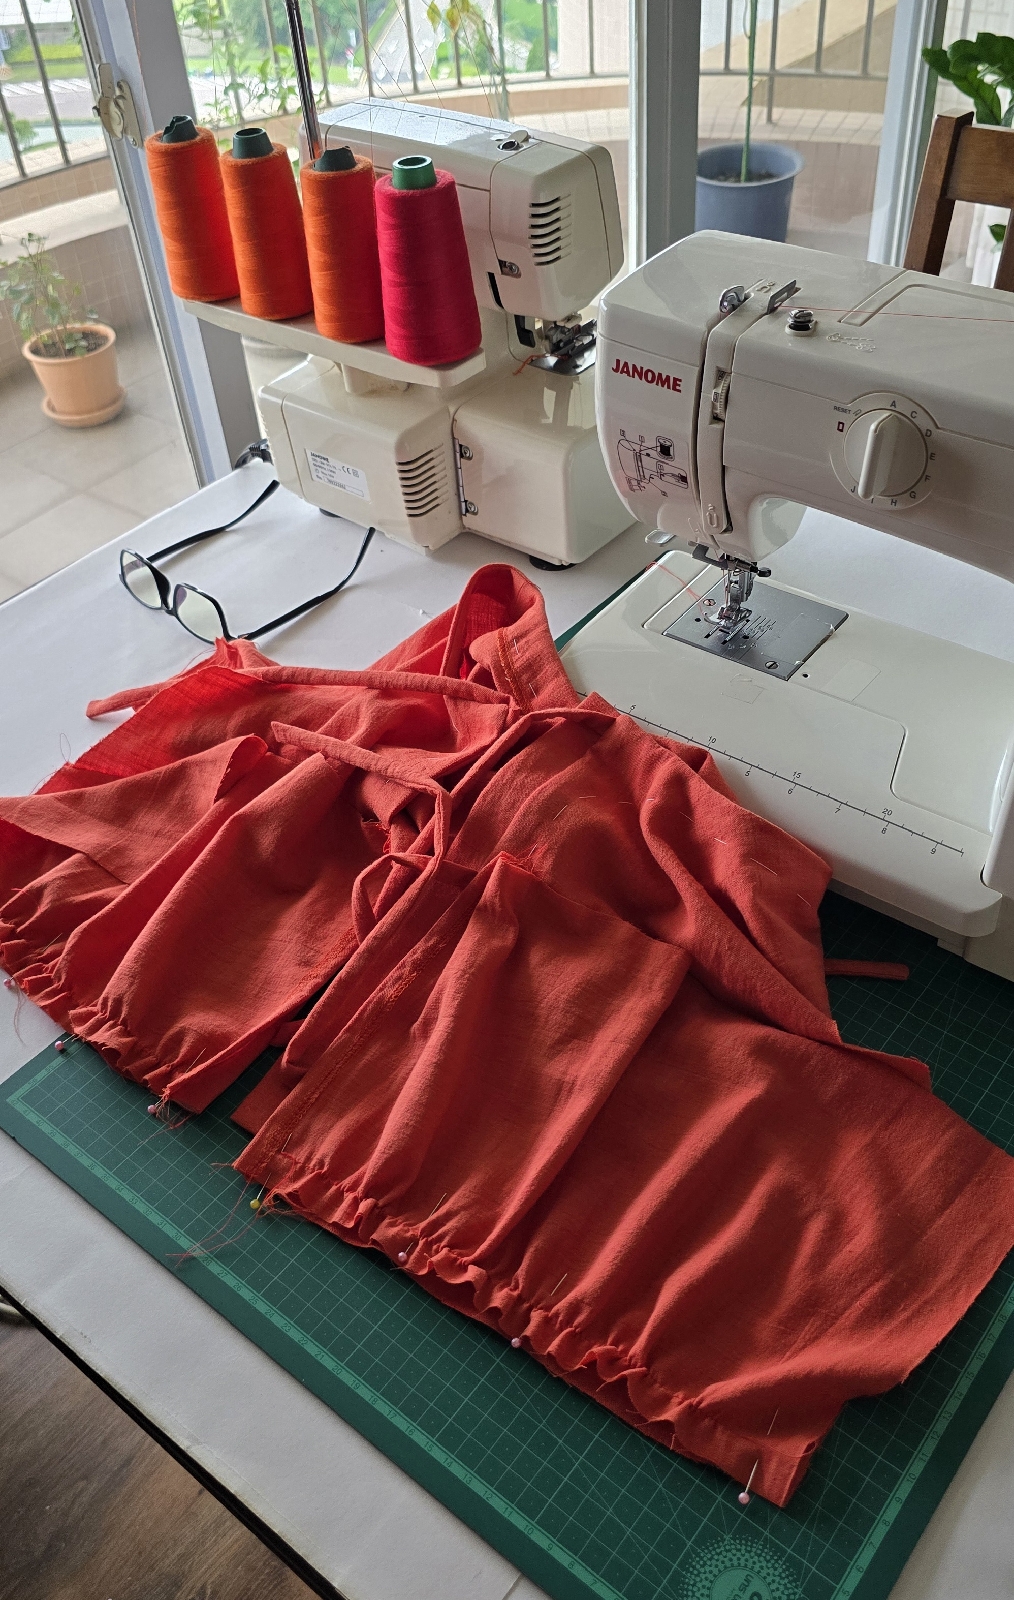
I worked on the sleeves by gathering them. And then, pinned and sewn to the armholes.

I sewed the sleeve hem 1.5 cm and the hemline 2 cm. And I did the last part, hand-sewn the inner facing to the inner bodice for a neater look and to avoid the facing slipping out.

And here is the finishing front tie top, I love it and I'm sure I will wear this top more in summer.


In case you are interested in seeing the making of this tie top, feel free to click here to watch.
Thank you for stopping by, happy sewing and see you soon in another post 💗
Comments
Post a Comment