
Hi, as promised in my previous post, here are the details of the puff sleeve dress I made last month. The dress has a round neckline with slit and ties, puff sleeves, front darts and ruffle hem. A comfy and cute dress, perfect for summer.
I wore this dress during my trip to Bangkok and it was so comfy and airy, perfect for a hot day.

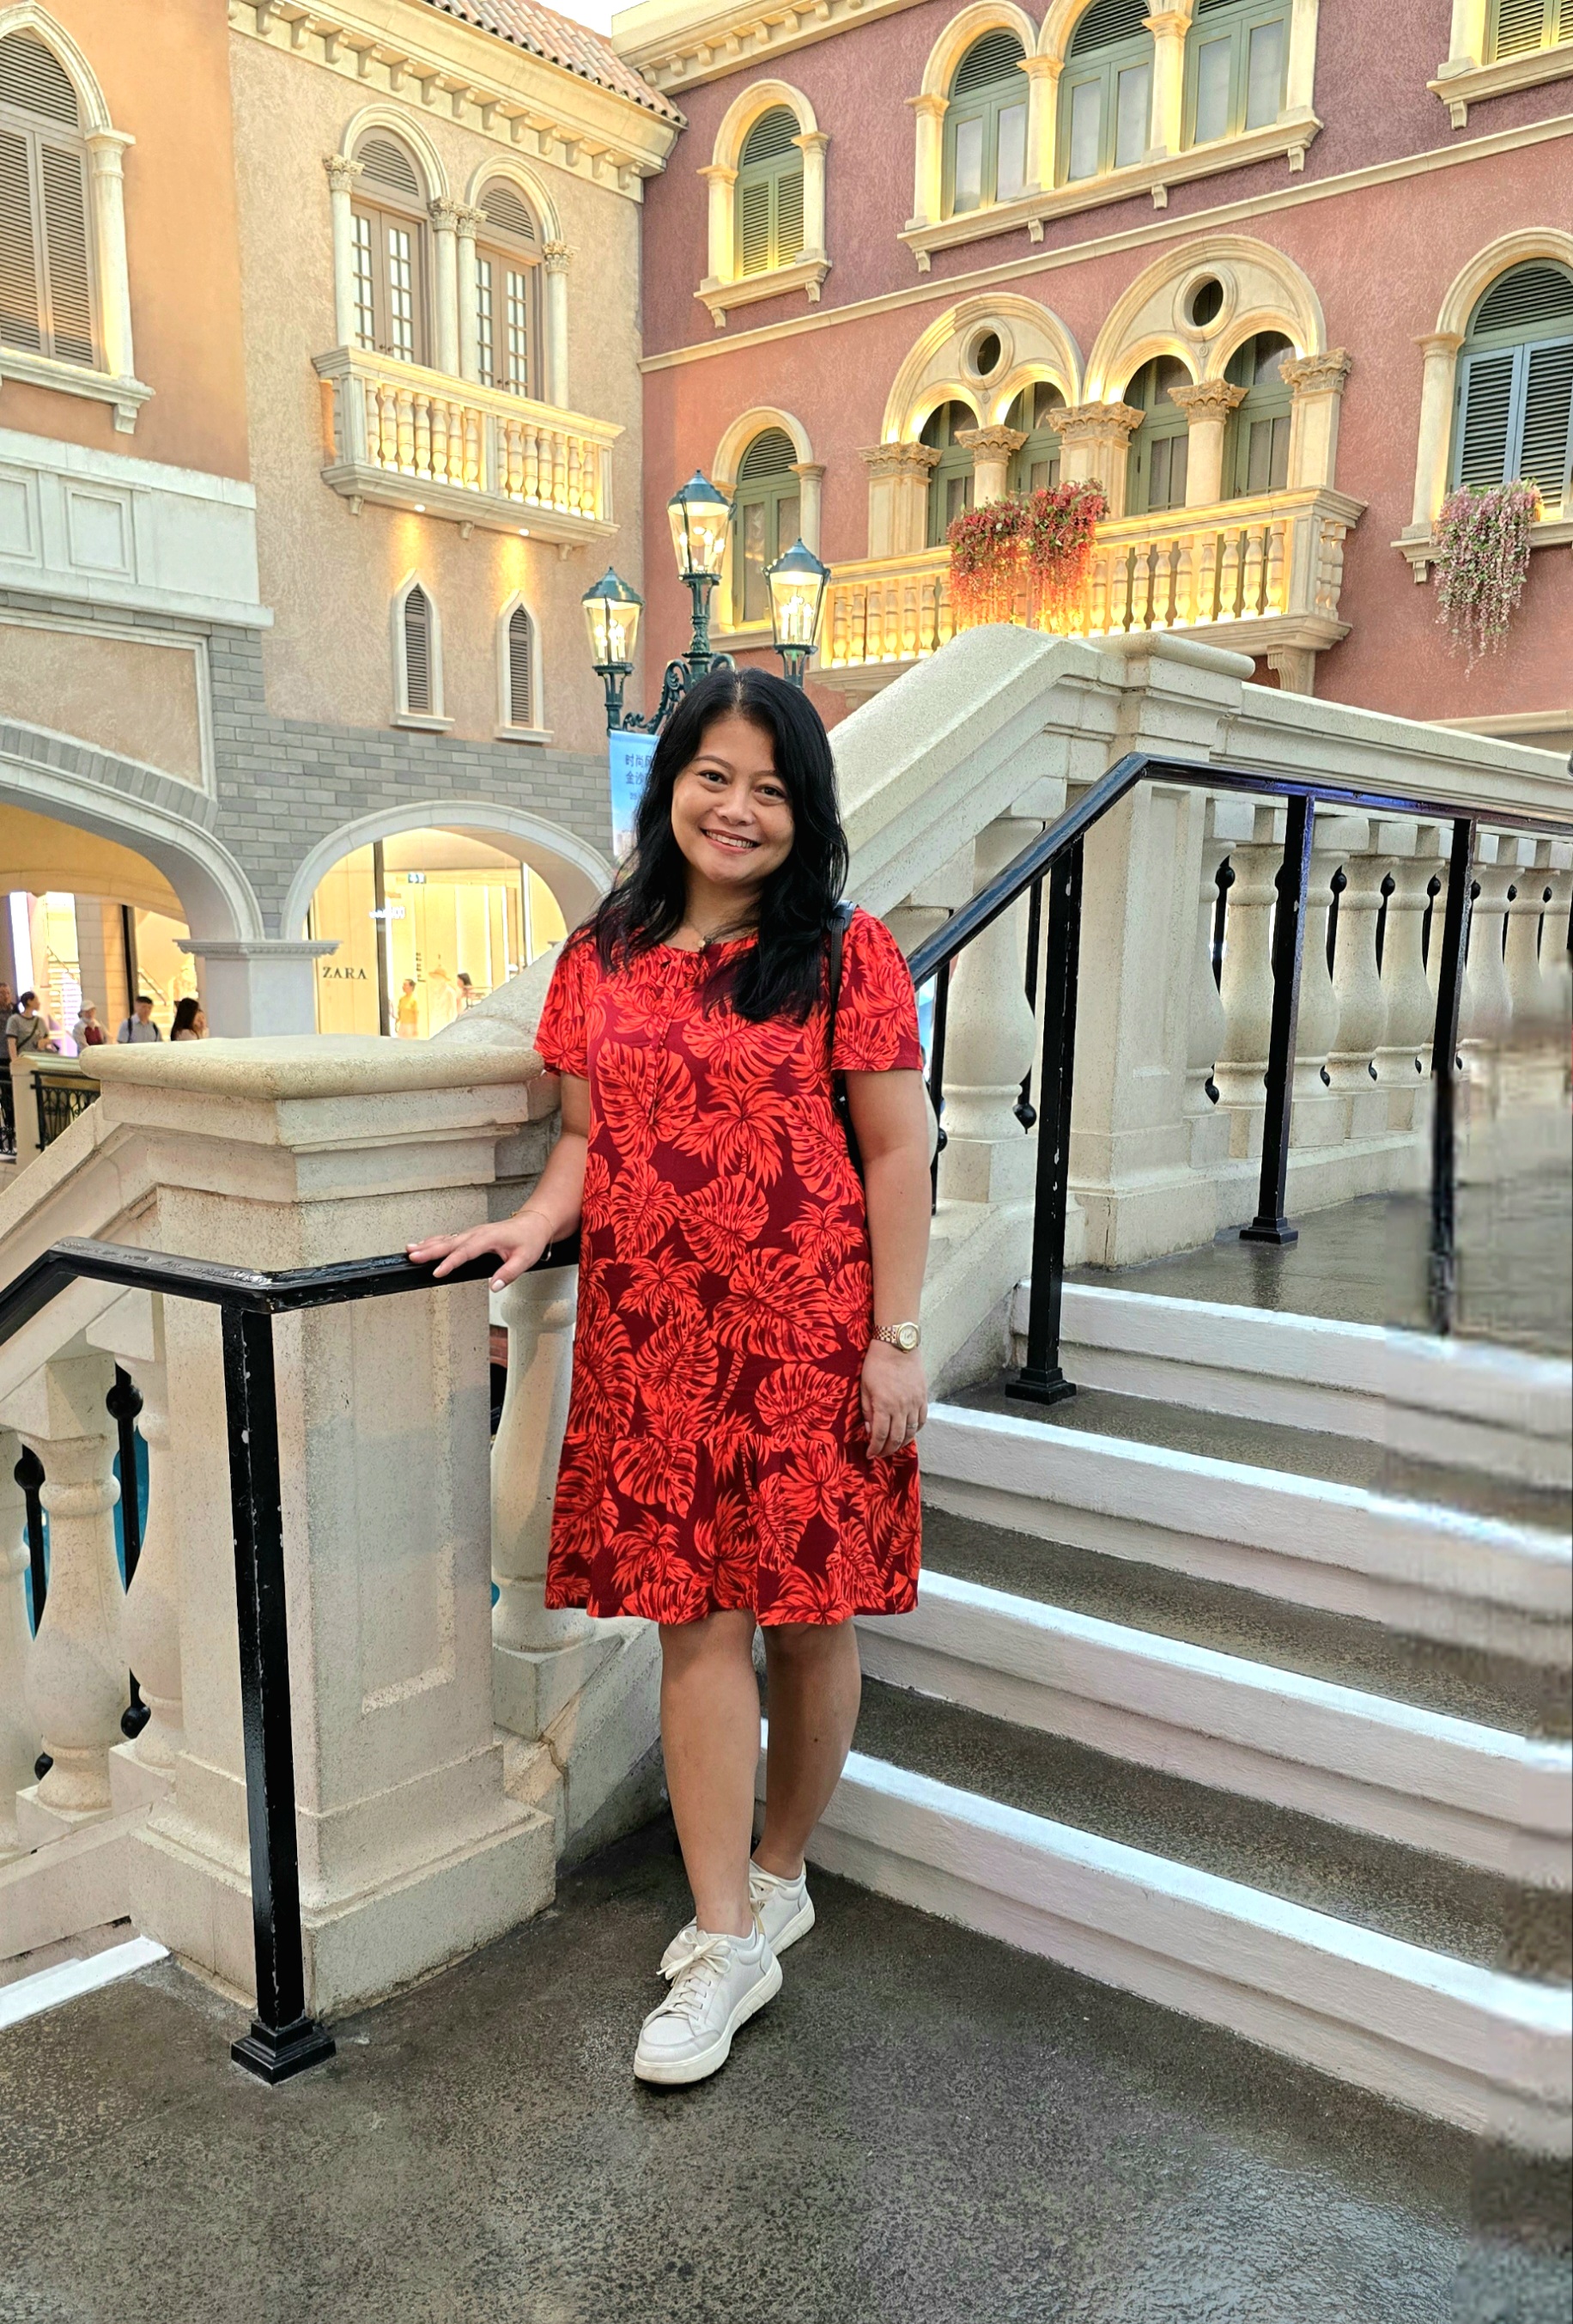
I used printed rayon fabric in a mix of maroon and orange. This fabric was a souvenir from my trip to Singapore at the end of last year.

This dress is the second version of my self-drafted pattern, the first version was in cotton fabric with tiny green flowers, link here in case you are interested in seeing more. And I added a ruffled hem this time.

Pattern pieces:
Front 1x on the fold with darts
Back 2x dartless
Front and back facing
Sleeve 2x
Tie 2x, 5 cm wide, 44 cm long
Ruffle hem 2x, 25 cm wide, 87 cm long.
The sewing process started with sewing the darts and then the ties, as shown below.

I gathered the sleeves and then attached them to the armholes.
And then, I pinned and sewed the zipper at the center back.

After that, I fused the fusible interfacing to the facings and sewed them together. And then, pinned and sewed the facing to the neckline, clipped the curved area.
To make the front slit, I cut the middle facing at the center back and pinned.
I inserted the ties between the neckline and facing, sewed and turned the facing to the inner dress.
I basted the facing and top-stitched the wrong side by hand.
Removed the basting after that.

I gathered the bottom pieces to make a ruffled hemline, pinned and sewed them to the dress right sides together.

I sewed the dress sides, sewed the sleeves and hemline 2 cm using a blind hem stitch.

The dress is finished and in case you are interested in seeing the details, feel free to watch the video on my YouTube channel. link here
And here are more pictures of the finished dress, front, side and back views.


Also, I wore this dress yesterday and it was Me Made May 2025 day 5. I was strolling around the Venetian Macau with my family, and enjoyed a long weekend.
Are you participating in MMMay2025?
I'm documenting my daily me-made wardrobe on Instagram.
Until next...
Thank you for reading and happy sewing 💗
Comments
Post a Comment