
I made two boxer shorts to replace the old ones that aren't in condition to wear. I decided to sew them yesterday as soon as I have free time and I'm glad the first boxer shorts in brown printed jersey knit are done in three hours. And then, I continue to sew another one this morning.
So happy that I had two pairs of very comfy memade boxer shorts now and for sure I will wear them daily at home.

For the fabric, I used a brown printed jersey knit that I bought last month and a white printed floral knit cotton from my stash. I still have leftovers of both fabrics to make other garments. Maybe boxer shorts for my husband, I will see.

I had a self-drafted boxer shorts pattern before, but I couldn't find it. So, I decided to draft another but this time I used my self-drafted pants as a base.
I laid both pants pattern pieces and added 6 cm space between them.
Added 2 cm at the upper line at the waistline.
Lengthened both crotches front and back by 1 cm (I added directly after the point of the crotch)
I measured 11 cm from the middle of the crotch down to the hemline.
And then, I connected the pattern pieces using the purple line as shown in the picture above.

I laid the boxer's pattern on the fabric and then added a 7 cm waistband directly after the mark of the waistline. I used a 1 cm seam allowance for all edges and a 2 cm hem allowance.

I had all things for the boxer shorts, fabric pieces, threads, and an elastic waistband.

The progress started with sewing the crotch lines using the overlocker machine.


I sewed the inner legs after the crotch lines.

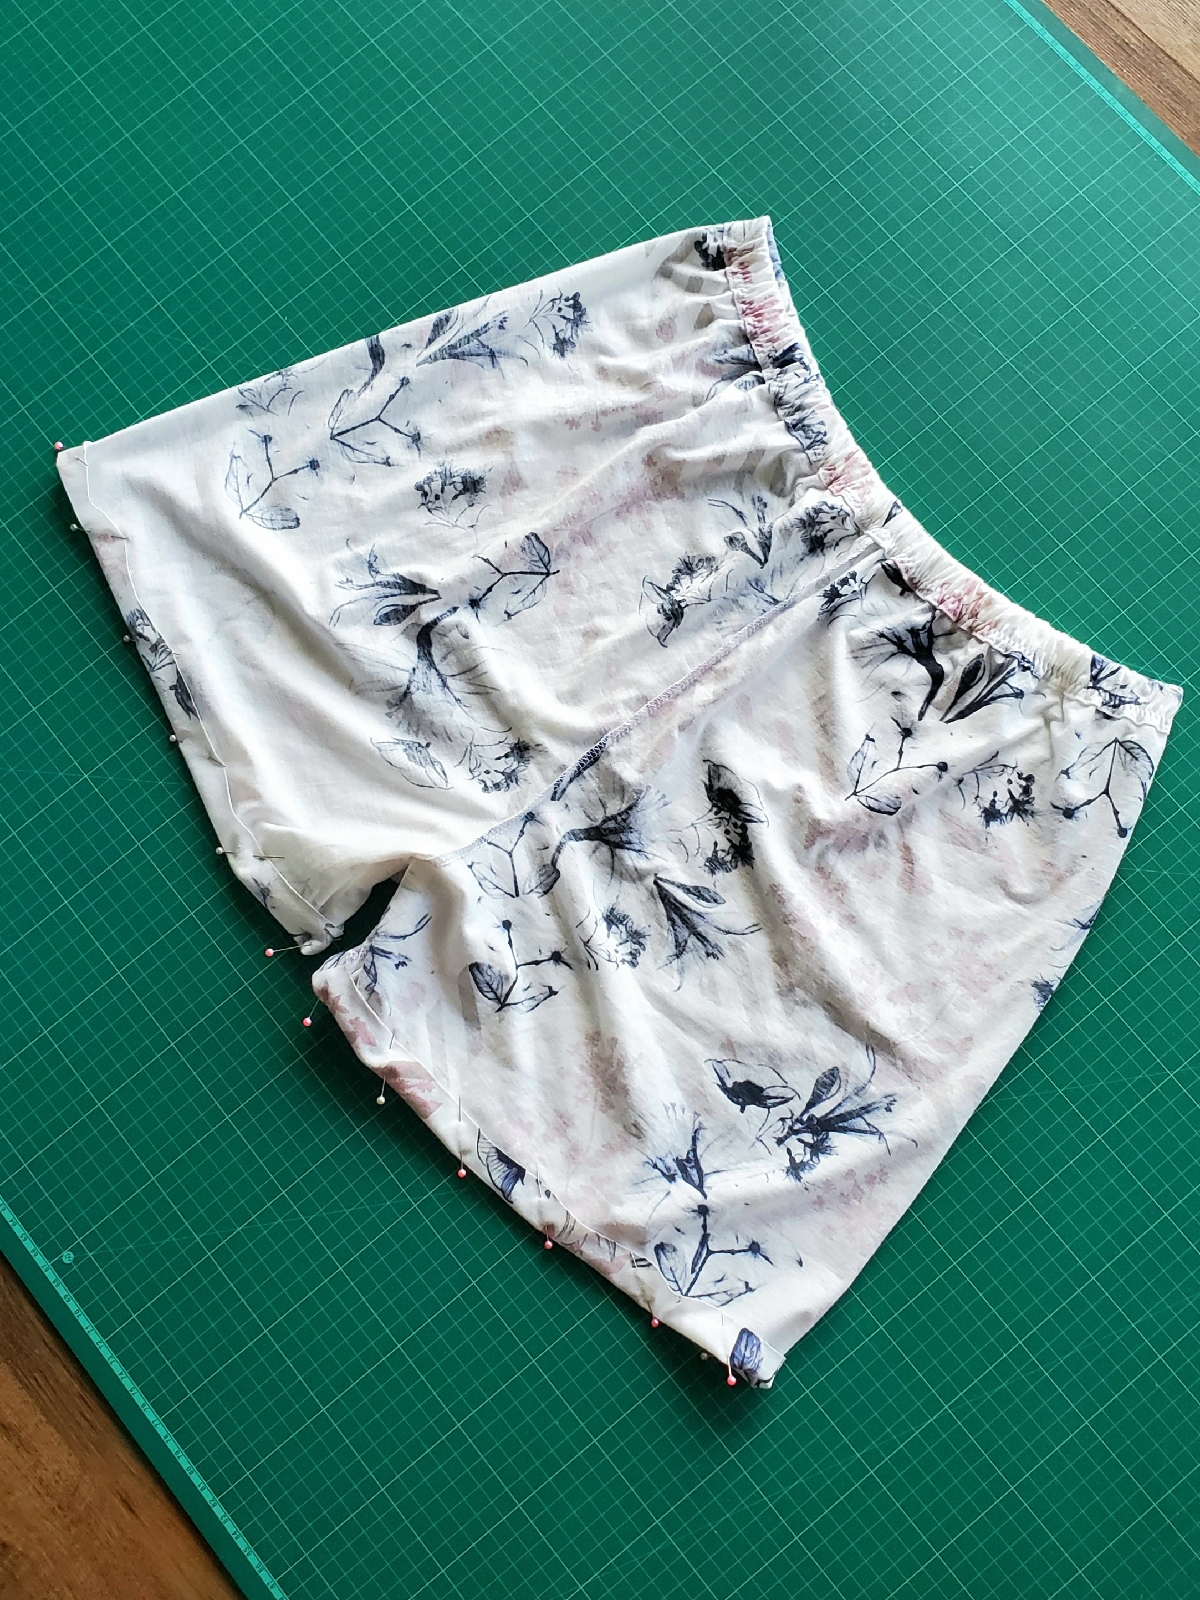
I laid the boxer shorts with the wrong side facing out. And then, I worked on the waistband by folding a 1 cm seam allowance and folding another 2 cm for the waistband. Pinned and sewed it using the sewing machine and left 2 cm open to insert the elastic.

I inserted the elastic and sewed again the open space and then top-stitched the waistband using a zig-zag stitch.
After that, I sewed the hemline by folding the fabric 2 cm and stitched it using the twin needle.
I'm done, fast and easy little project to sew 😍


That's it for today, I hope this little tutorial will help the beginner sewist or anyone interested to sew something easy, and fast and use the fabric leftovers because these boxer shorts needed less than a meter.
Please feel free to use this tutorial and tag me on my Instagram @velvetribbon_sews if you are making the boxer shorts, I'd love to see them 😍
Happy sewing friends 💗
Comments
Post a Comment