
Hi there, welcome back 🌸
I refashioned my old scarf into a cozy tunic and love how it turned out. I planned to do this many months ago and glad I finally did it.
This tunic can be worn as a layer or as it is. It is so comfy and warm, perfect for the cooler weather we are having now.

The material of my scarf is a wool blend in a lovely print. I got it from a friend 15 years ago.
The refashioning process was easy and fast, I started with making the neckline.
Cut the length and use the leftover fabric for the neckband.


I pinned and sewed the neckband to the neckline.

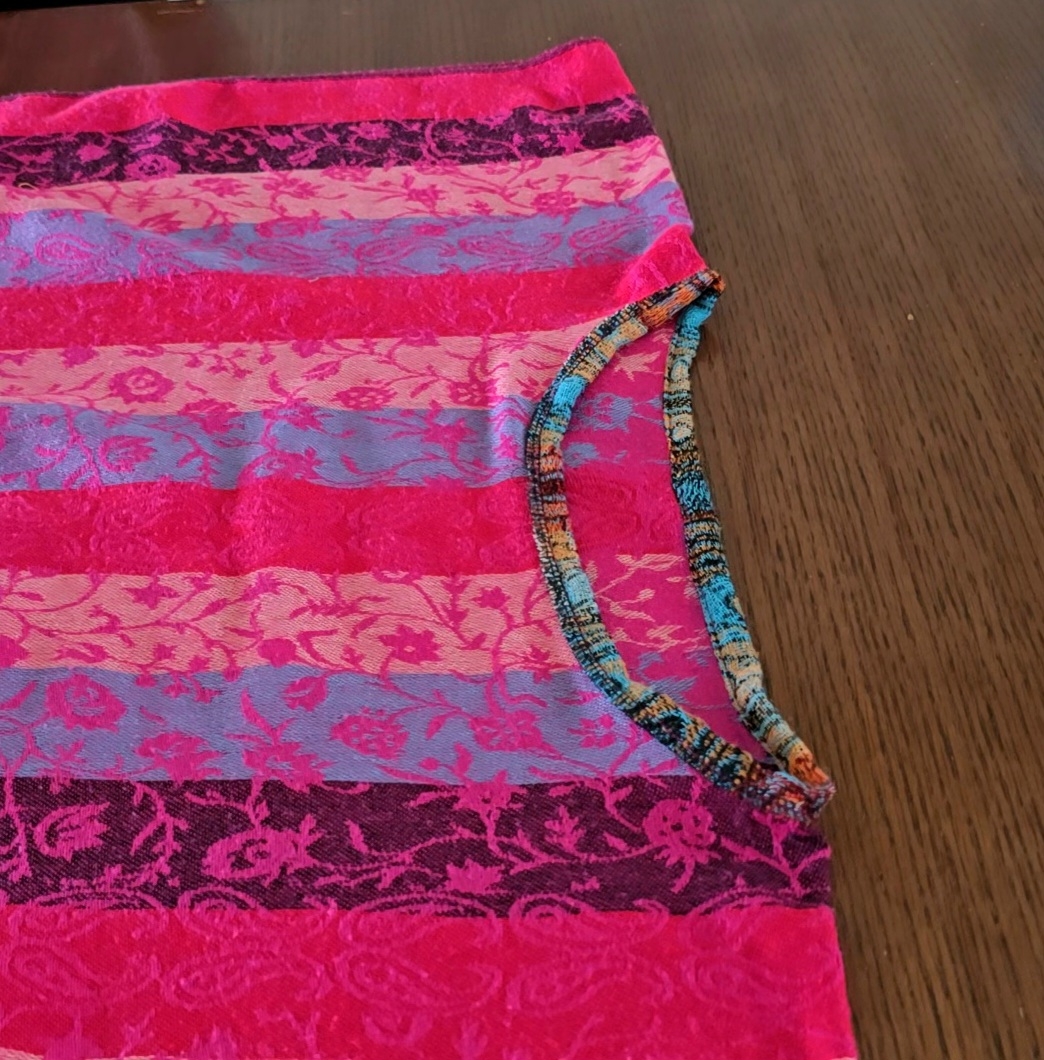
And here is the look of the neckline on the wrong side.
I got a little problem, the neckline was gaping and I reduced both sides by adding darts in both sides at the shoulder lines 0.50". And happy it worked, it fit nicely after adding the darts.

After that, I measured 15'' from the hemline up to the armhole, pinned and sewed both sides.

I sewed the hemline and then, sewed a label from a piece of fabric. I did this to recognize easier the front and back.

The tunic is done and here are more pictures of the front and back views.


I hope you enjoy reading my post today and in case you are interested in seeing more details of the making of, feel free to head over to my YouTube channel, link here
Happy sewing 🌸🌸
Great work.
ReplyDelete