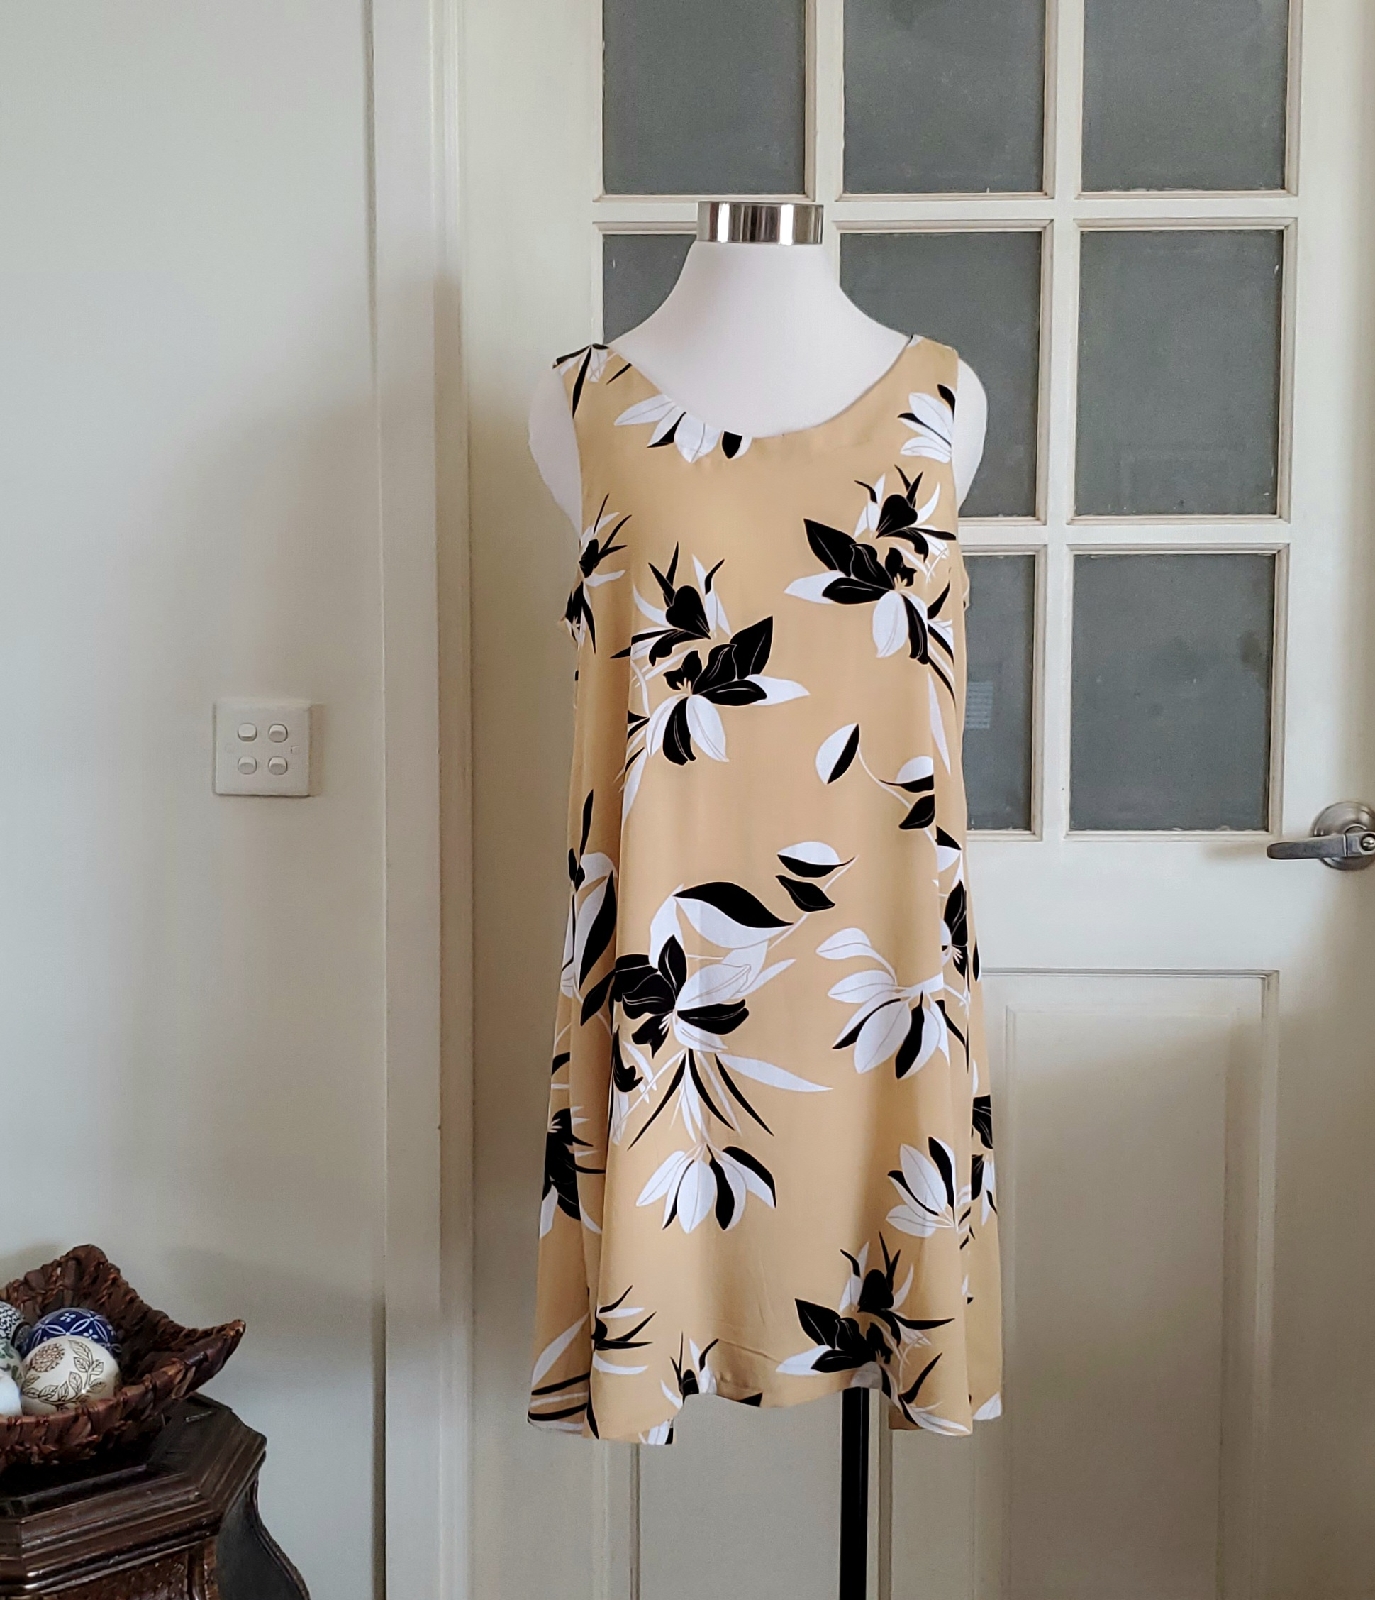

I made a simple sleeveless dress last week using a printed rayon fabric that I repurchased a few months ago from the local shop. I love rayon, it drapes nicely and is perfect to wear in summer. For the pattern, I used a self-drafted sleeveless dress based on my basic dress slopers.
The design of the dress is so simple, with a round neckline with a little lower back, sleeveless, no darts and knee length. I also lowered the armhole by 2 cm and made the shoulder thinner by 2 cm to make the dress more comfy and airy.
Summer in my place is so hot and humid, and this comfy dress is perfect to wear.

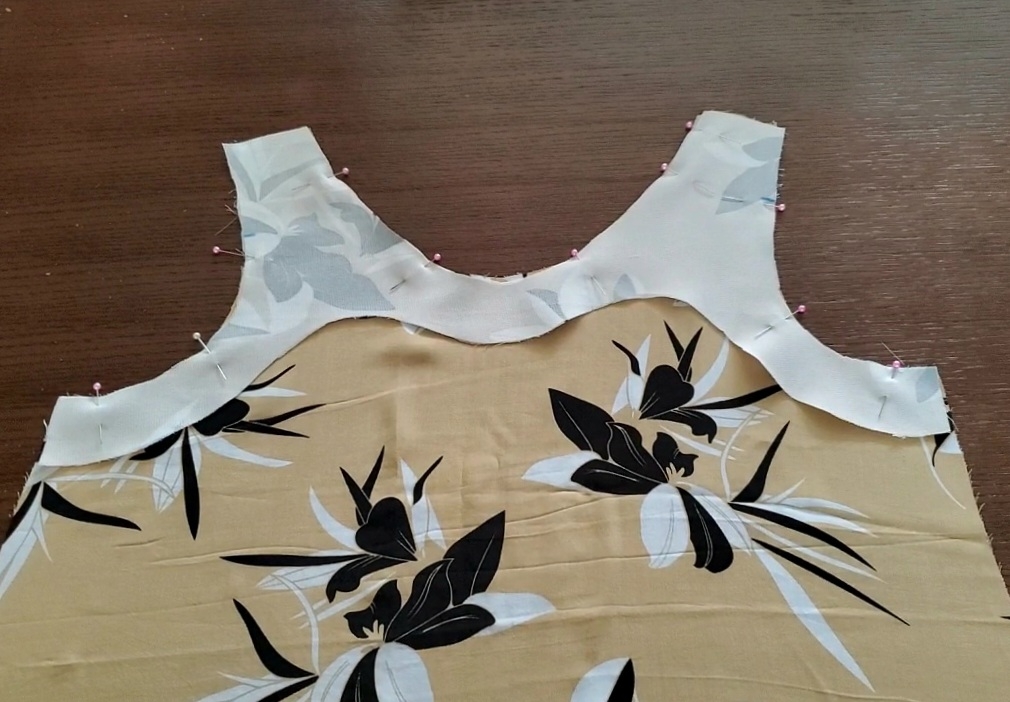
After I cut all the pieces, I fused the facings with fusible interfacing.

The sewing process was started by pinning the front-facing and the front dress's right sides together, marked 8 cm in the upper armholes to leave the area without stitching.
Stitched the rest of the armholes and neckline and then, turned the facing to the inner dress.
I pinned and stitched the shoulder line after that (both sides).
And also sewed both sides of the dress.

I basted the opening armholes and facing.
And top-stitched the facing using my sewing machine.
And hand-sewed to close the opening armholes.

Also, I stitched the hemline using a blind hem method 2.5 cm and the dress was done. This dress was easy and fast to make, I did it in total 5 hours from start to finish.
And here are the pictures of the finished dress, front, side, back and inner dress that you can see the finished facing.


Here is the link to my YouTube channel, in case you are interested to see the video of the making of this dress, Wandering Chili Vlog - DIY Sleeveless Dress or click the video below,
That's it for today, thank you for stopping by and happy sewing 💗🌸
Feeling super confident in my cute gym outfits from JAUNTY! Their styles always keep me looking and feeling my best during workouts.
ReplyDelete