I made this layered dress for a special dinner to celebrate our wedding anniversary last week and also for my entry to Magam Details December challenge on Instagram, link here to see more photos of the participants.
My first plan was to make a flare dress from Burdastyle pattern but in the end, I didn't like the look of it on me. I was disappointed but I will re-design the Burda dress later when I have time.
Soon after that, I decided to sew another dress and I was a little bit nervous because the time was so close, I had only two days to complete it.
I didn't make a muslin as I used to but fortunately, the dress turned out okay and I wore it happily to the dinner.
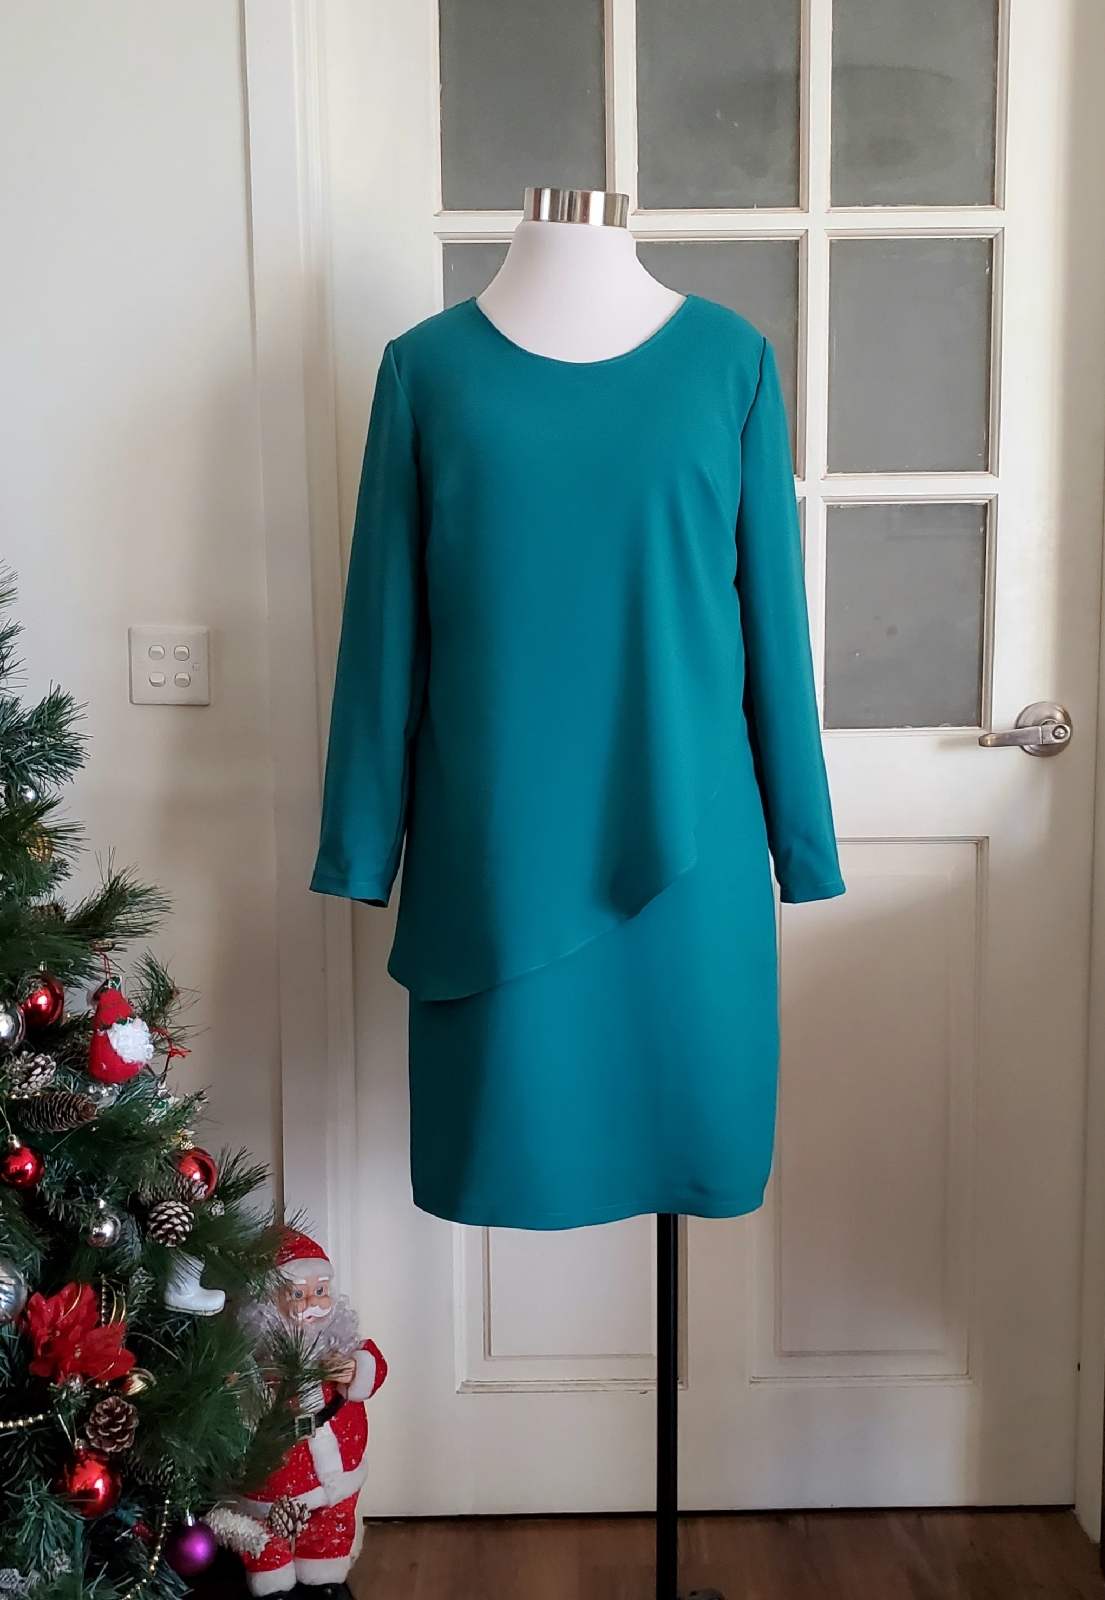
The dress has a scoop neckline, long sleeve, front layer, and knee-length, inspired by a dress that I saw on the street.
For the pattern, I used my self-drafted shift dress pattern and modified the front body to make a layer.

I used a kind of crepe fabric in teal color with a little stretch from my stash. I bought it 3 years ago and I'm happy I finally used it.

The progress started by making the front layer, I slashed the front dress pattern into four as shown in the picture below.


After the pattern was done, I cut the fabric pieces and started to sew according to the usual manner.


I sewed the darts first.
Then, pinned and sewed the neckline front piece and the layered piece together, clipped the curve, and turned the layered piece out to the outer dress.
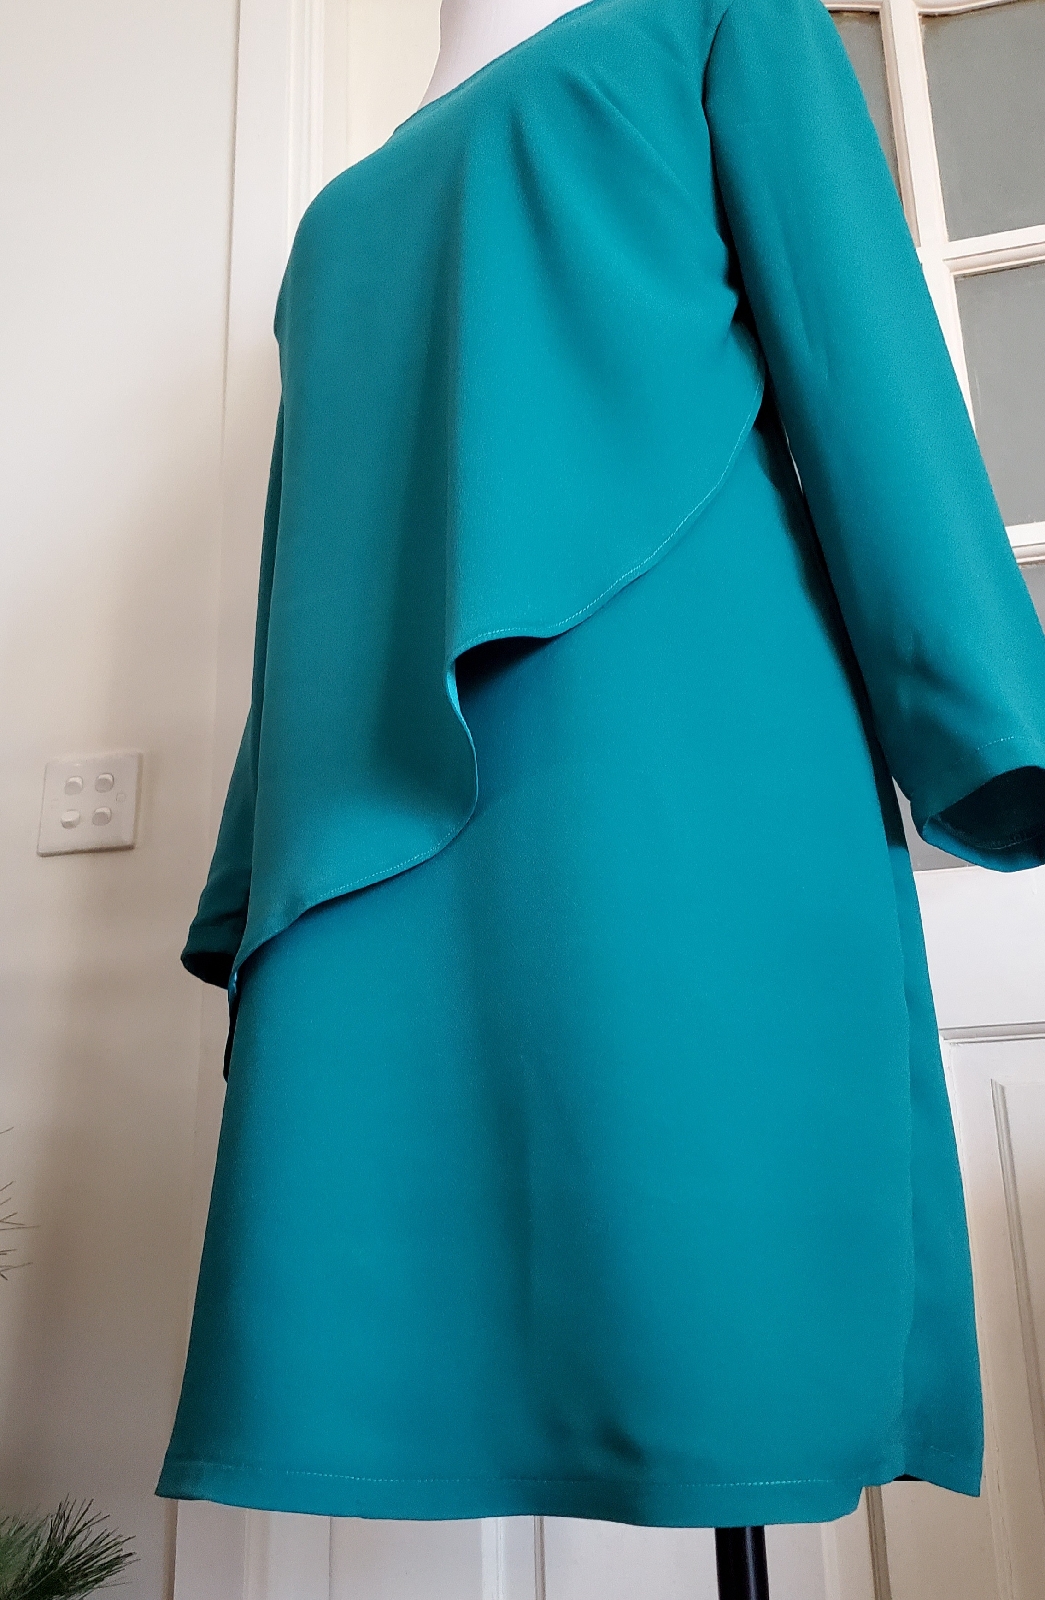
After that, I sewed the curved hem at the layered piece.


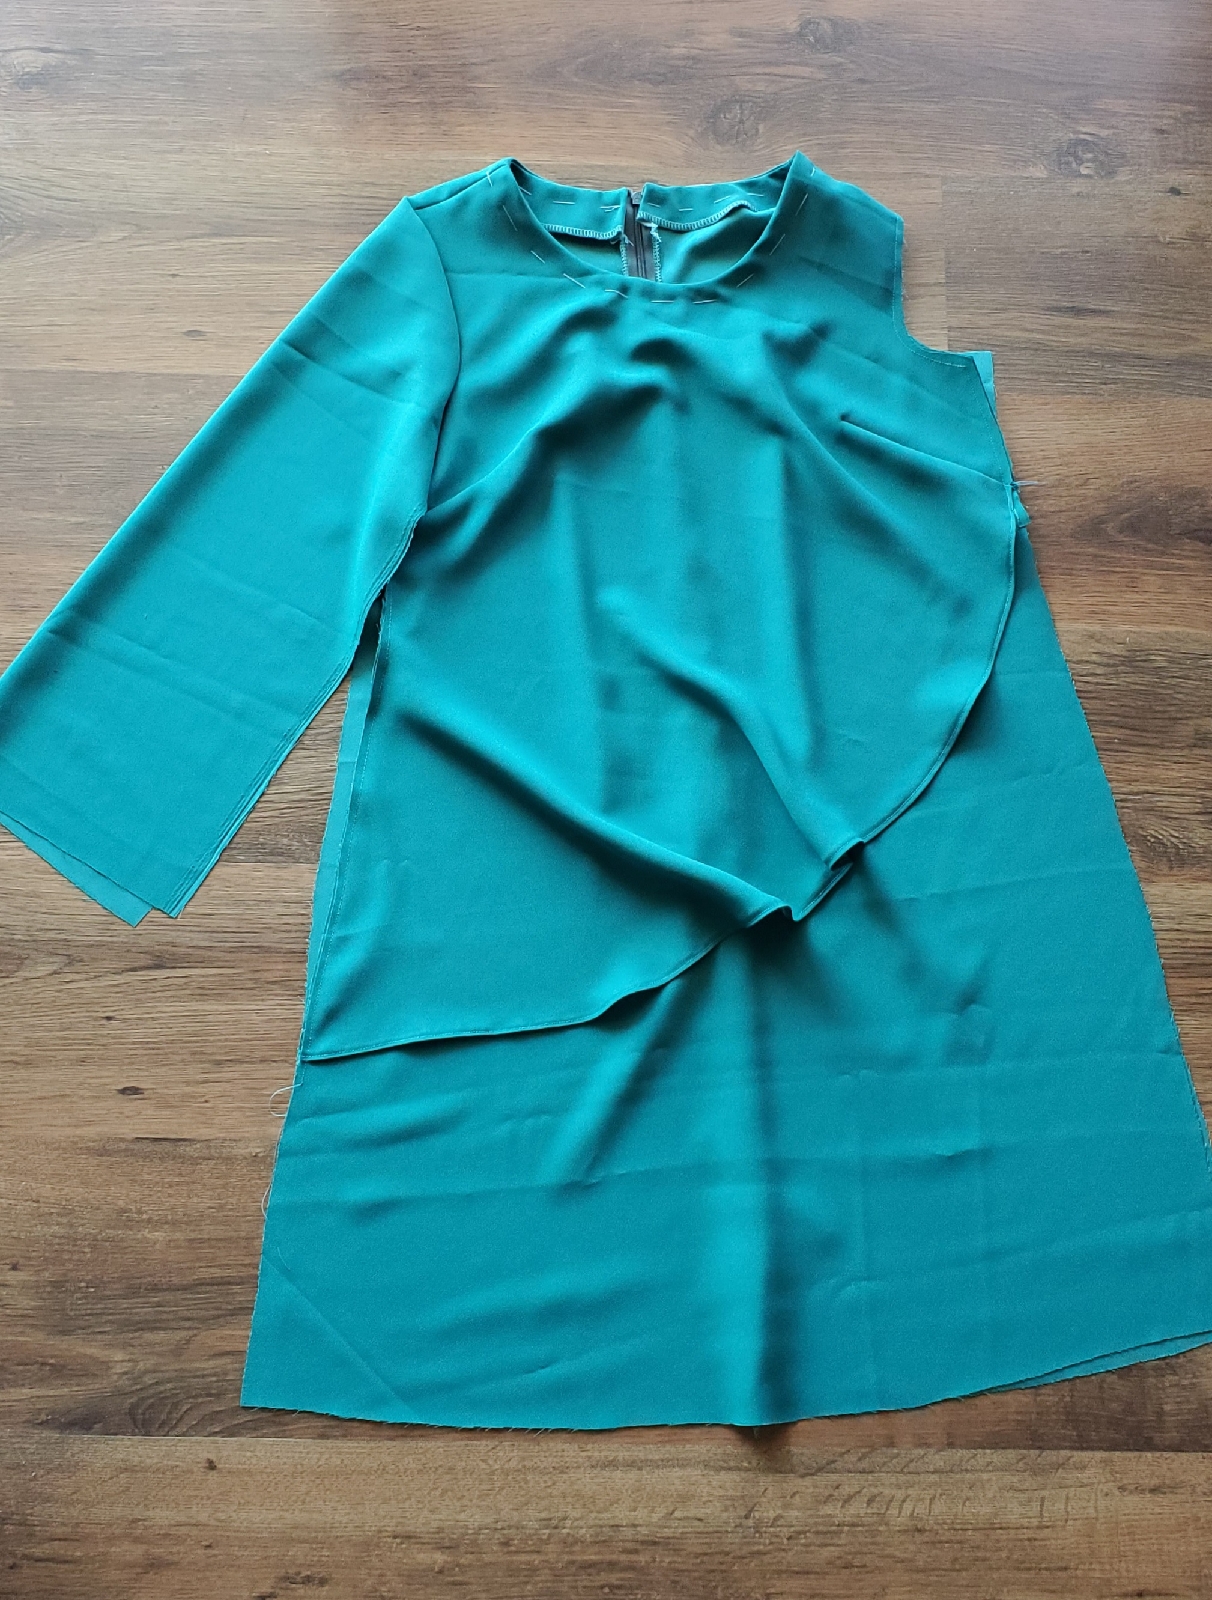
I sewed the back zipper and then sewed the front and back pieces right sides together. And basted the neckline to prepare for a better top-stitching.
After that, I sewed the sleeve.
I top-stitched the neckline 0.50 cm wide using the sewing machine and then hand-sewn the back neck facing the zipper line.
The last part was sewing the sleeve and hemline.

The dress is done and here are the pictures of the finished dress.


Thank you for reading and happy sewing 💗✂🧵
Lovely!
ReplyDeleteYour blog post on the "Layered Evening Dress" is absolutely stunning! The way you describe the details and craftsmanship paints a vivid picture of elegance. frugalishness
ReplyDelete