
This is my finished garment for March - Magam Challenge. As I mentioned on my last post, this dress is based on Vogue 8228 view A and for the fabric I used strong blue linen from my stash, but it looks lighter in the picture than it is in reality.
Dress descriptions:
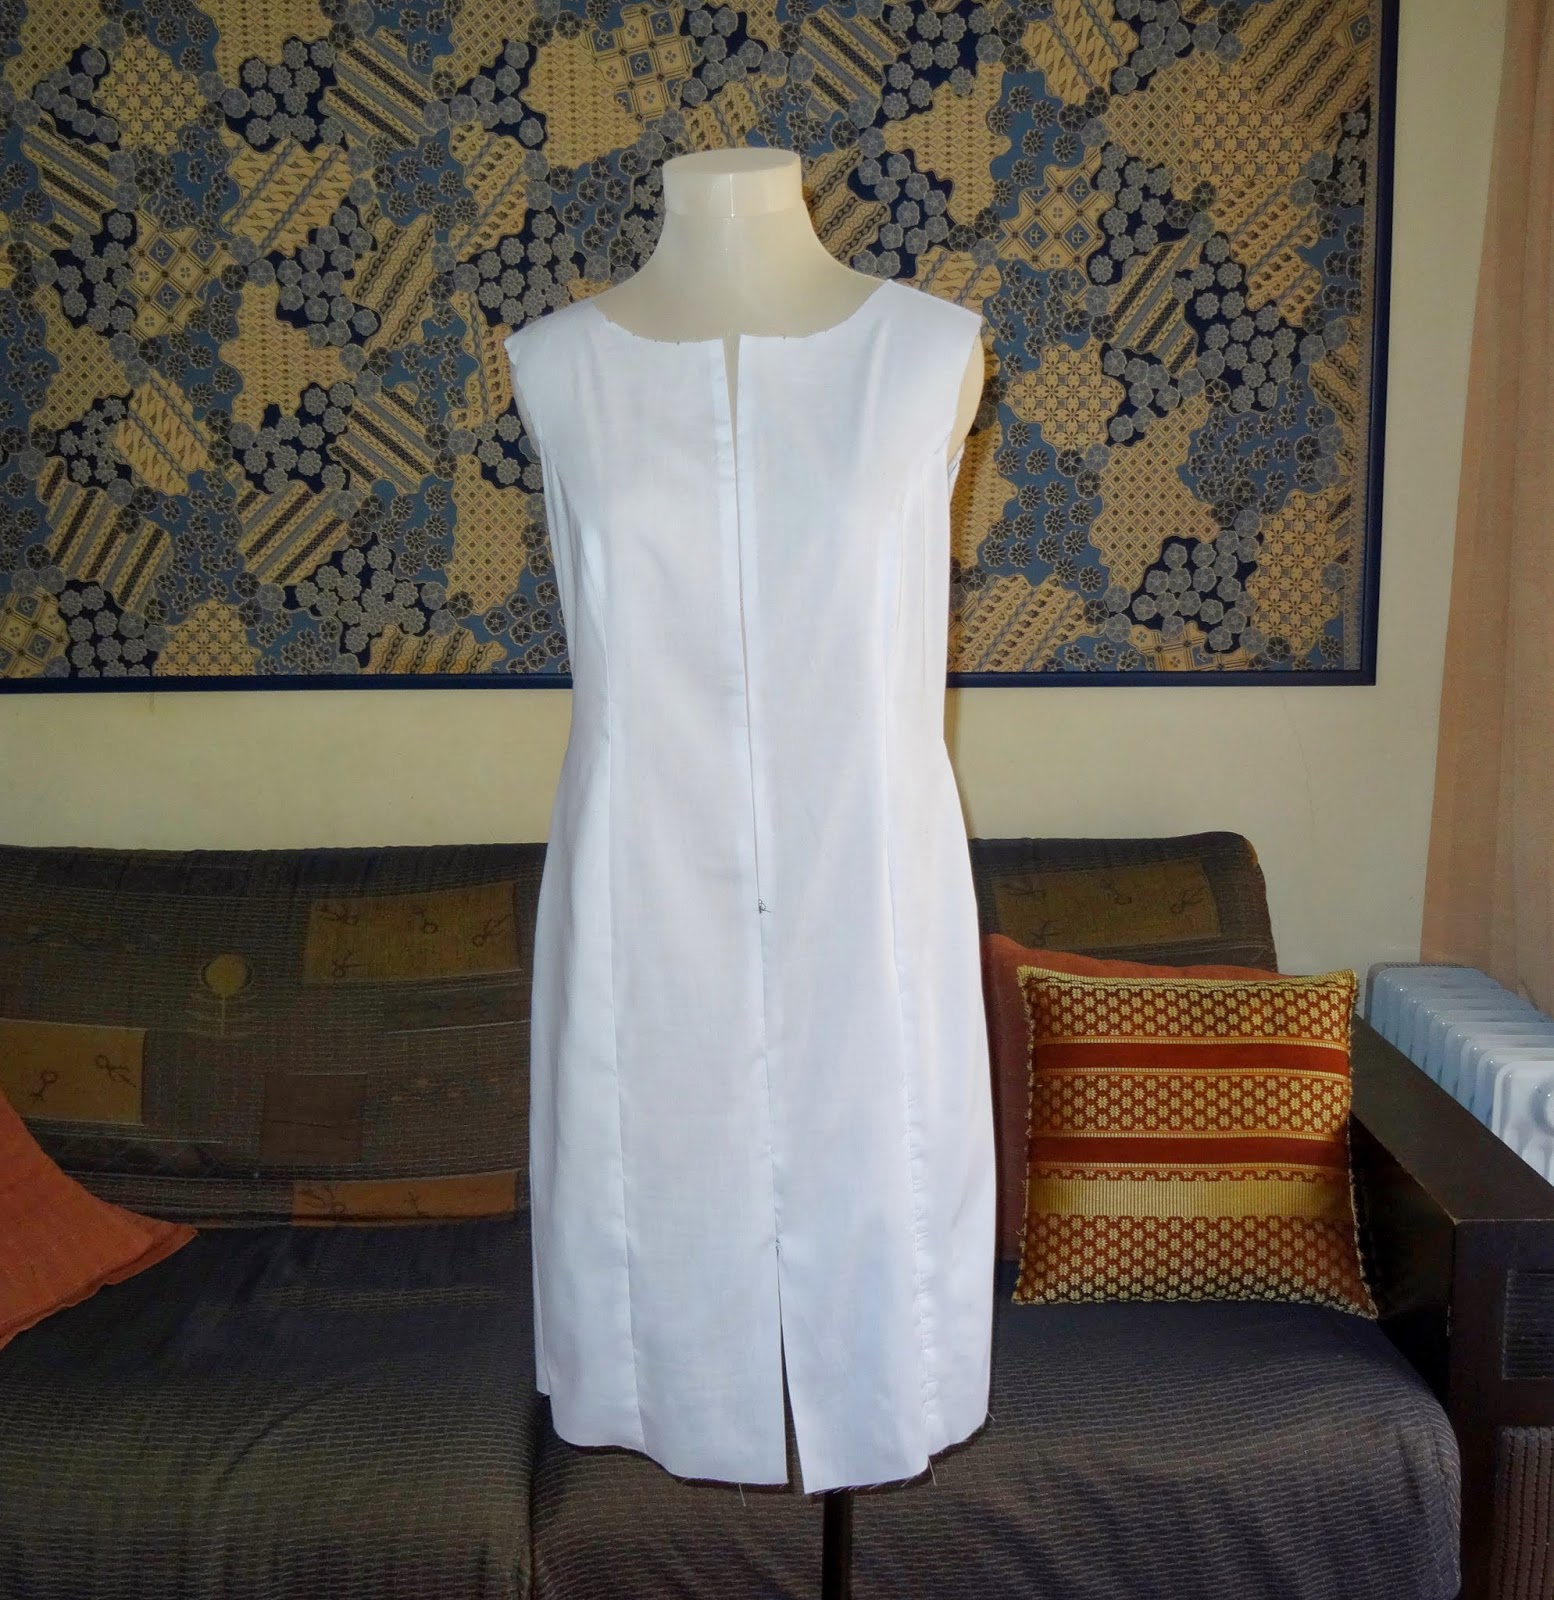
A straight, semi-fitted dress, mid-knee has princess seams, cut in armholes, center front slit and back zipper.
Sewing process:
As this is my first experience of working with vogue pattern, I decided to make a muslin first. I choose petite size 10 (according to the Vogue size) but after my muslin done, I realized that my size should be 6.
Then I work again in another muslin with size 6. Even so I have to make some adjustments,
- added 1.5 cm taller on the neckline
- reduced the length of the neck slit 3 cm and skirt front slit 6 cm
- reduced the side dress front and back 1.5 cm
- and make sway back adjustment

After muslin done, I cut my fabric and start to work with the real dress. I sew the front dress pieces and back dress pieces. Sew it, clipped it and overlocked the raw edges.

I stitched the front dress at the center right sides facing, stitched the side of front and back dress right sides facing.
Then I sew the zipper. I didn't have any matching color zipper, so I use a very dark blue zipper. But before I sew it, I fused 1.5 cm wide fusible interfacing onto the wrong side of the center back. This method is very good to stabilize the zipper and very smooth finishes. As shown on the picture A and B,

Then I worked on the neck facing, here is the result
A - front B- Back

And the last work on the dress is stitching the hem. My hemline ended up 6 cm (pattern suggestion should be 5 cm), I was very lazy to cut one more time - so I just stitched it and the result is fine :-)

B. Fold the fabric, press it with iron
C. Pin it around

A. I am very patient, so I prefer to baste the hem before stitch it
B. Then I hand stitched all around the hem line. Removed the basting. Done!
Here are more pictures of me wearing the dress, front and back views


And more picture of the dress on my dress form, front, side and back views


Well, I am very happy with how my dress turned out and I will definitely make more dresses based on this pattern on the future. Also every time I worked with a new pattern, I learned something new from it. And this time I learn how to reinforce seam with slit by cut two pieces of seam binding and sew it by hand in the wrong side of each garment. The result is fantastic and the seam binding will not show at slit :-)
Have a lovely weekend and see you soon on my Mad Men Dress!
I love the color on you. The dress turned out so pretty. Fantastic!
ReplyDeleteThank you, Annie for your lovely compliments :-)
DeleteI've heard vogue runs larger than most paterns, your dress turned out beautiful! love the color!
ReplyDeleteHelen
Yes, it is runs larger than most pattern especially Burda. Good that I decided to make muslin first before sew the dress.
DeleteThanks for lovely comments :)
Beautiful fit, amazing dress! :)
ReplyDeleteThank you so much, Jessica :-)
DeleteHana, your dress is gorgeous.. Love the color.. Thank you for sharing your details.. You put a lot of work into this dress and I can tell it.. Great job.. Happy sewing.
ReplyDeleteThank you Judy. Yes, it was a very tiring work, I never made 2 muslins for one dress but in the end I am really happy with the result :-)
DeleteHana, this is an example of how to sew a quality garment! No shortcuts and lots of attention to detail. I loved your comment: "I am very patient, so I prefer to baste the hem before stitch it". You ARE very patient ;-)
ReplyDeleteHi Mary, I am so flattered with your comment. Thank you ;-)
DeleteIt was worth all of your patience.
ReplyDeleteYes, it was. Thank you Dorothy :-)
DeleteLovely dress, great fit - and love the colour!
ReplyDeleteThanks, Anne :-)
DeletePatience is a good idea with sewing, especially when tackling something new - a lot of patience is required for muslins and finishing. I love a garment to look nice inside as well, and yours does - it gives a real sense of pleasure when you look inside. The deep colour will look lovely on you, as does the simple style - I hope you enjoy wearing your new dress :)
ReplyDeleteThank you so much for such lovely words, Sarah Liz :-)
DeleteHow very beautiful. Your attention to detail shows through in the wonderful quality of your finished product. A great fit and a very lovely colour for you. Cheers, Karen
ReplyDeleteThank you so much, Karen :-)
DeleteThe style, the colour, the fit, all beautiful. Well done.
ReplyDeleteThank you, Kathy :-)
Delete