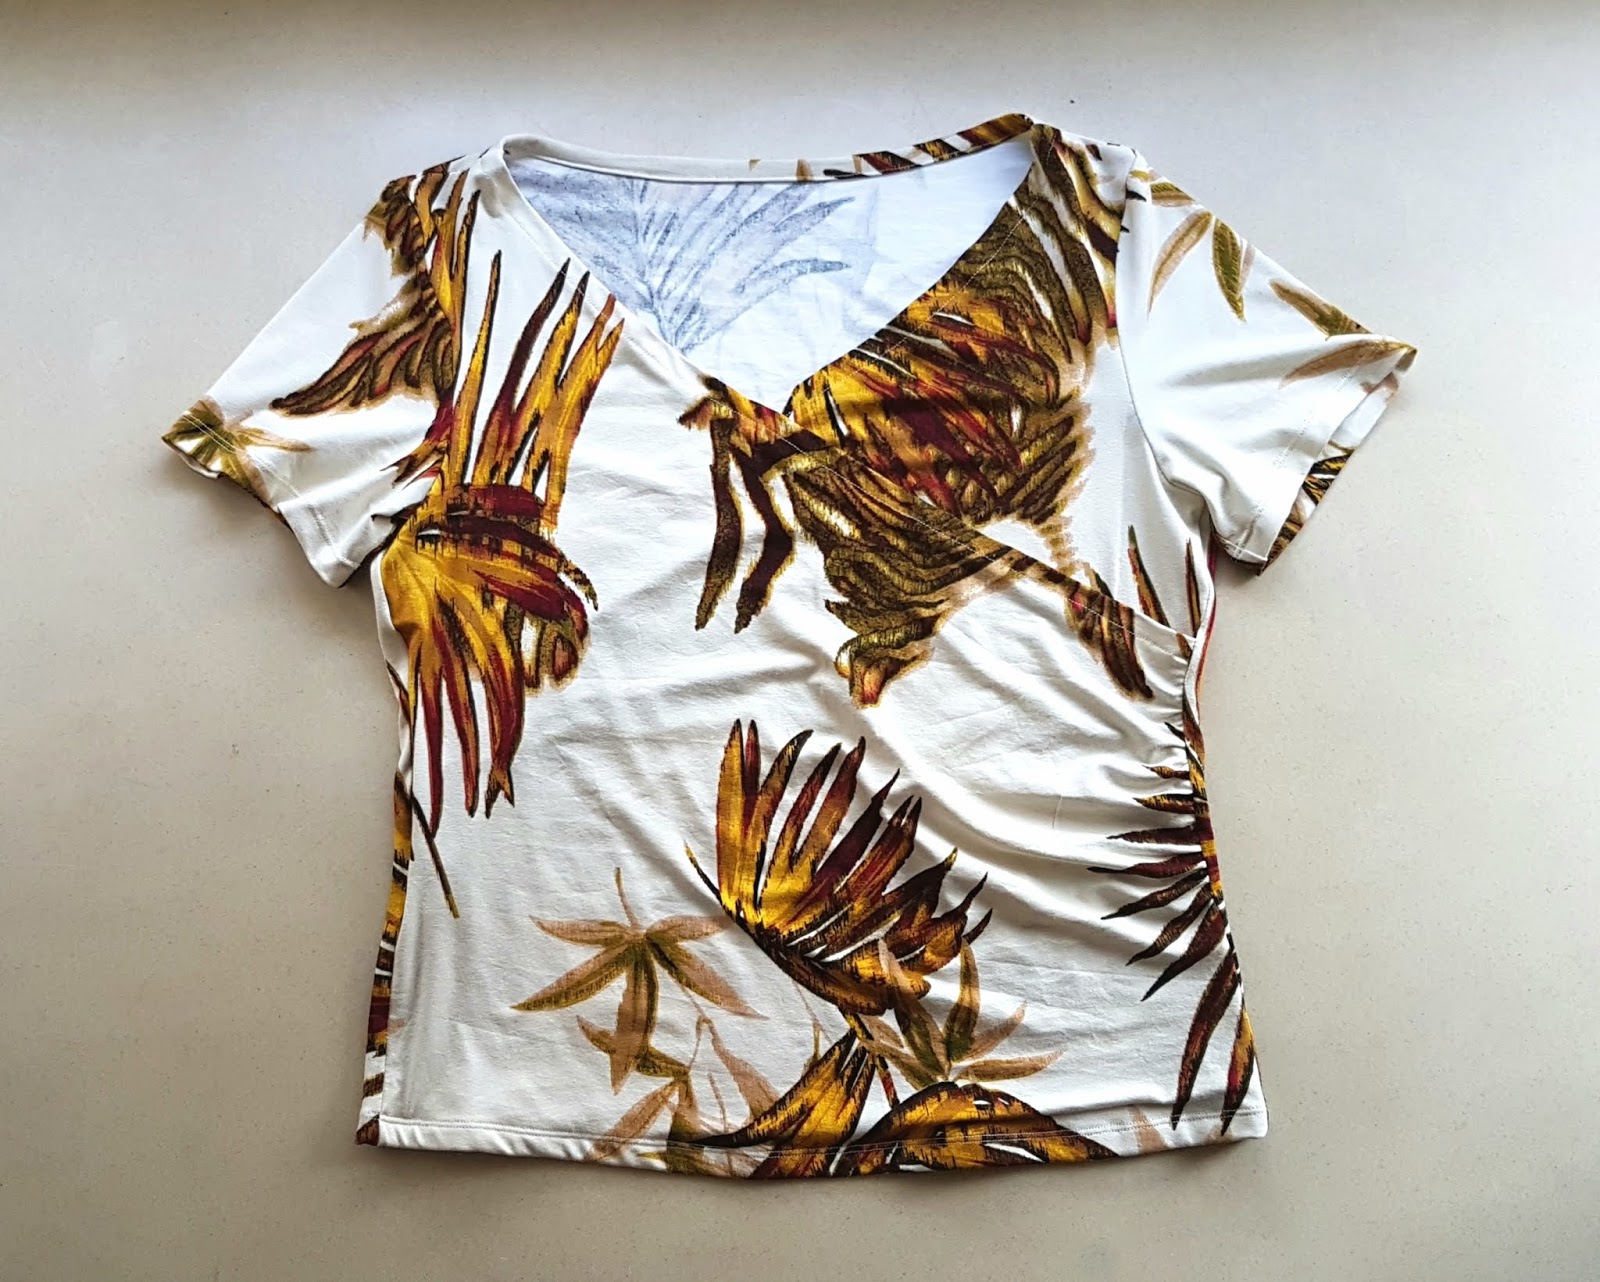
I decided to make this wrap shirt last week for my entry to
#burdachallenge2018 on Instagram and so surprised that I did this shirt in three days. I didn't make a muslin or wearable muslin, I was too brave but happy the final result wasn't so bad. It was a little bit loose at the shoulder and the wrap was too low for my liking but I can wear it. I will raise the wrap and make better fitting at the shoulder one day I make this shirt again.
Pattern:
Wrap Shirt 07/2018 - 107 I used size 36 for the bust, 38 for the waist and hip. I did full arm adjustment and I'm happy with it.
Fabric: I used printed knit jersey, leftover from
my previous dress that I made in July.
The original pattern is very short and I decided to lengthen it until my hip line, omitted the belt and made full arm adjustment as I mentioned above. I slashed the sleeve pattern in four, I drew a vertical line from the middle of sleeve cap to the hem and a horizontal line below underarm as shown
here on Burdastyle quick tip.
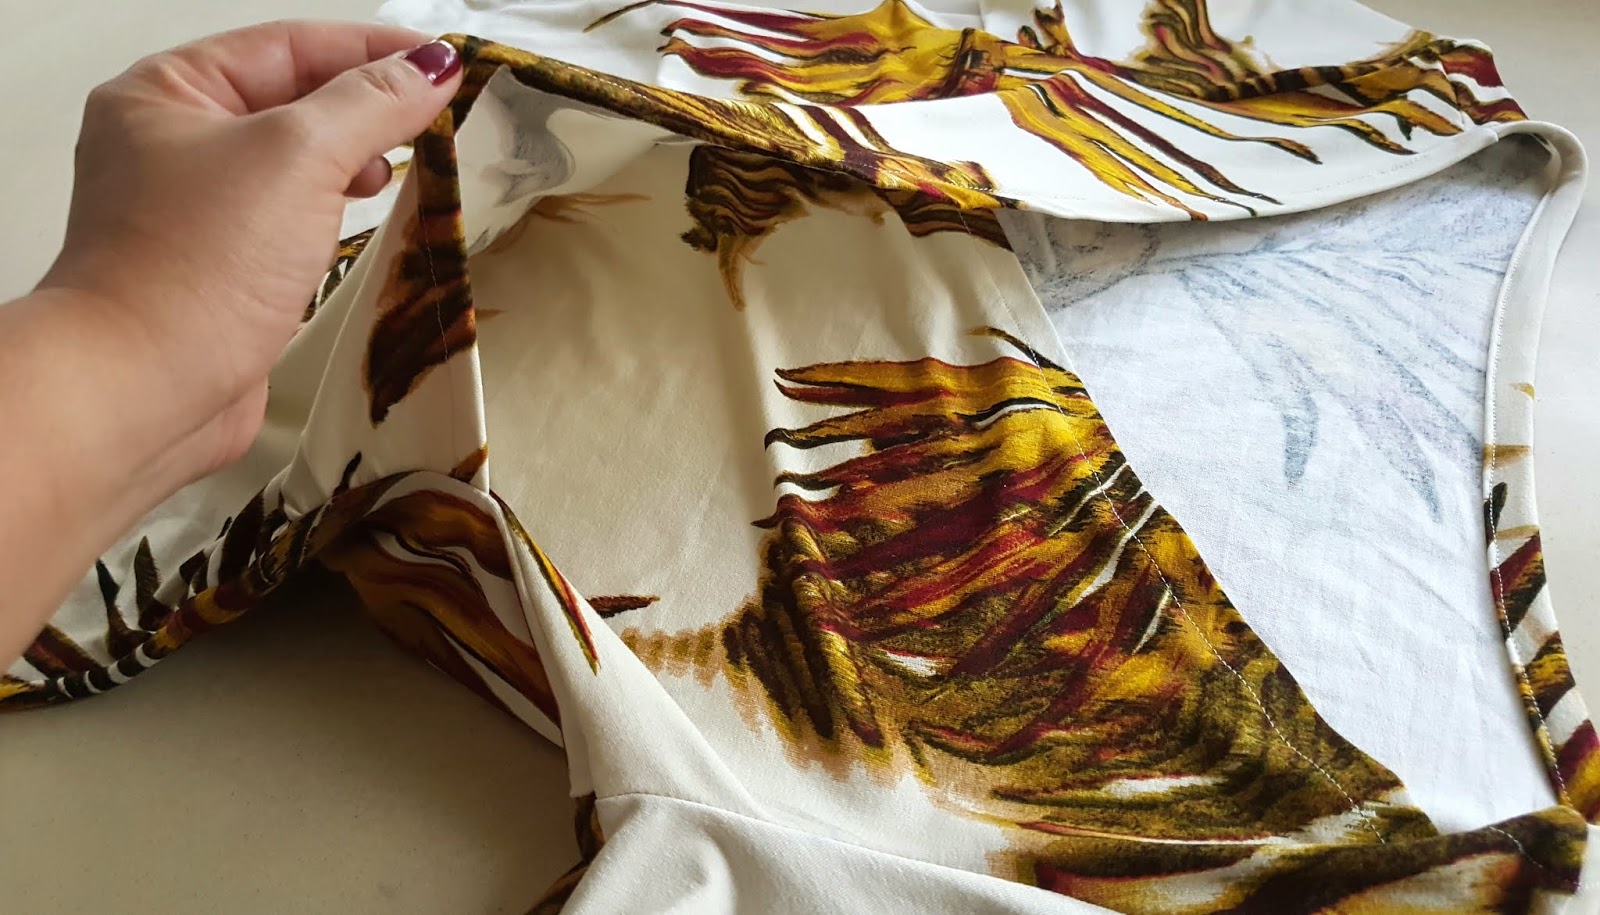
The instruction from Burda was easy to follow (for me), I started with fuse the fusible tape along the wrap line and gather the side at the marked area (I did this for both front pieces).
For the back side, I sewed the facing strip and then sewed the back and front pieces together. I should just folded the wrap allowance without top-stitched but I decided to top-stitched them, as shown in the picture below.
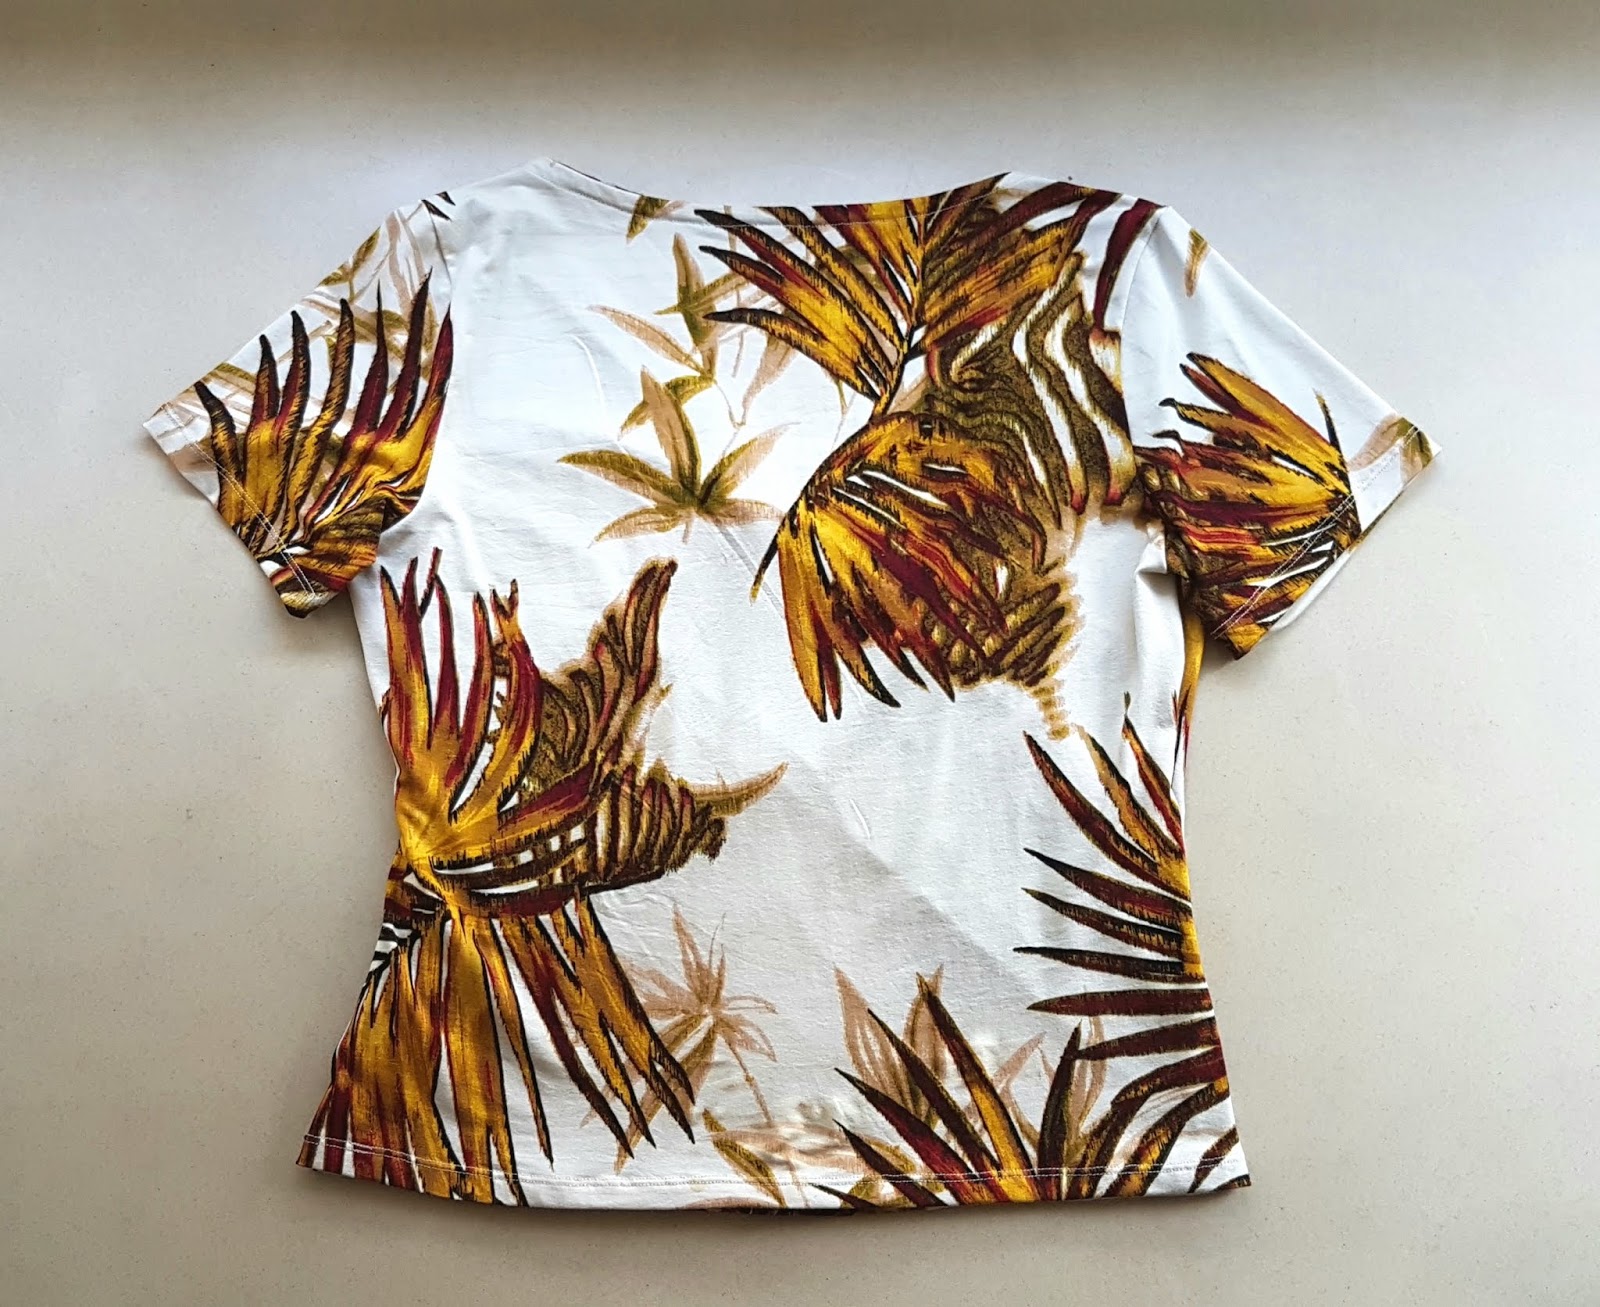
The rest of the process was fine and fast. I sewed the sleeves, pinned the wrap end on the marked place below the armhole and sewed both sides of the bodices right sides together.
I used twin needle to sew the sleeve hem and hem-line and I did fuse the fusible tape at the hem-line first before sewing it. I usually fused the fusible tape on both sleeve hem and hem-line but I skipped the sleeve this time 😊
That's it for today post, I will make this wrap shirt again next time after I finish all my sewing lists. At the moment, I'm working on my recent
Burdastyle Boucle Jacket for my entry to October's Magam Sew Along.
Besides the jacket, I'm also working on the third version of basic t-shirt - pattern from Sew Your Own Active Wear sewing book by Melissa Fehr. You can see in my Instagram posts
the first version and
the second version.
And after the two garments done, I will be working on a dress for Christmas party follow by some small crafts for Christmas gift.
Happy weekend everyone. 💗💗


Love your changes to this pattern. Makes it a great wardrobe basic.
ReplyDeleteThank you Karey. Glad you loved it :)
Deletelovely wrap shirt!
ReplyDeletehttps://modaodaradosti.blogspot.com/
Thank you Ivana :)x
DeletePretty top.. Happy sewing.
ReplyDeleteThank you Judy, happy sewing weekend to you too :)x
DeleteIt looks awesome!!!
ReplyDeleteThank so much Vanessa :)x
DeleteYour top looks lovely, Hana.
ReplyDeleteThank you Kathy 💕
DeleteAt first look I did not realise this was a wrap top - I thought it was a V-neckline. The pattern just blends so well! Such a pretty top - and the wrap neckline is not too low. Turned out beautifully, Hana.
ReplyDeleteThank you so much Sarah Liz, I'd love to raise the neckline a little (2 cm) next time I make this top again 😊💕
DeleteLove this top so much Hana! The beautiful fabric made into a lovely top and your modifications worked perfectly. :)
ReplyDeleteThank you for sweet words, Lisa 💕
Delete