DIY V-neck Tiered Dress

Hello, I made three dresses to wear on my trip to Bangkok during the Easter holiday and this dress is the first one I made. I will share another two in the next posts. I started working on this dress two weeks before the trip and I'm glad I managed to finish it on time, as well as my other dresses. This dress was fun and relaxing to sew because I made one before in a midi length, so this time I shortened the length until my knee and sewed it easily. For the fabric, I used a printed rayon from my stash and white cotton lining leftover from my previous make. For the pattern, I used my self-drafted pattern. At first, I didn't want to add the lining but I had to because the fabric was a bit transparent, the lining fabric wasn't enough and I connected the pieces to make the back skirt. Here is the look of the fabric after cutting and the skirt was pieces of a rectangle: the first tiers - front and back, the last tier on the fold ( I forgot to take the p
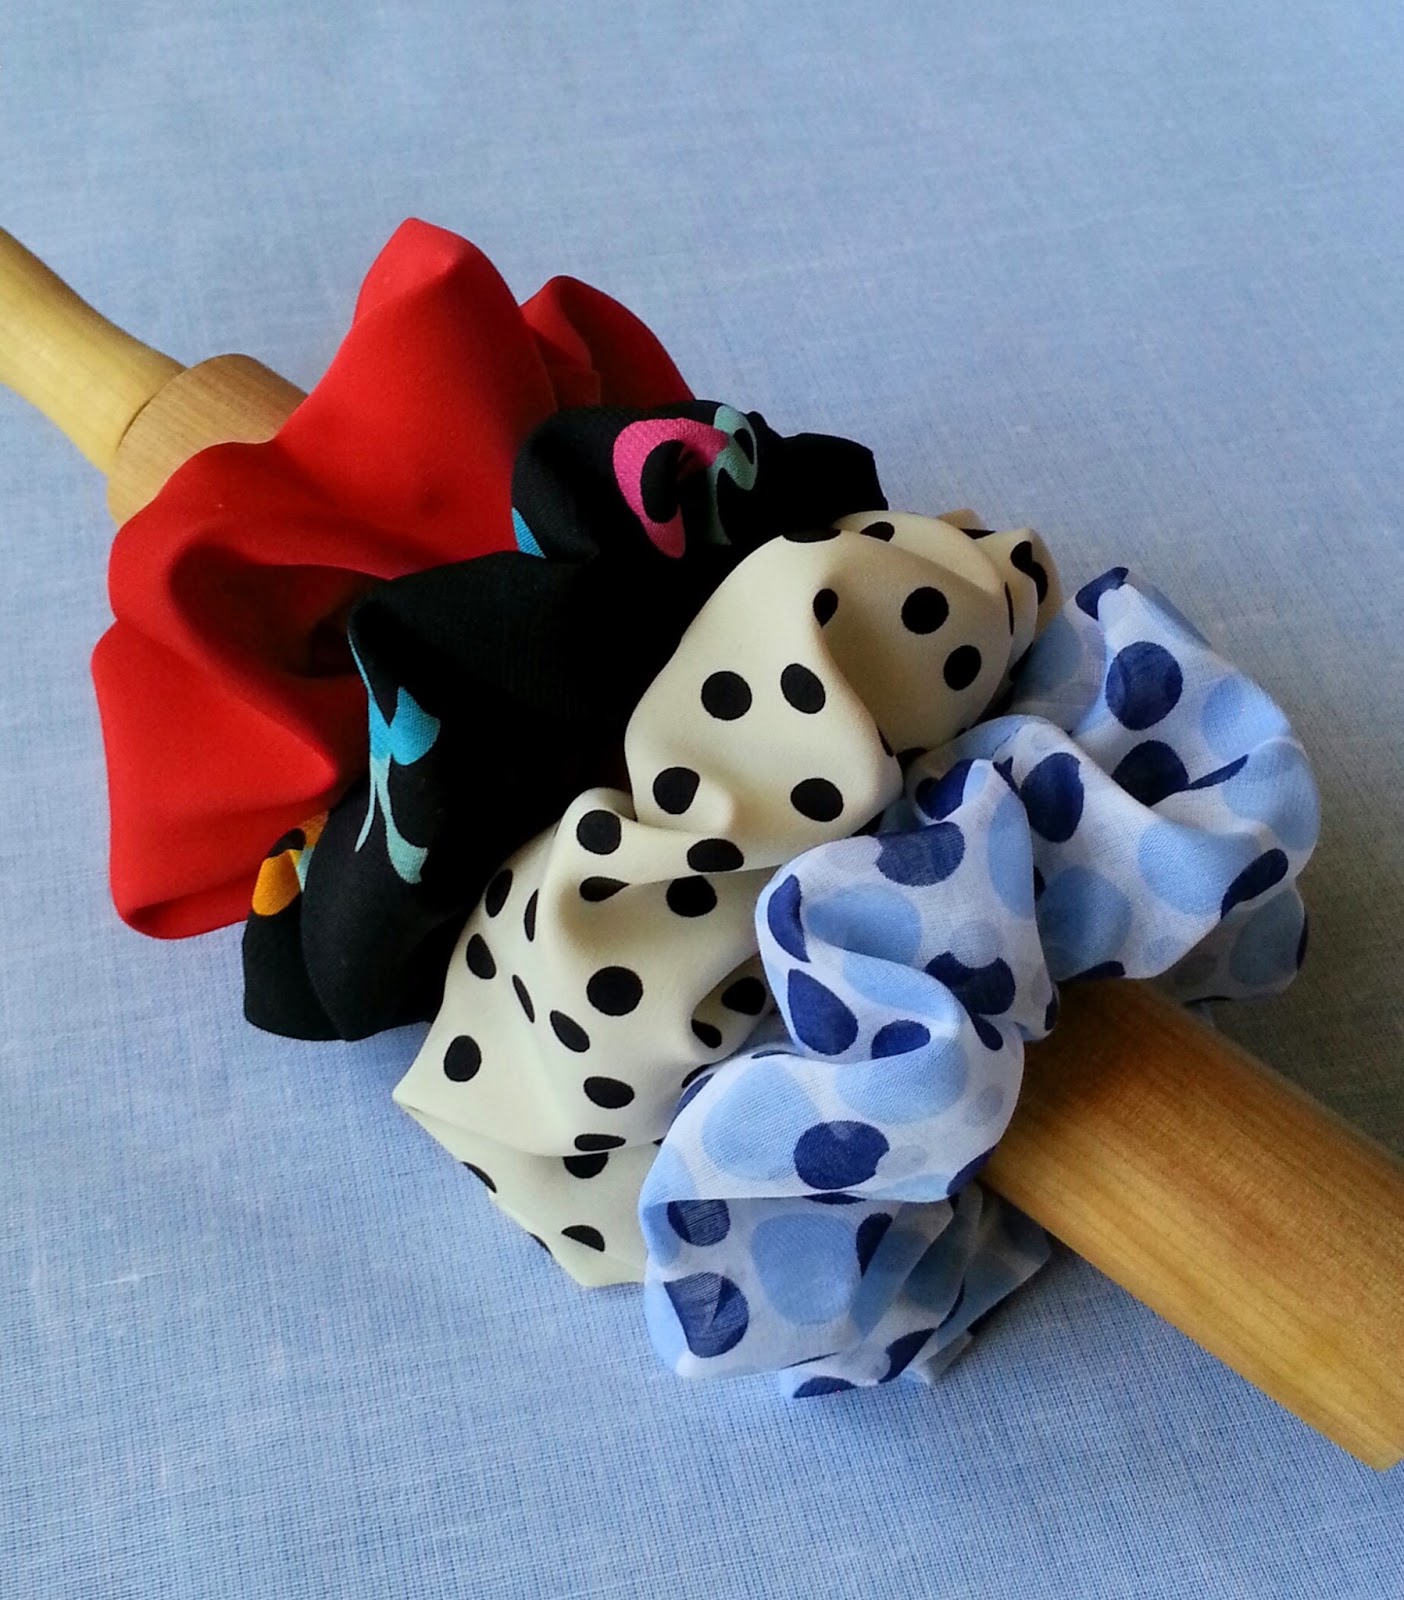


In New Zealand we call these scrunchies :)
ReplyDeleteOh.. Thanks for letting me know:)
DeleteHi Hana, I think they are called scrunchies in the USA and certainly here in Australia. I always think they look pretty, and yours certainly are :)
ReplyDeleteHi Sarah, thank you.
DeleteHere in Asia especially in China and Indonesia we called these hair tie or hair bun:)
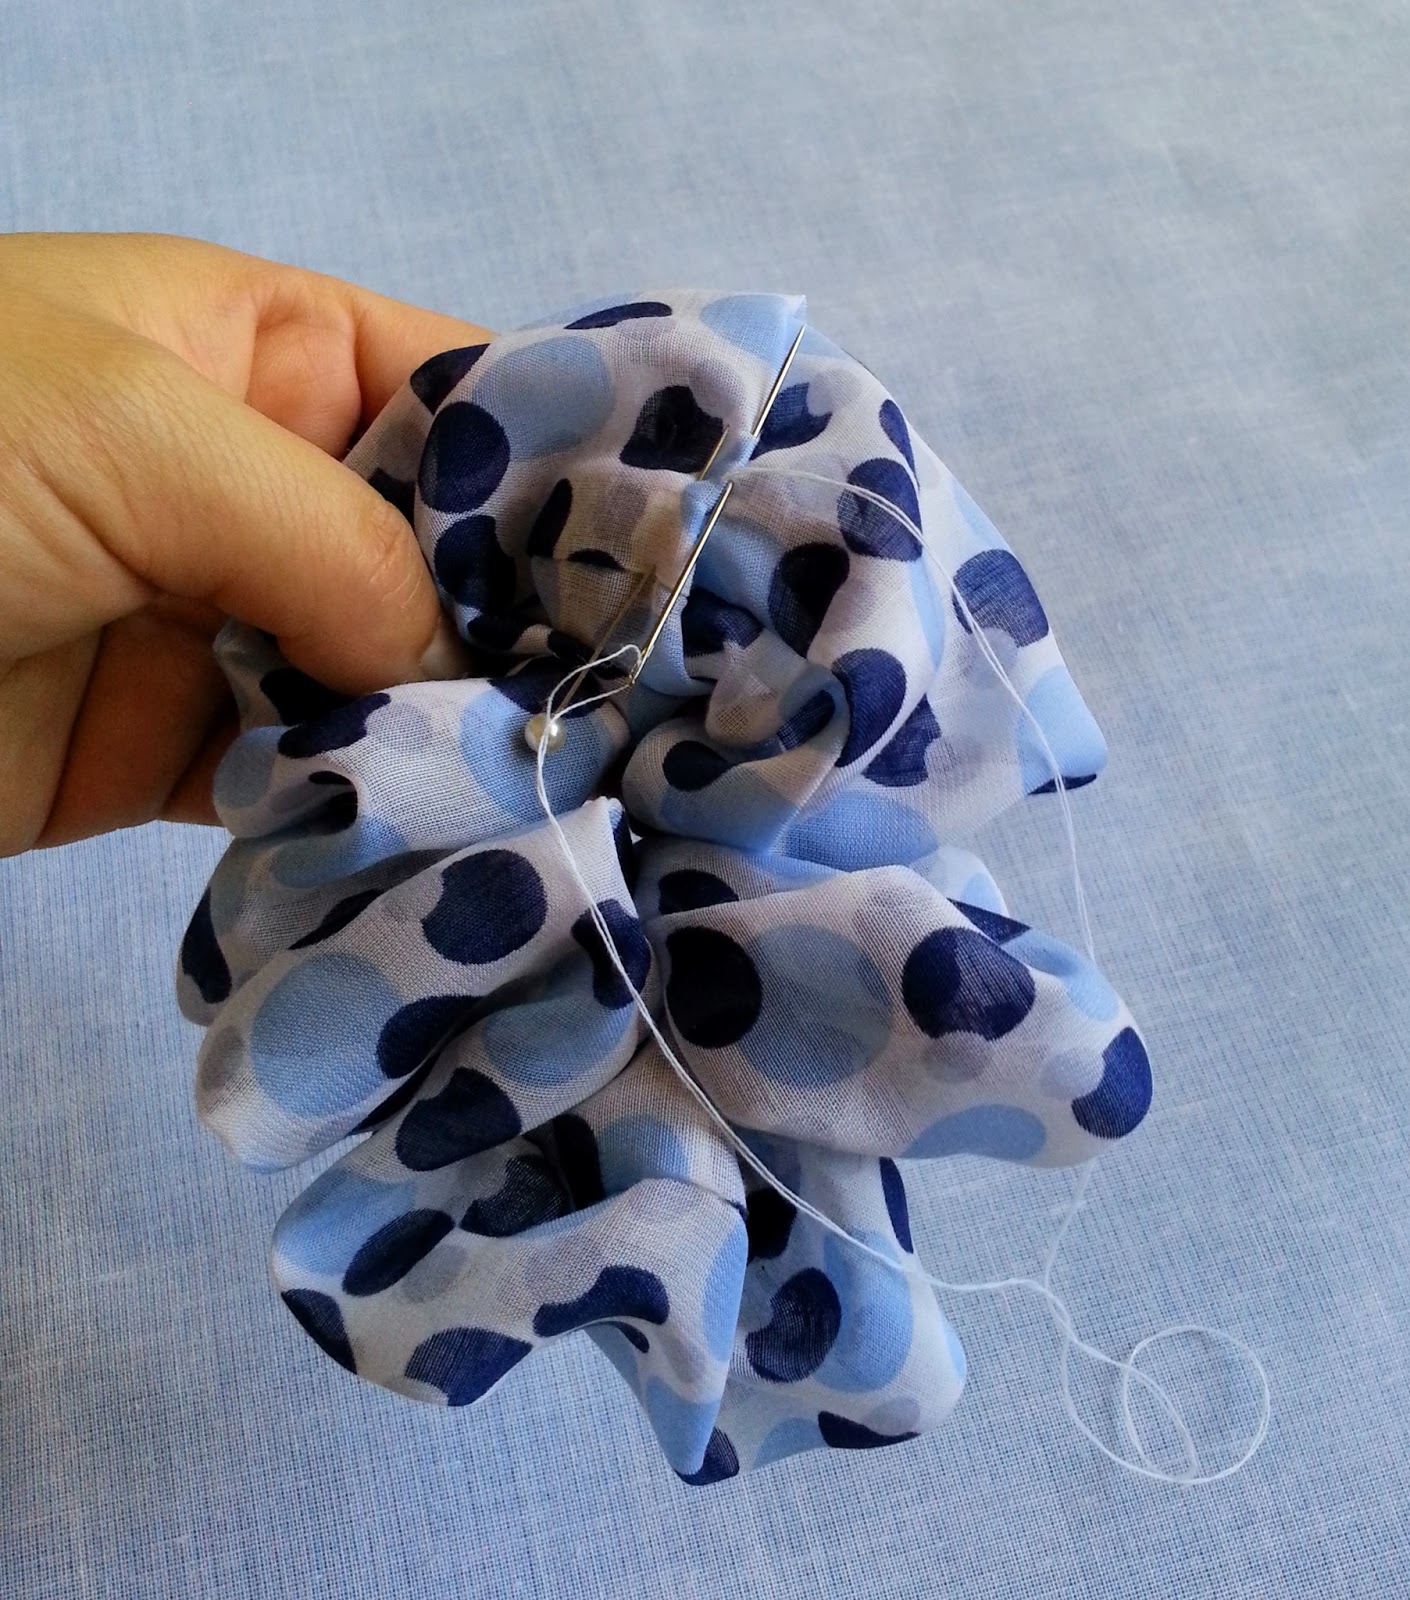
Thank you SO much for sharing this tutorial! I've been wanting to replace/repair my stretched-out hair ties for a while. This is also a great way to use up small bits of fabric.
ReplyDeleteYou are welcome, L! Yes, it is a great way to use the scraps and really fun project to make. I hope you will have a time to make it:)
DeleteI am literally going to go home and do this with all the fabric scraps I have been hoarding. I knew I was keeping them for a reason!
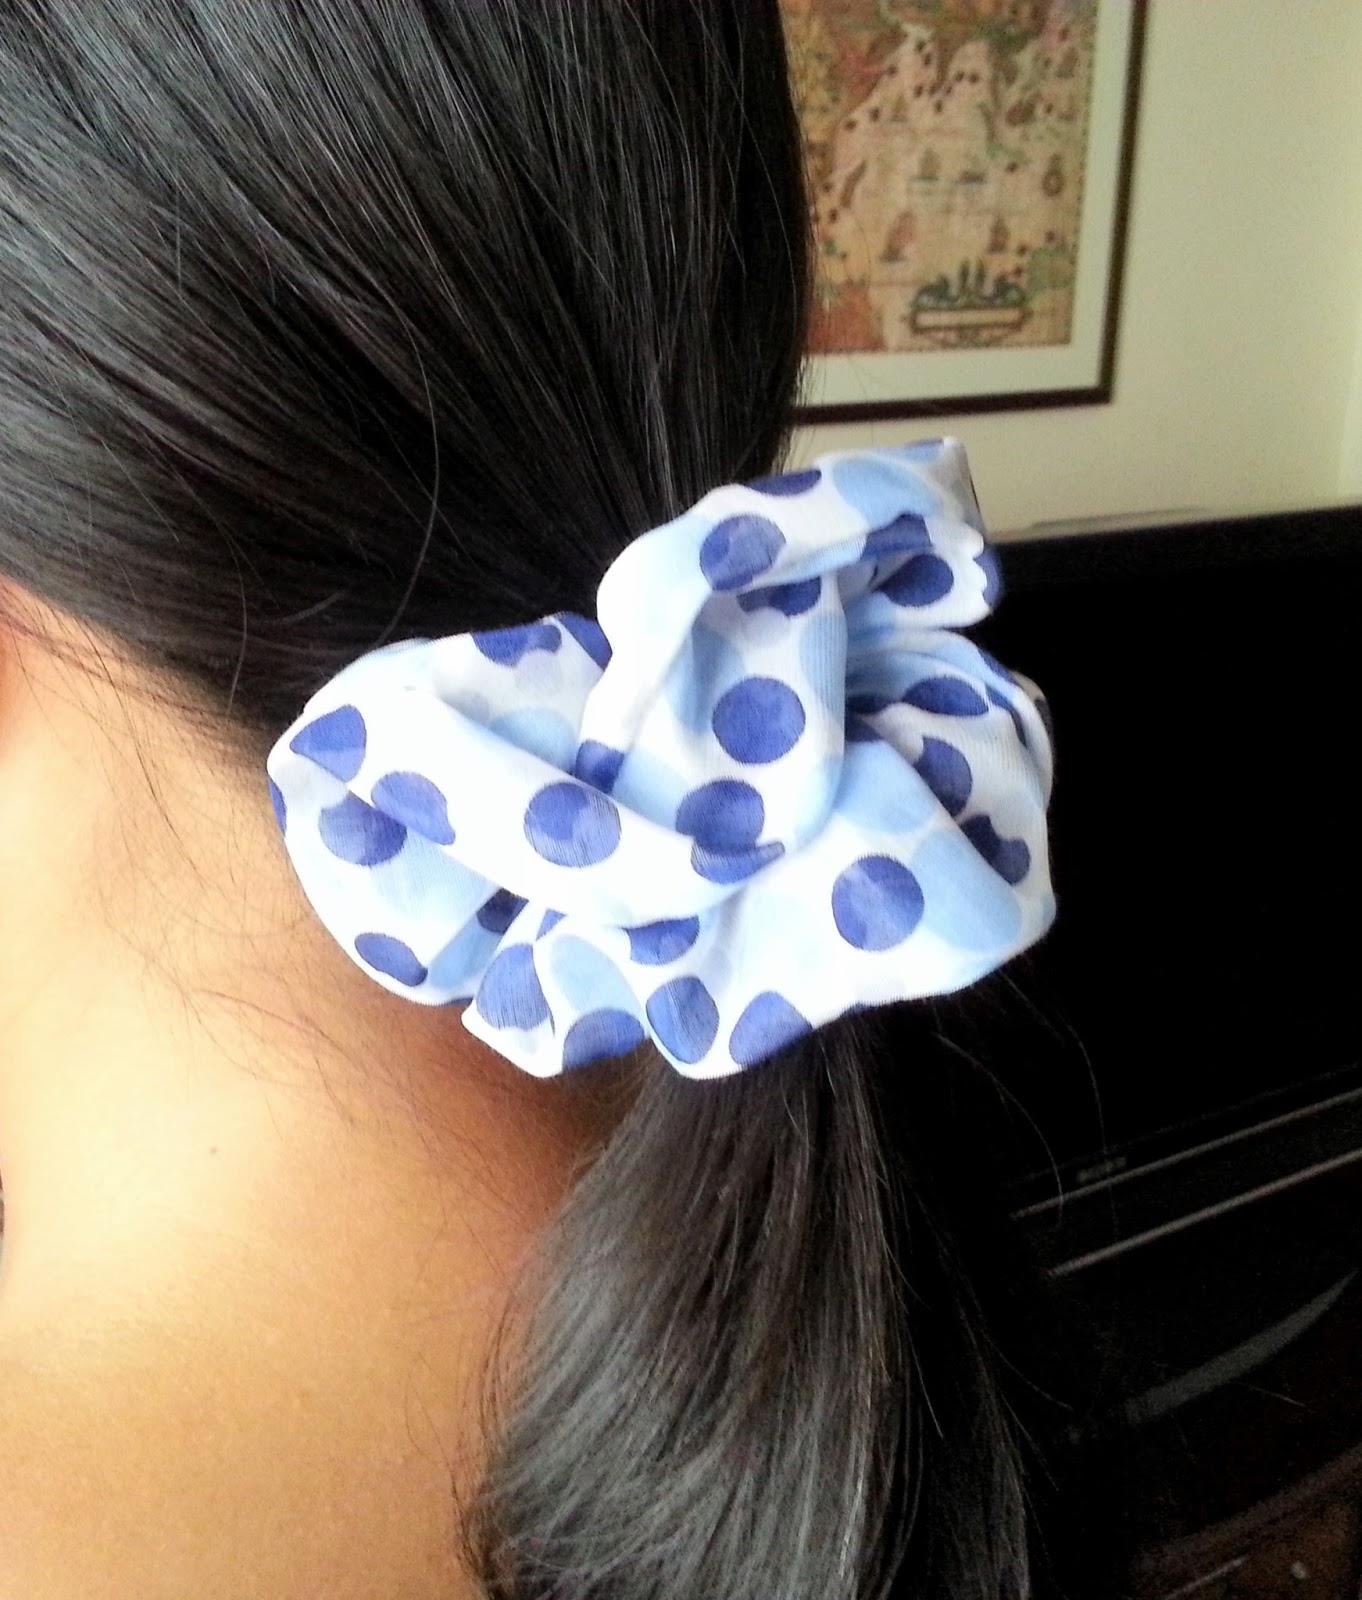
ReplyDeleteSo cute... thanks for sharing.
ReplyDeleteWe are so thankful for your post. My daughter and I have to raise money for her Jr. High School class trip and this is what we decided upon. I think they will be a hit (at least with the girls)! God bless!
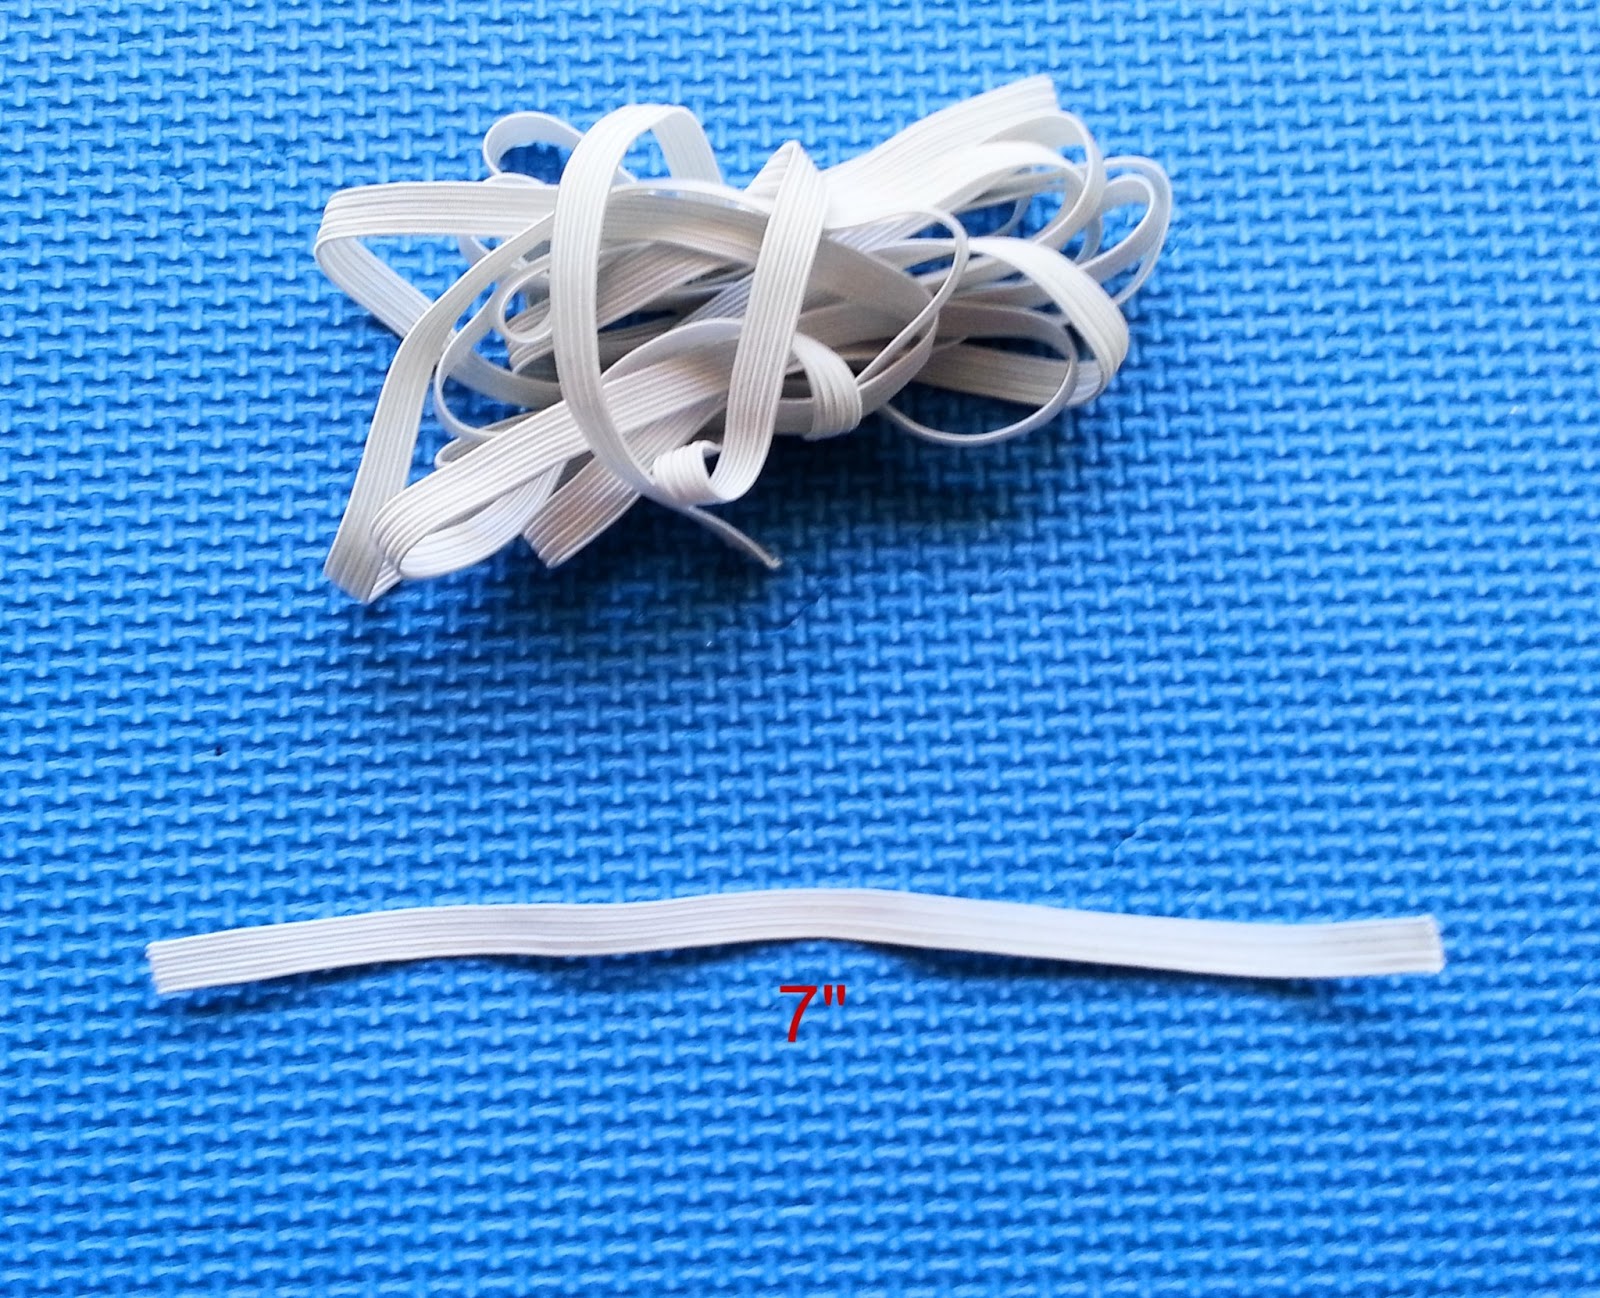
ReplyDeleteHola las soy de argentina estoy tratando de hacer los moños solo queria saber las medidas estan en pulgadas? ...como seria en cm ?... gracias
ReplyDelete