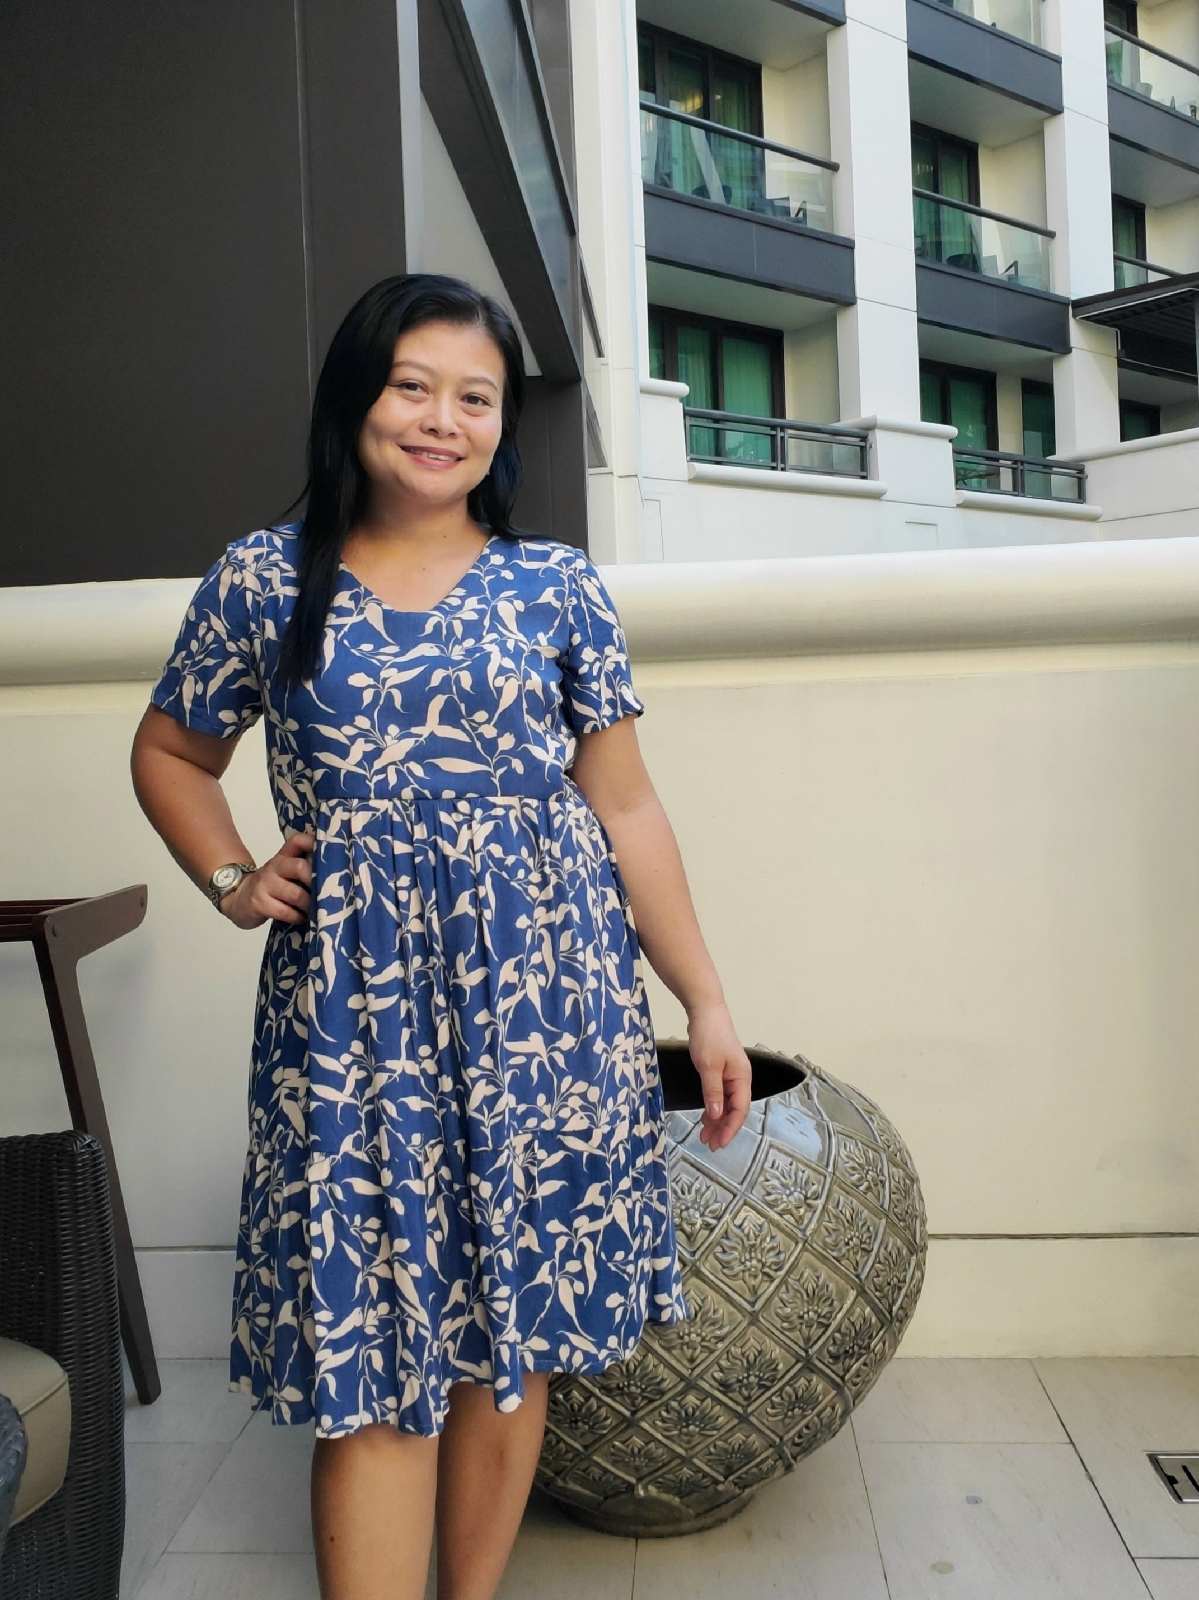
DIY V-neck Tiered Dress
Image
Hello, I made three dresses to wear on my trip to Bangkok during the Easter holiday and this dress is the first one I made. I will share another two in the next posts.  I started working on this dress two weeks before the trip and I'm glad I managed to finish it on time, as well as my other dresses.  This dress was fun and relaxing to sew because I made one before in a midi length, so this time I shortened the length until my knee and sewed it easily. For the fabric, I used a printed rayon from my stash and white cotton lining leftover from my previous make. For the pattern, I used my self-drafted pattern. At first, I didn't want to add the lining but I had to because the fabric was a bit transparent, the lining fabric wasn't enough and I connected the pieces to make the back skirt. Here is the look of the fabric after cutting and the skirt was pieces of a rectangle: the first tiers - front and back, the last tier on the fold ( I forgot to take the p

Short Sleeve Frank Button-Down Shirt


As promised from yesterday post, I'll continue documenting the making of Frank Button-Down Shirt. But let me tell you how I feel about this shirt, I am truly happy with it and so proud of myself that I can make something special for my husband. And definitely I'll make another shirt for him on the future.

And here's the continuations...
This step is how I worked on the collar, I followed step no 30-34. I pinned the collar pieces right sides together and stitch it. Then I cut the corners diagonally and turn the collar right side out. Press, iron it and topstitched around the edges, except for the open edge.


Then I pinned the collar bands onto the collar, right sides together.

I sew it along the curved edges of collar band.

Turn the collar band right side out, press and iron it.

I pinned the outer collar band onto the shirt neckline, right sides together. Sew it around the neckline.

Then I folded the seam allowance (1/2") of the inner collar band, pinned it into the neckline. You see here that the shirt is in between the two collar bands.

Sew it and topstitched around the collar band.

After I've done the method above, now I'll show you how I worked on the finished sleeve hemline and shirt hemline.
For the sleeve hemline - with wrong side of the shirt facing out, I folded sleeve piece 1/4", press it. Then I folded again about 1". Pinned and sew along the sleeve hemline.

For the shirt hemline - with wrong side facing out, I folded the bottom of the shirt 1/4", press it. Then I folded again about 1/4". Pinned and sew along the hemline.

Then the last work on the shirt, I sew the buttonholes and sew the buttons. Done!


And here is one more picture of my husband wearing the shirt. We went out for lunch at our friend restaurant O Santos Comida Portuguesa
 
.... more lovely picture of my son, Eduardo.
Happy Friday!

Previous post: sewing in progress: frank button-down shirt

Comments

  1. You have a very beautiful son, by the way. Anyway, button-down shirts are very tricky to pick especially for your man. Been looking for ways on how to make its collar pop up. Well, what you've posted is so helpful for us. Please continue sharing your ideas on how to alter some of our fashion staples. Have a nice day!

    ReplyDelete
    Replies
    1. Hi Rose, thanks for stopping by. Have a nice day and happy sewing for you too!

      Delete

Post a Comment