More than one and a half months I didn't write a post in this blog. A little bit late but I wish you a very happy and warm new year, full of joy, happiness and success. I enjoyed my holiday season with my family and friends. Christmas is always full of surprises and new year is always a great moment.
And now, I want to share my new project that I worked for so long. I have done my first coat one week after new year. I was a little bit scared to work with coat, but anyway...YES! I made it:)
Here are the details about this coat:
Style:
Knee length double breasted buttons closure coat. I kept the style very simple, there is no pocket or belt. I inspired by magazine and street people.
Materials:
I used 2.5 yards of tweed wool blend in dark blue color, 2.5 yards of silk crepe de chine in dark blue color for lining, fusible interfacing for the collar, handmade shoulder pads, 10 pieces big black buttons and same colour thread.
Patterns:
I used the old burda magazine 07/08 with alterations, the result is nothing like the original. Sorry I can not link the pattern, I think it doesn't exist anymore. I lengthen the pattern just right in my knee and changed the front style to double breasted buttons closure. It was a very long project to finish, I have to make a muslin and tried to figure out how to work with the coat.
How I worked :
I transfer the pattern to the paper and made some alterations on the front side, arm hole, lengthen the arm and the body to the knee length coat. Cut the paper.
I made muslin to make sure that the coat will fit me well. I was lucky, I didn't make any alterations to the muslin.
After the muslin done, I started work with the coat. I worked slowly and very patient to avoid mistakes. The difficult part for me is to attach the lining to the body. I tried almost two days to figure out how to attach the lining to the collar and the body. After many errors, finally I found the solutions. I used machine stitch to attach the lining to the collar and hand stitch to attach the lining to the body. I also did hand stitch to attach the lining to the hem.
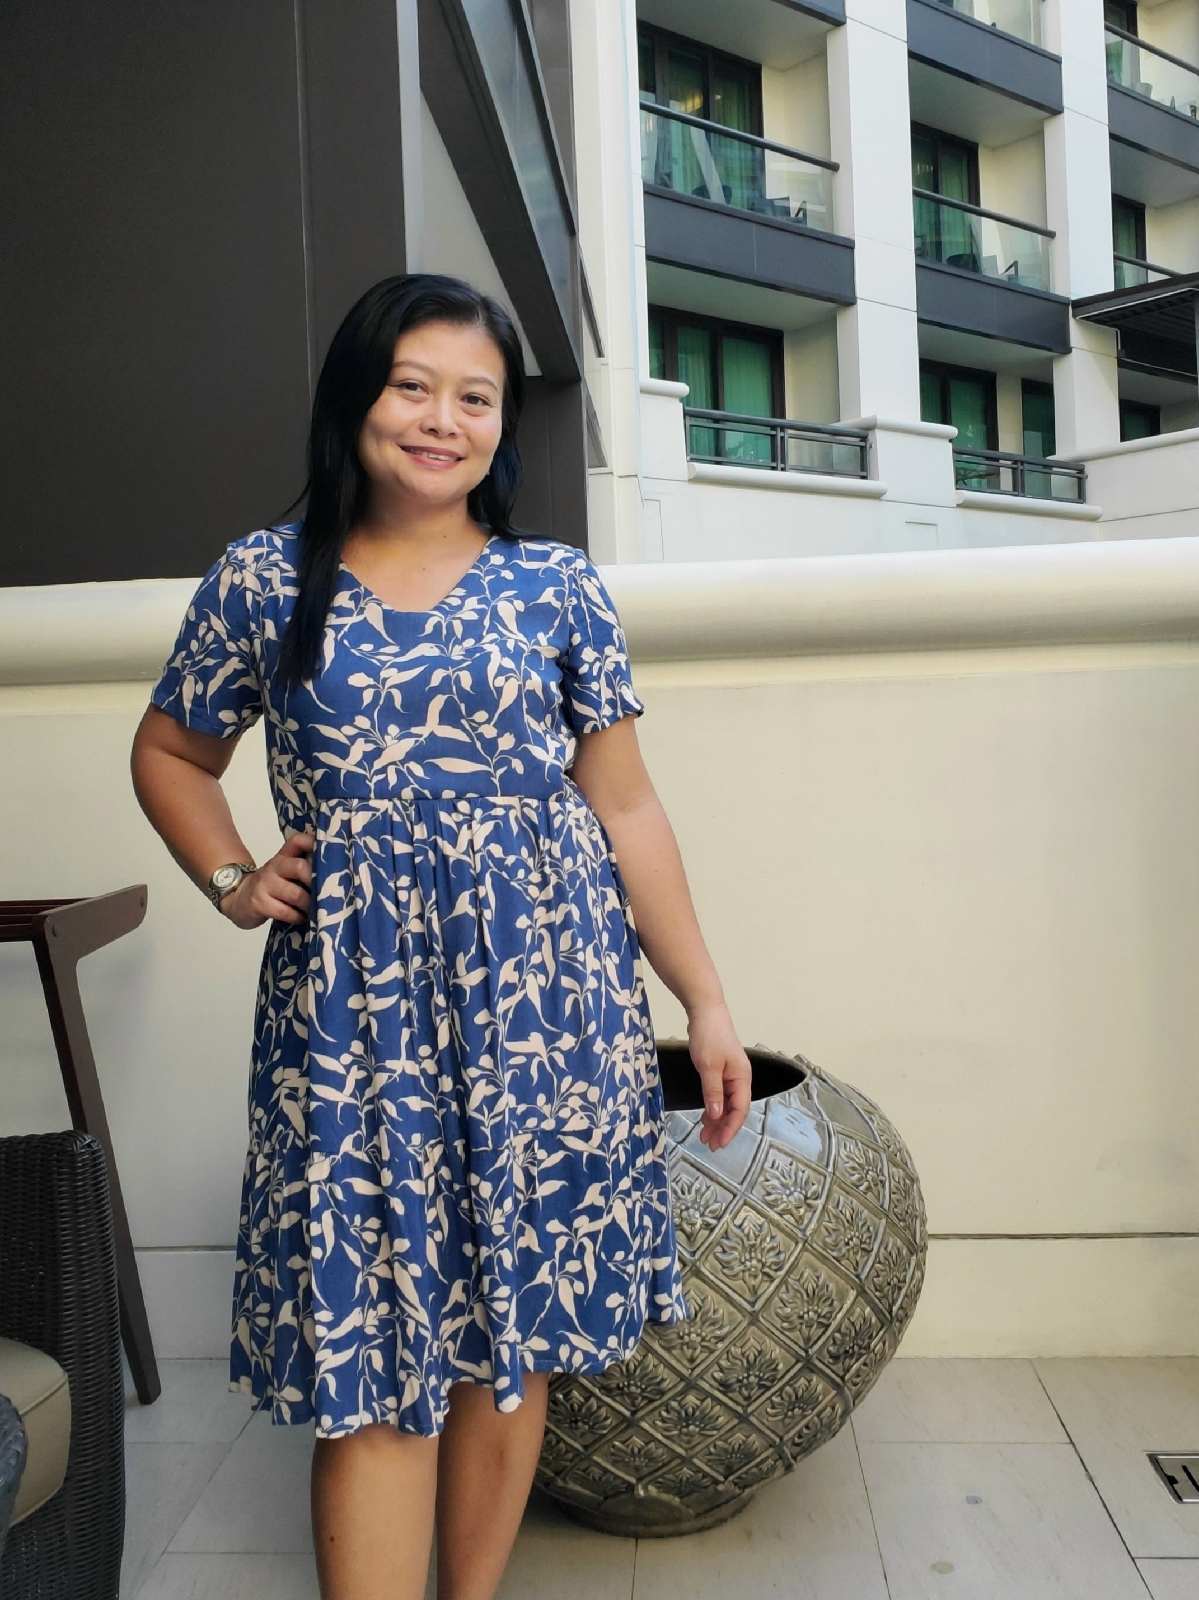
I am very happy with my first coat, finally I did my work perfectly. And here are more pictures of my coat:
 |
| here is inside the coat, the lining is done perfectly |
I finally wore this coat last weekend. Definitely, I will make another one in the future. I also have done two more projects during last month, so I will post it very soon.
Happy sewing....


The coat looks great on you!
ReplyDeleteDid you interface or underline the coat front too? It keeps its shape so well!
Thanks for your compliment. I planned to interface the coat front, but my fabric is thick enough to keeps the shape well. So I just sew it without interfacing.
Deleteyou did a great job, your coat looks very nice on you!
ReplyDeleteThanks for your sweet comments :)
Delete